
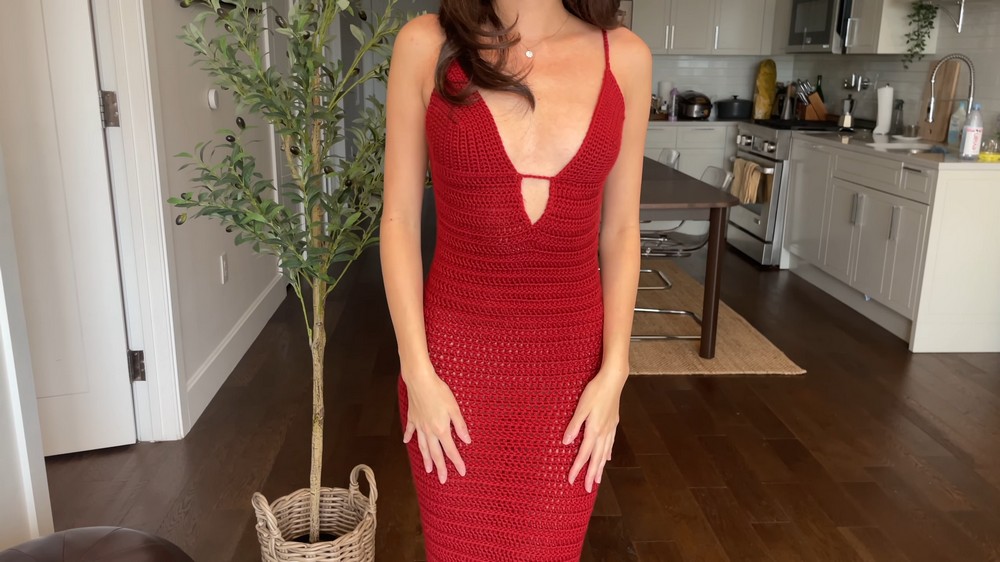
Turn heads in this Crochet Backless Bow Dress Pattern showing elegant flow playful bow detail easy fit and a stylish look perfect for sunny outings.
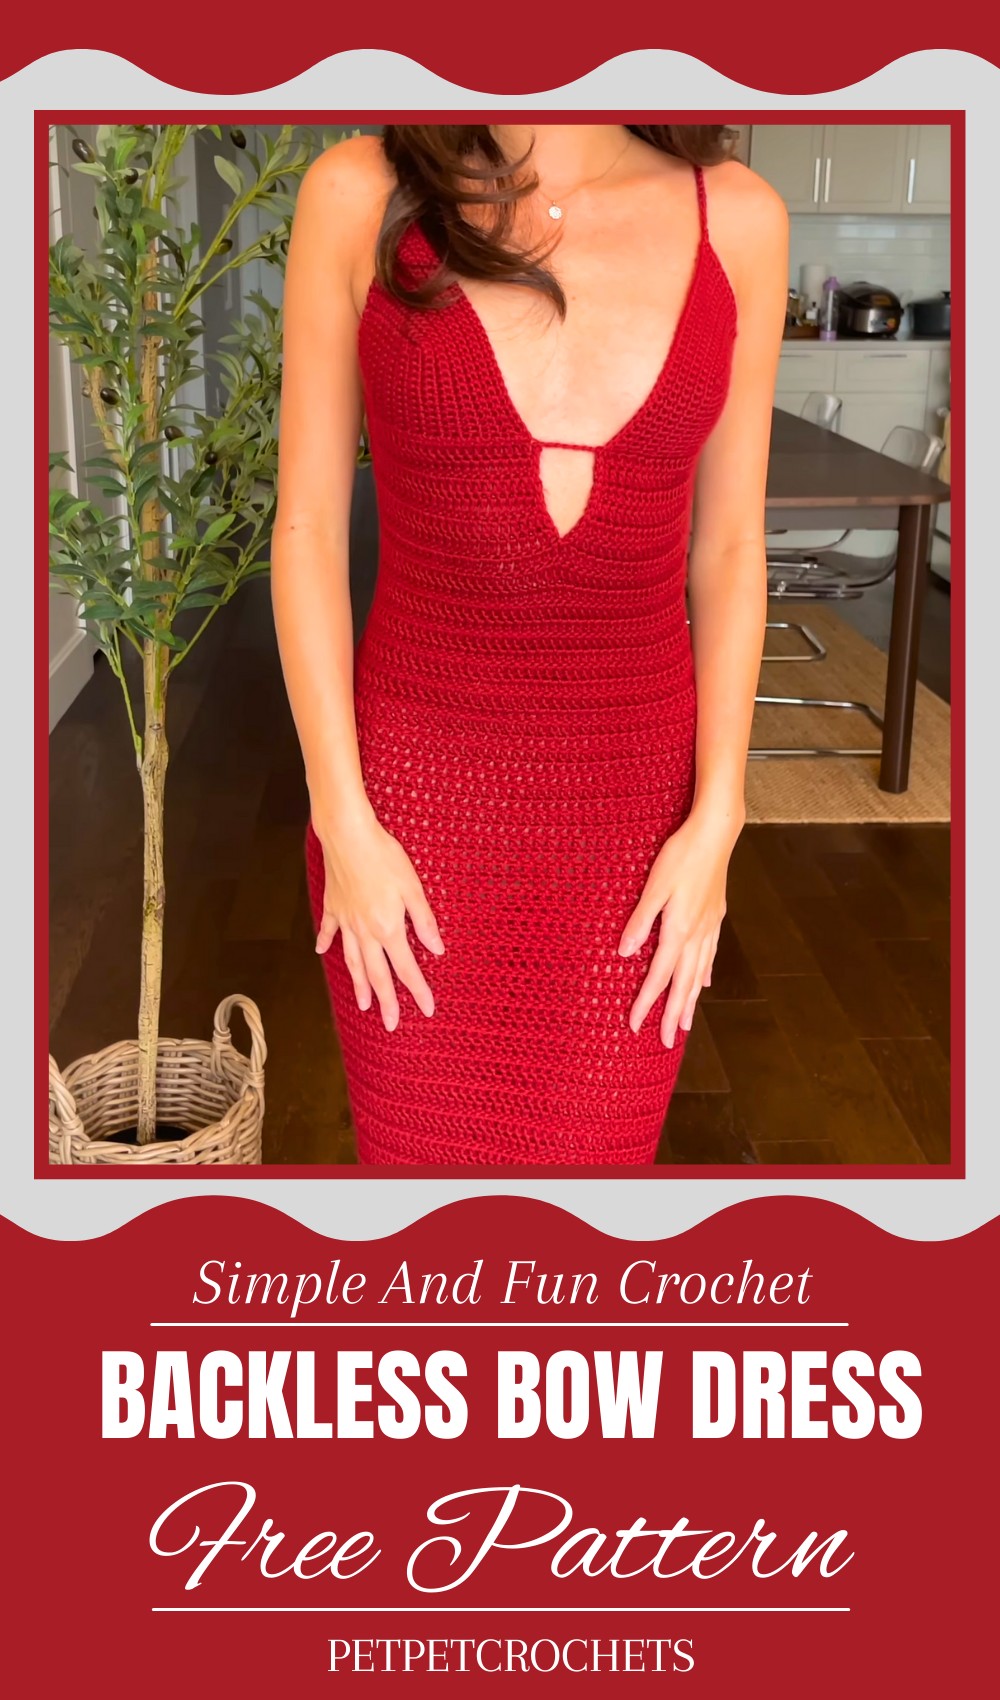
Lightweight Crochet Backless Bow Dress Pattern for Hot Days
This dress is a special kind of beauty that feels soft and light on your skin, perfect for warm days and special moments. It shines with a charming backless design that leaves your back open and free, adding a touch of boldness and elegance. The big, pretty bow at the back makes it look like a gift wrapped just for you, full of joy and grace. You can wear it for parties, holidays, or anytime you want to feel confident and happy.
The smooth stitches and gentle flow of the dress make it comfortable while looking wonderful on any body. Whether you pair it with sandals in summer or layer it with a sweater in cooler weather, this dress is made to bring smiles and compliments. It’s easy to wear, light to carry, and beautiful to see, a lovely way to show your style and brighten any day.
Romantic Crochet Christmas Dress Pattern
Special Features
- Customizable bust cups with chainless foundation single crochet
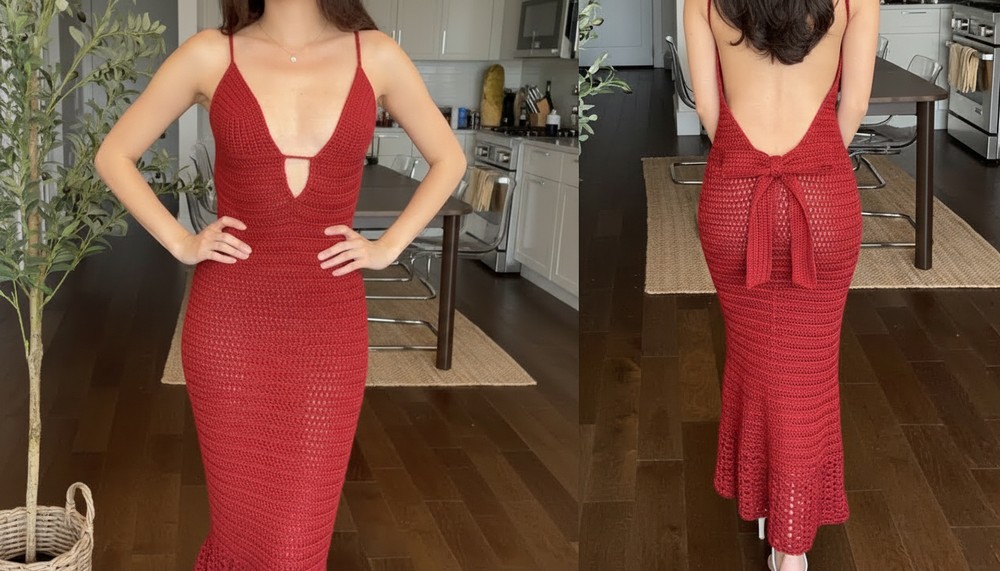
- Open back with wrap-around straps or optional corset-style back
- V-keyhole front opening between bust cups
- Mermaid style silhouette with shell stitch flared hem
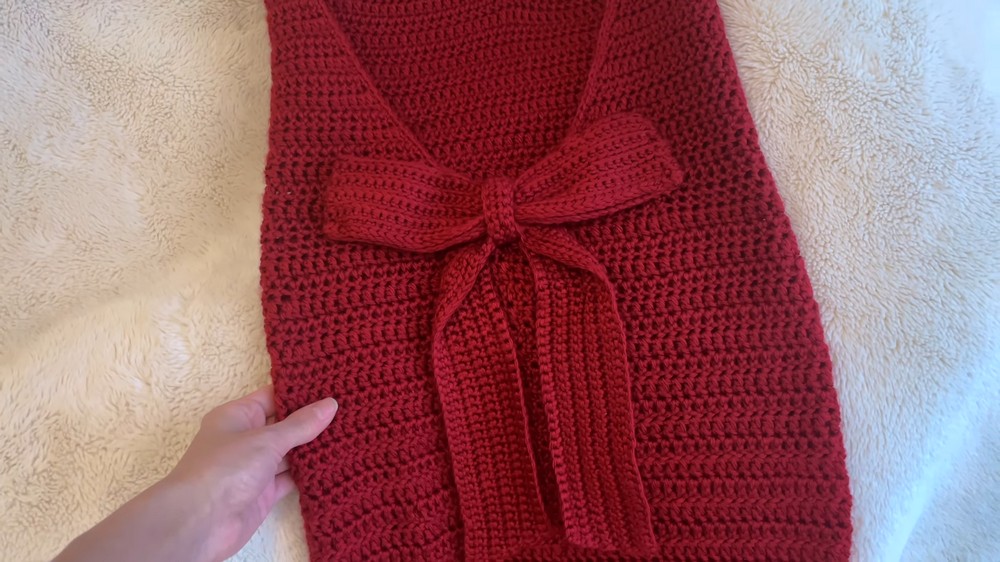
- Large handmade crochet bow for a romantic touch
- Fully adjustable to body measurements
- Versatile styling options, including wearing with a slip or leggings
Difficulty Level
Intermediate — Familiarity with single crochet, double crochet, increases, decreases, slip stitches, and working in rows and rounds recommended.
Materials Needed
- Worsted weight yarn (Simpy Soft in Autumn Red suggested)
- Crochet hooks: 3.5mm, 3.75mm, 4mm, and 4.5mm
- Stitch markers or bobby pins
- Tapestry needle for sewing and weaving ends
- Optional: Nude leggings, red tights, or slip for layering
Step-by-Step Pattern
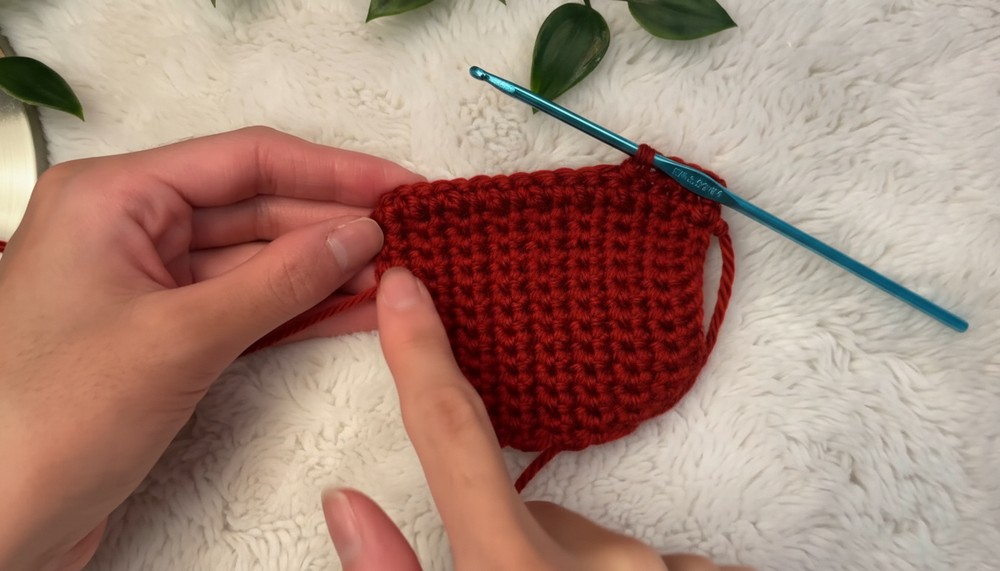
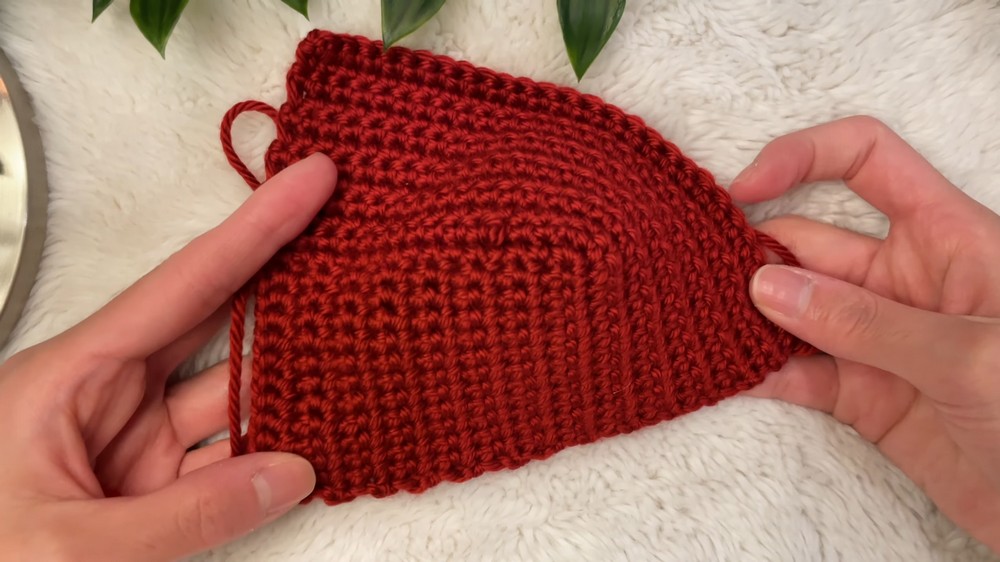
1. Bust Cups
- Use a 3.5mm hook and foundation single crochet to begin.
- Create a rectangle vertically from the base of the breast to nipple (~2 ½ inches for size 32A).
- Single crochet (SC) in each stitch across, chaining 1 and turning at each row.
- Lengthen rectangle horizontally from side of breast to nipple (~3 ½ inches for side coverage).
- Add 3 SC in the last stitch to create cup shape.
- SC evenly down the side edge (no clear stitches, space evenly).
- Continue SC in rows forming an “L” shape until desired cup size is reached for full breast coverage.
- Clean edges with SC along the rough edge.
- Repeat for second bust cup.
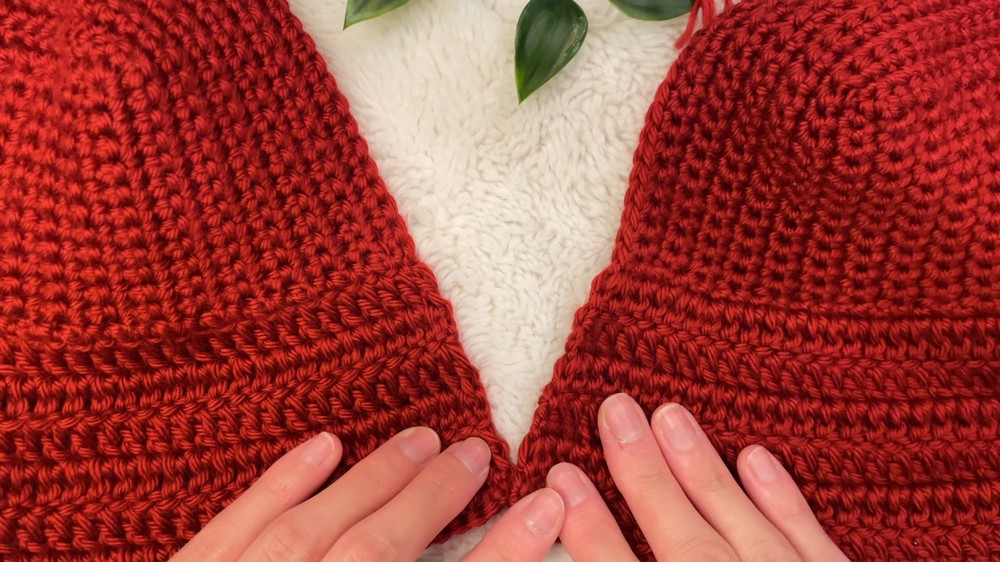
2. Keyhole Front & Bust Panel Assembly
- Using a 3.75mm hook, join bust cups to body:
- Attach to corner stitch above bust cup and slip stitch (SS) along bottom edge to start body of dress.
- Chain 2, then double crochet (DC) across stitches including corner apex to form V-keyhole.
- Alternate increase rows (2 DC in first and last stitch) and normal rows to shape the keyhole and widen dress.
- Work both front panels simultaneously for symmetry.
- Once keyhole size is as desired, SS up slanted sides to clean up edges.
- Join front panels with a chain across bottom of keyhole (~6 chains, adjustable for width) using SS.
3. Body of Dress
- Turn dress inside out; attach hook on side edge.
- Chain 2, then DC across all stitches including SS join from front panels.
- Join ends to create tube for dress body using SS.
- Using stitch markers, increase stitches at hip width evenly by working 2 DC in marked stitches at corners while DC over rest.
- Alternate increase and no increase rows to achieve desired hip measurements (~35 inches for example).
- Remove stitch markers after reaching hip width and continue DC rows until mid-thigh length.
4. Dress Shaping
- For mermaid silhouette, begin decreases by DC 2 stitches together (DC2tog) at sides marked by stitch markers.
- Alternate decrease rows and straight DC rows.
- Count stitches to reach a multiple of 5 for shell stitch hem.
- Continue decreasing until narrowness at hem matches desired style.
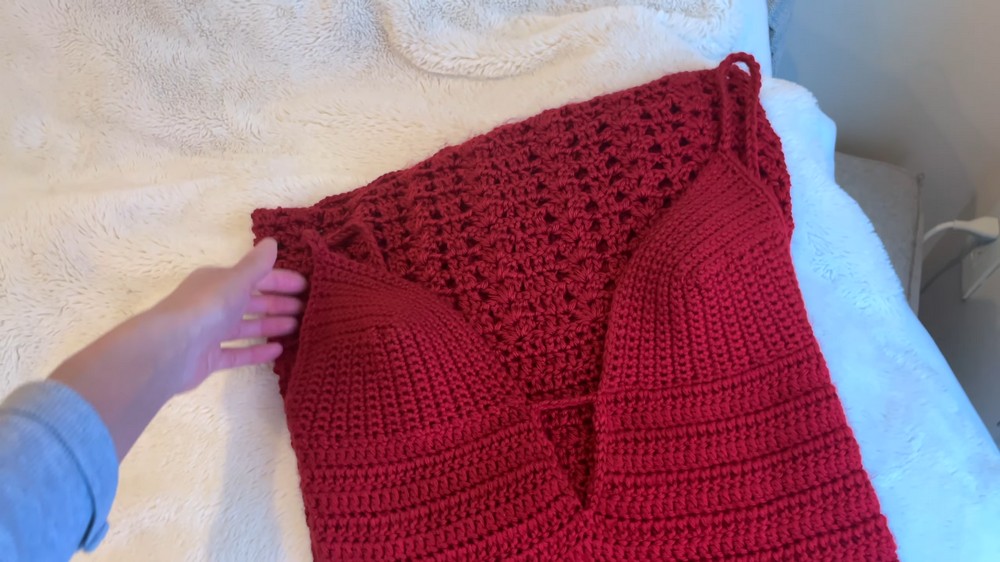
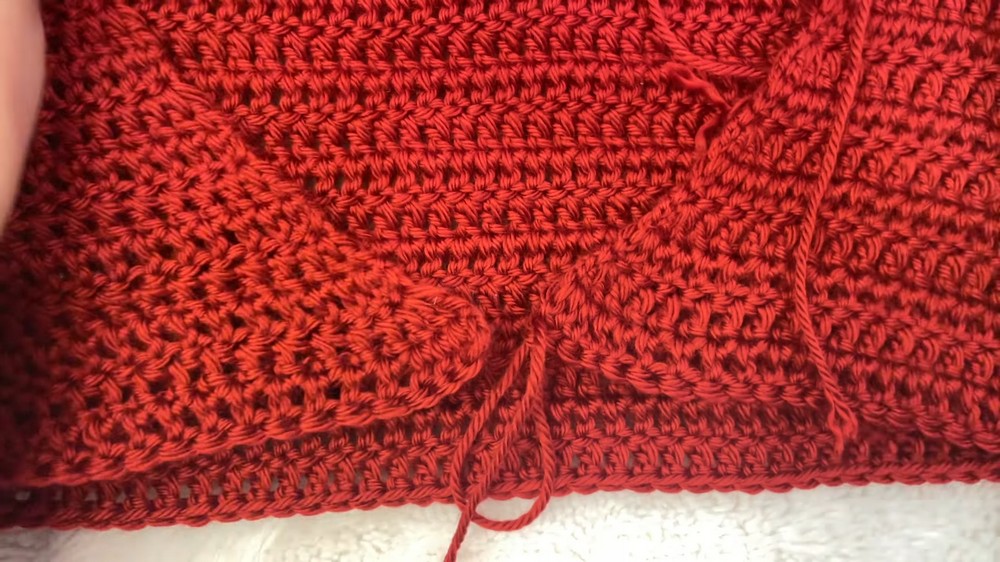
5. Shell Stitch Hem
- Switch to 4.5mm hook for shell stitch.
- Chain 2, skip first 2 stitches, then 2 DC – chain 1 – 2 DC into the next stitch.
- Skip 1 stitch, DC in the next 2 stitches, continue shell pattern to end.
- Join row with SS at first DC.
- For following rows, chain 3 to start, place DC in tops of previous shells, chain 1, make shells centered on previous row’s chain 1 spaces.
- Repeat shell rows (~12 rows or desired length).
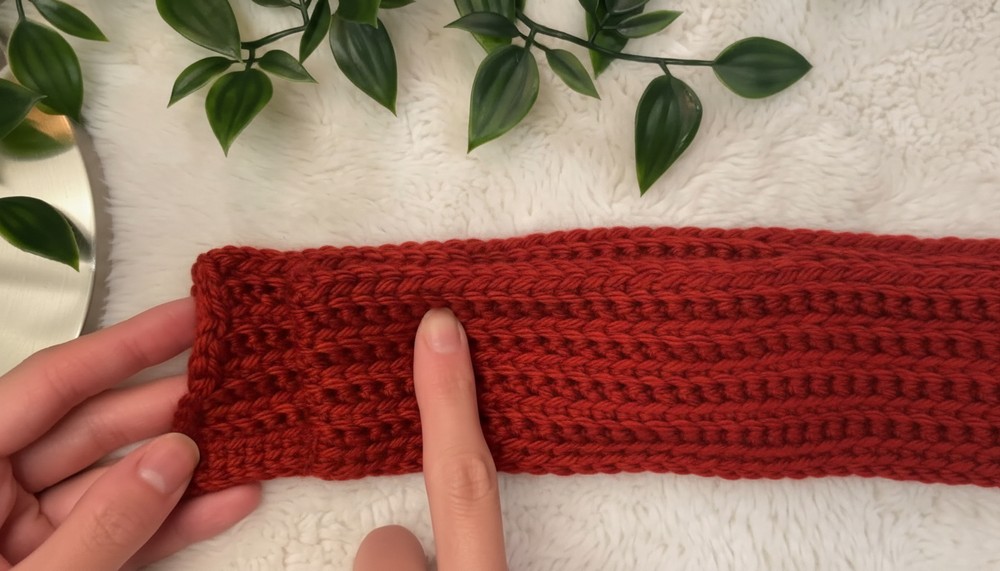
6. Bow
- Using 3.5mm hook and doubled yarn, chain about 50 inches (or desired bow length).
- SC in 2nd chain from hook across entire chain, excluding last stitch.
- Turn and SC in front loops only each stitch, skipping last stitch.
- Turn and SC in back loops only, skipping last stitch. Alternate these rows until ~2 inches width achieved.
- Lightly slip stitch edges to smooth out.
- Fold and sew edges to form bow shape, tie middle with a yarn chain strip wrapped around the center, sew to secure.
- Attach bow at back of dress.
7. Open Back & Straps
- Clean up perimeter of open back edge with SC using 4mm hook for neatness.
- Create straps by chaining desired length, wrap around shoulders and armpit for support, SS to attach on side of bust cups.
- Alternatively, make longer straps for crisscross corset back for extra bust support.
Tutor’s Suggestions
- Adjust measurements to fit your body by holding the work up as you go.
- If you want more coverage, decrease keyhole size or eliminate it by chaining bust cups together and starting dress body underneath.
- Experiment with strap style to balance comfort and support.
- Use stitch markers to keep track of increases/decreases and shaping.
Uses
- Perfect for romantic holiday outings, special events, or summer parties.
- Customizable to personal style and size.
- Can be layered with slip, leggings, or worn alone depending on preference.
Tip
When cleaning up edges with slip stitches or single crochets, use a slightly larger hook to avoid curling and keep edges flexible.
Conclusion
This romantic crochet dress merges beauty, comfort, and personalization in a fun, creative project that grows with your skills. Its special features like the open back, keyhole front, and crocheted bow make it unique and heartwarming to wear. Embrace the joy of handmade fashion with this adaptable pattern perfect for festive and intimate moments alike.
Leave a Reply