
Decorate your holidays with this Crochet Tree Star Pattern offering sparkling details easy design and a festive handmade touch perfect for any Christmas tree.
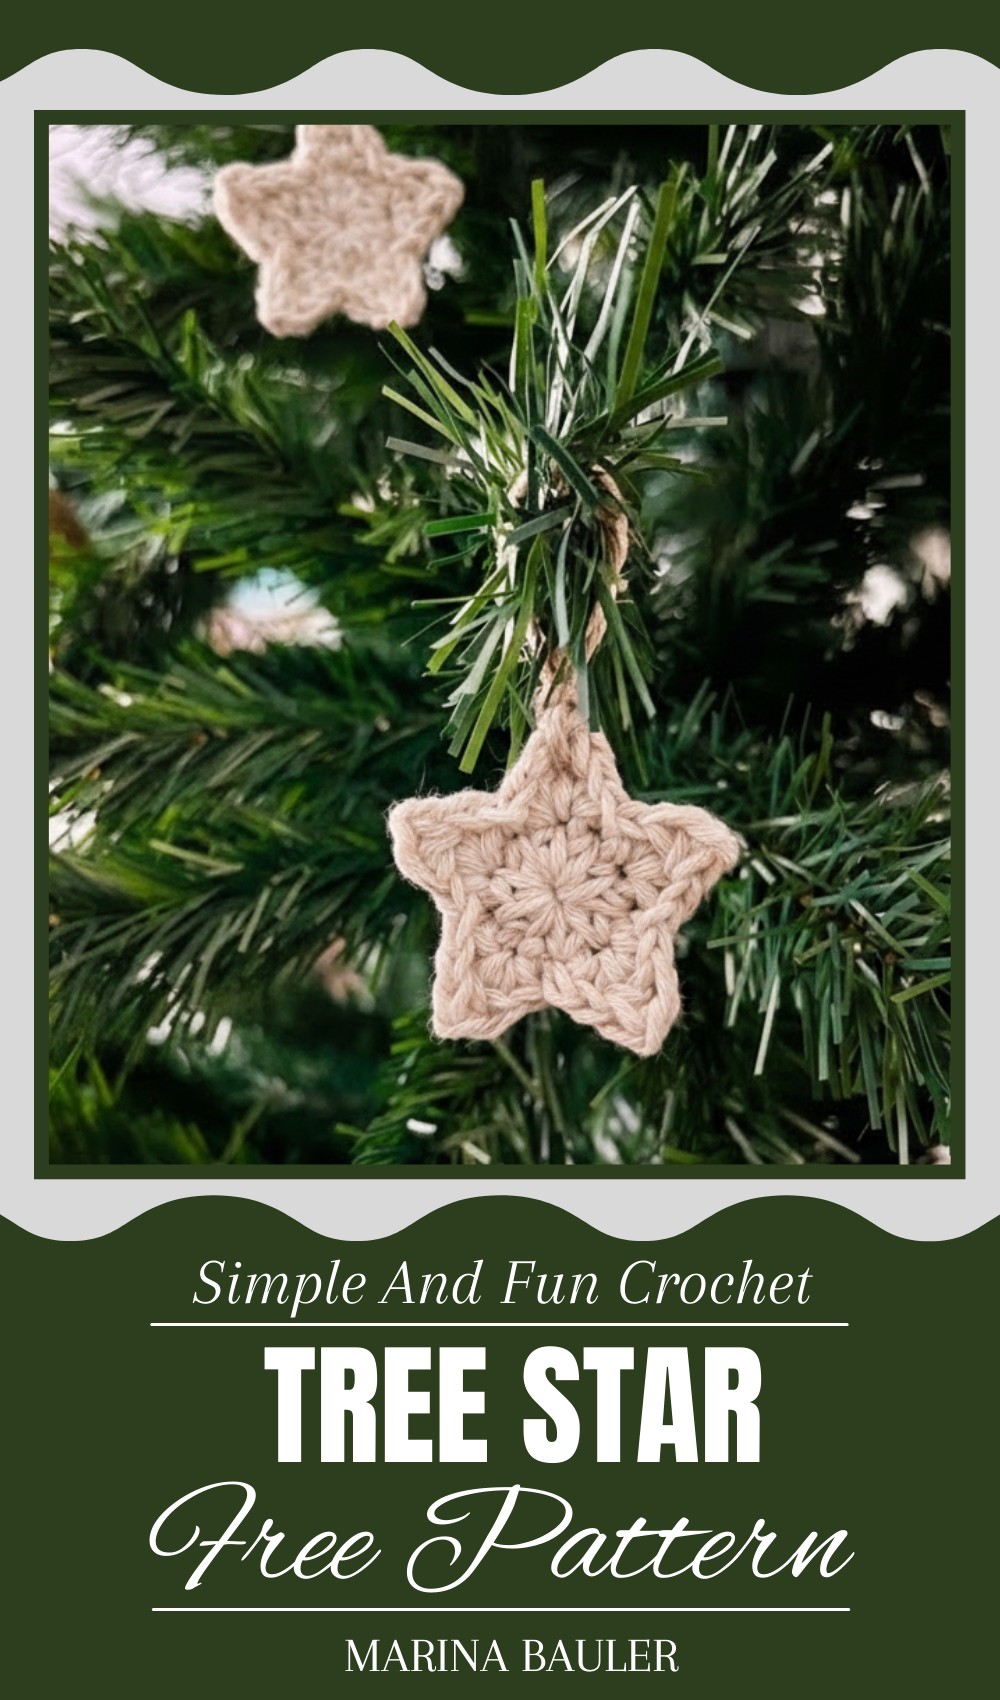
Modern Crochet Tree Star Pattern for Trendy Seasonal Style
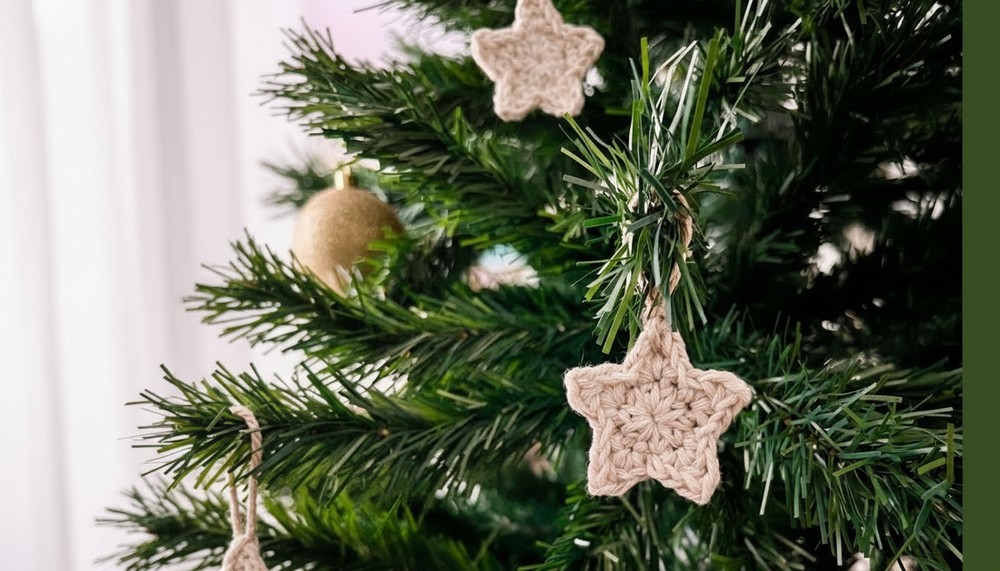
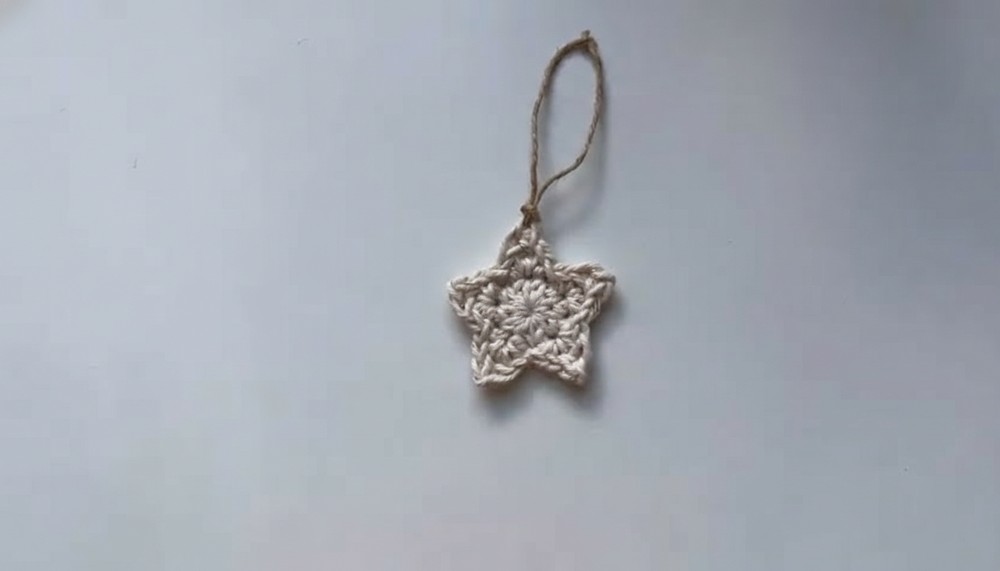
A shining star can make any tree look magical and special! This crochet tree star is soft and lovely, perfect for bringing warmth and joy to your holiday decorations. Made with bright yarn, it sparkles with simple beauty that catches the eye from across the room. Its gentle shape and handmade details show care and love, making your Christmas tree stand out.
Hang it at the top of the tree or use it as a cute gift topper to brighten someone’s day. Lightweight and easy to handle, this star adds a fun and happy touch to your home during the festive season. It’s not just decoration—it’s a cheerful symbol that brings smiles and good feelings. Easy to make and use, this crochet tree star will be a favorite holiday treasure year after year.
Crochet Star Ornament Pattern
Materials Needed
- Baroque Number 6 yarn (or similar medium weight yarn)
- Metallic gold thread (optional, worked together with yarn for sparkle)
- Size 5 crochet needle (adjust needle size according to yarn/thread thickness)
- Smaller needle (approx. 3 mm) for finishing touches
- Scissors
- Tapestry needle
- Stitch marker (optional for marking rounds)
- Thin string or twine for hanging (e.g., rami or jute string)
Special Features
- Work with two threads (yarn + metallic thread) held together for shimmer
- Magic circle foundation for neat starting center
- 5 pointed star created with combination of single crochet, double crochet, and slip stitch
- Subtle texture and shaping using front loops and inserts
- Easy finishing with woven-in ends and hanging loop
Difficulty Level
Beginner to Intermediate — requires knowledge of magic circle, single crochet (sc), double crochet (dc), slip stitch (sl st), and working in rounds.
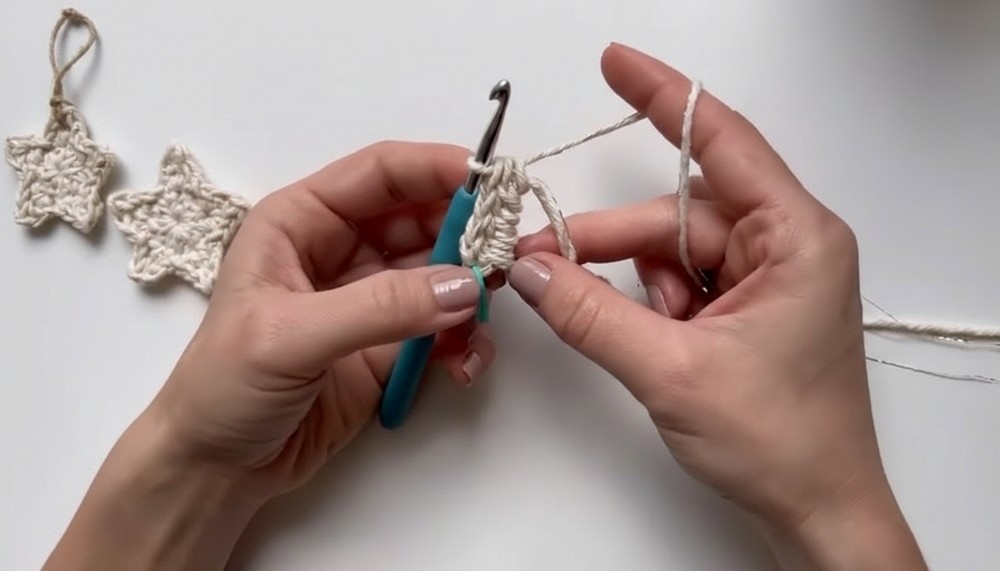
Step-by-Step Pattern
Magic Circle Foundation
- Hold Baroque yarn and metallic gold thread together.
- Create a magic circle with both threads.
- Chain 2 (counts as first double crochet).
- Work 9 more double crochet (dc) stitches into the magic circle. Total 10 dc including initial chains.
- Pull the circle tight to close the center. Use a stitch marker here if desired.
- Slip stitch into the base of the beginning chain 2 to close the round.
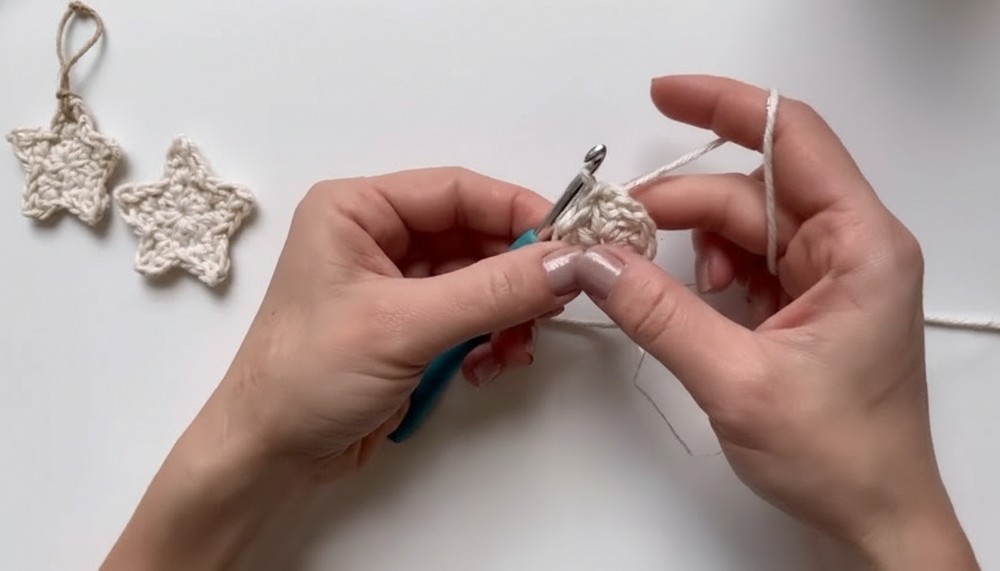
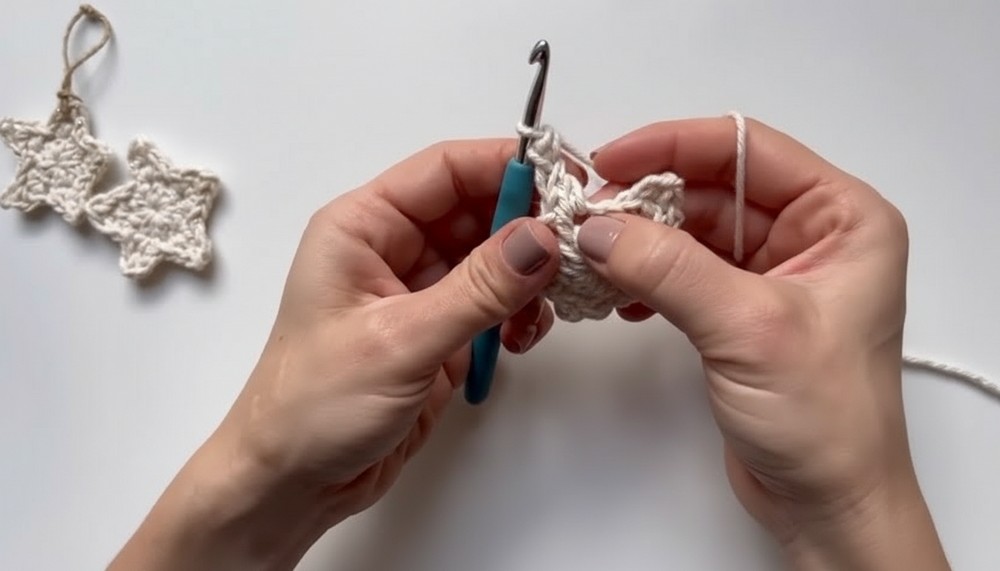
Forming the Five Points of the Star
For each star point (repeat 5 times):
- Insert needle into the next stitch of the circle, picking up both loops, work 1 single crochet (sc).
- In the same stitch, work 1 double crochet (dc).
- Chain 1.
- Insert needle into the space formed by the chain of the previous round (or the indicated two loops at the tip), pull yarn through, and make 1 single crochet (sc) to close the point.
- Return to base stitch of the star point and work 1 single crochet (sc).
Repeat these steps for all five points around the circle.
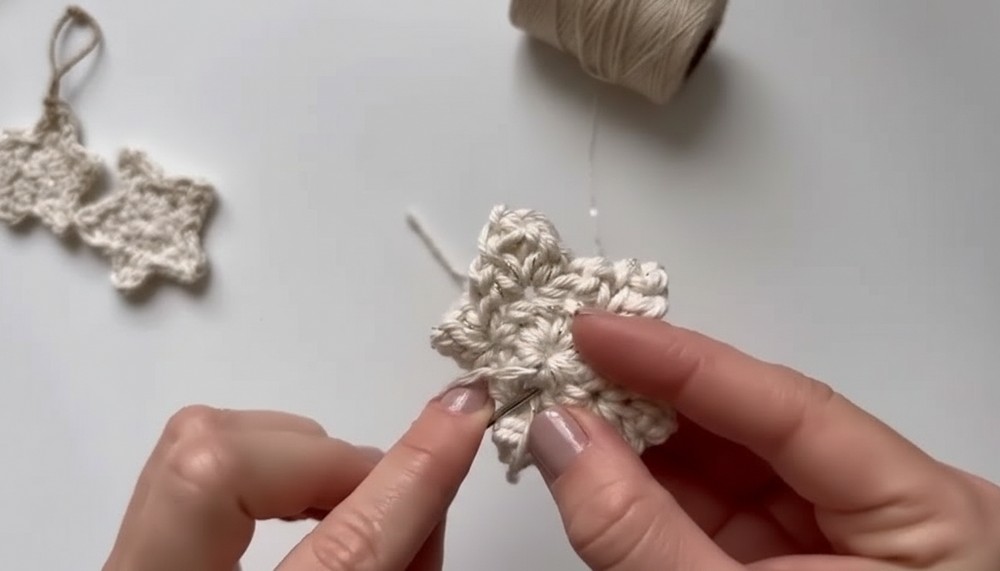
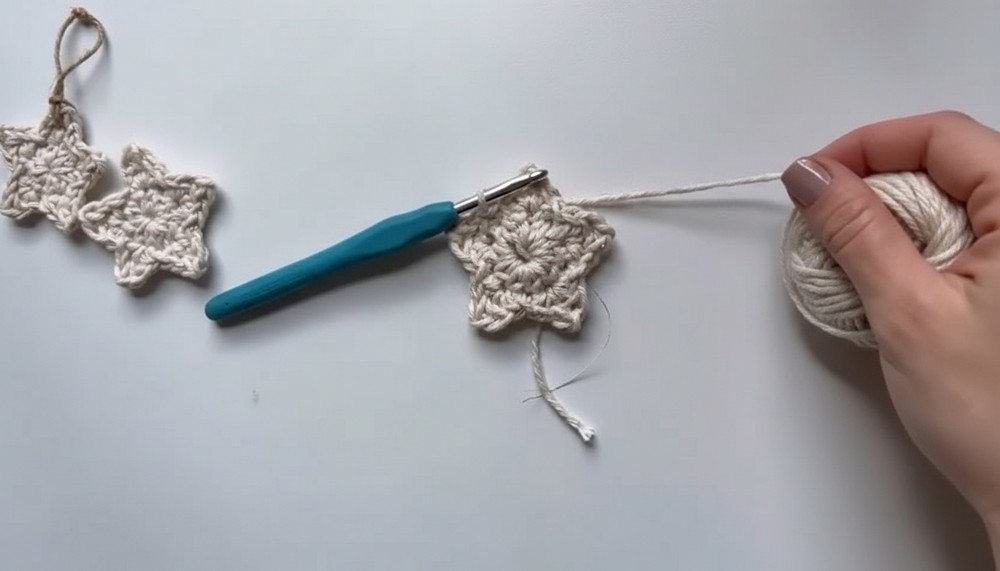
Finishing the Star
- Cut yarn leaving a tail for finishing.
- Use a smaller 3 mm needle to weave the tail securely through the back of the star, pulling gently to close any remaining openings in the center.
- Open the yarn tail slightly, thread it onto the needle, and weave it through to hide the end inside the star body.
- Tie three small knots to secure and trim excess yarn.
- Optional: Add a drop of glue on knots for durability.
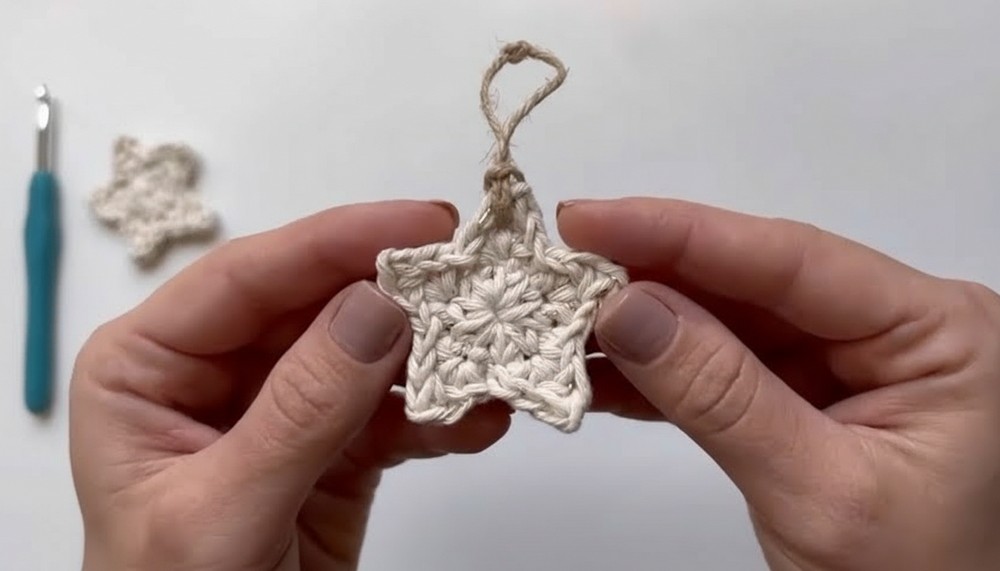
Adding the Hanging String
- Use a piece of thin string (rami, twine, jute, or metallic string).
- Tie a small knot to form a loop. Cut excess string.
- Using a tapestry needle, thread one end of loop through the top tip of the star only.
- Secure the string inside the star by weaving the needle through a few stitches to prevent slipping.
- The string forms a neat hanger for your ornament.
Tutor’s Suggestions
- Use metallic thread held with yarn for a subtle sparkle. Alternatively, use just yarn for a matte finish.
- Adjust needle size according to yarn thickness for best tension and stitch definition.
- Ensure the magic circle is closed tightly for a neat star center.
- Be gentle when tightening the yarn at the end to avoid distorting the star points.
- Handmade stars can be made in various sizes by adjusting yarn weight and needle size.
Tip
For a sturdier star, weave the yarn tails inside multiple times to reinforce the points and center, making it hold shape longer when hanging or handling.
Conclusion
This crochet star ornament is a charming, versatile decoration perfect for holiday trees or as part of seasonal decor. Its sparkle and shape combine basic stitches with lovely texture, making it a rewarding quick project.
Leave a Reply