
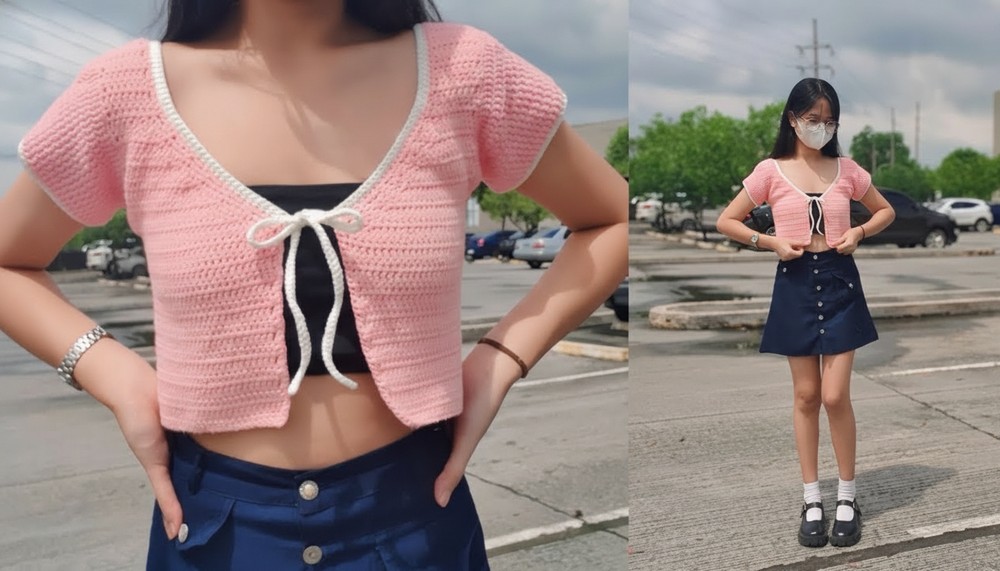
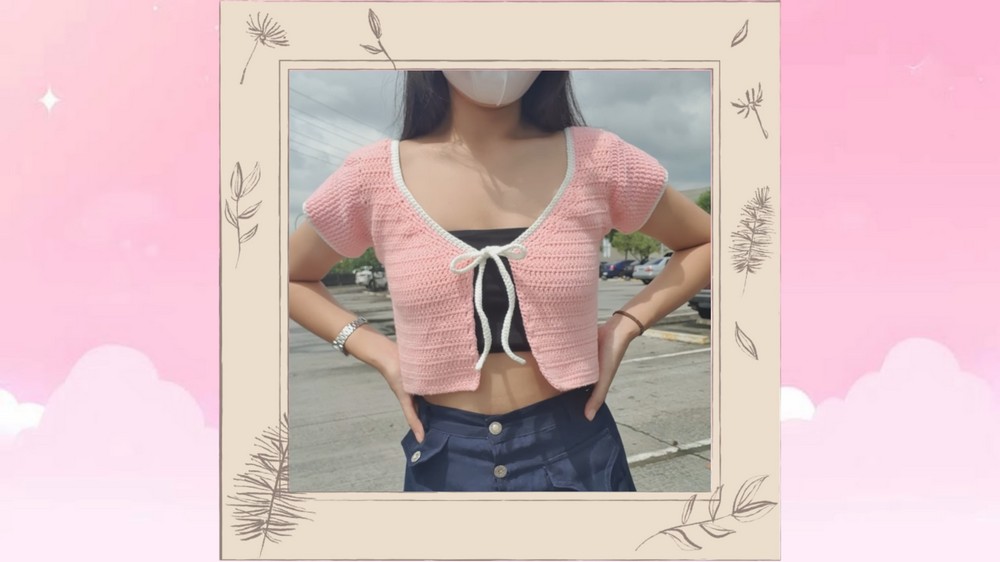
Stitch a fresh look with this Crochet Front Tie Top Pattern featuring simple steps, cute ties, and a relaxed vibe for warm weather wear by hand today.
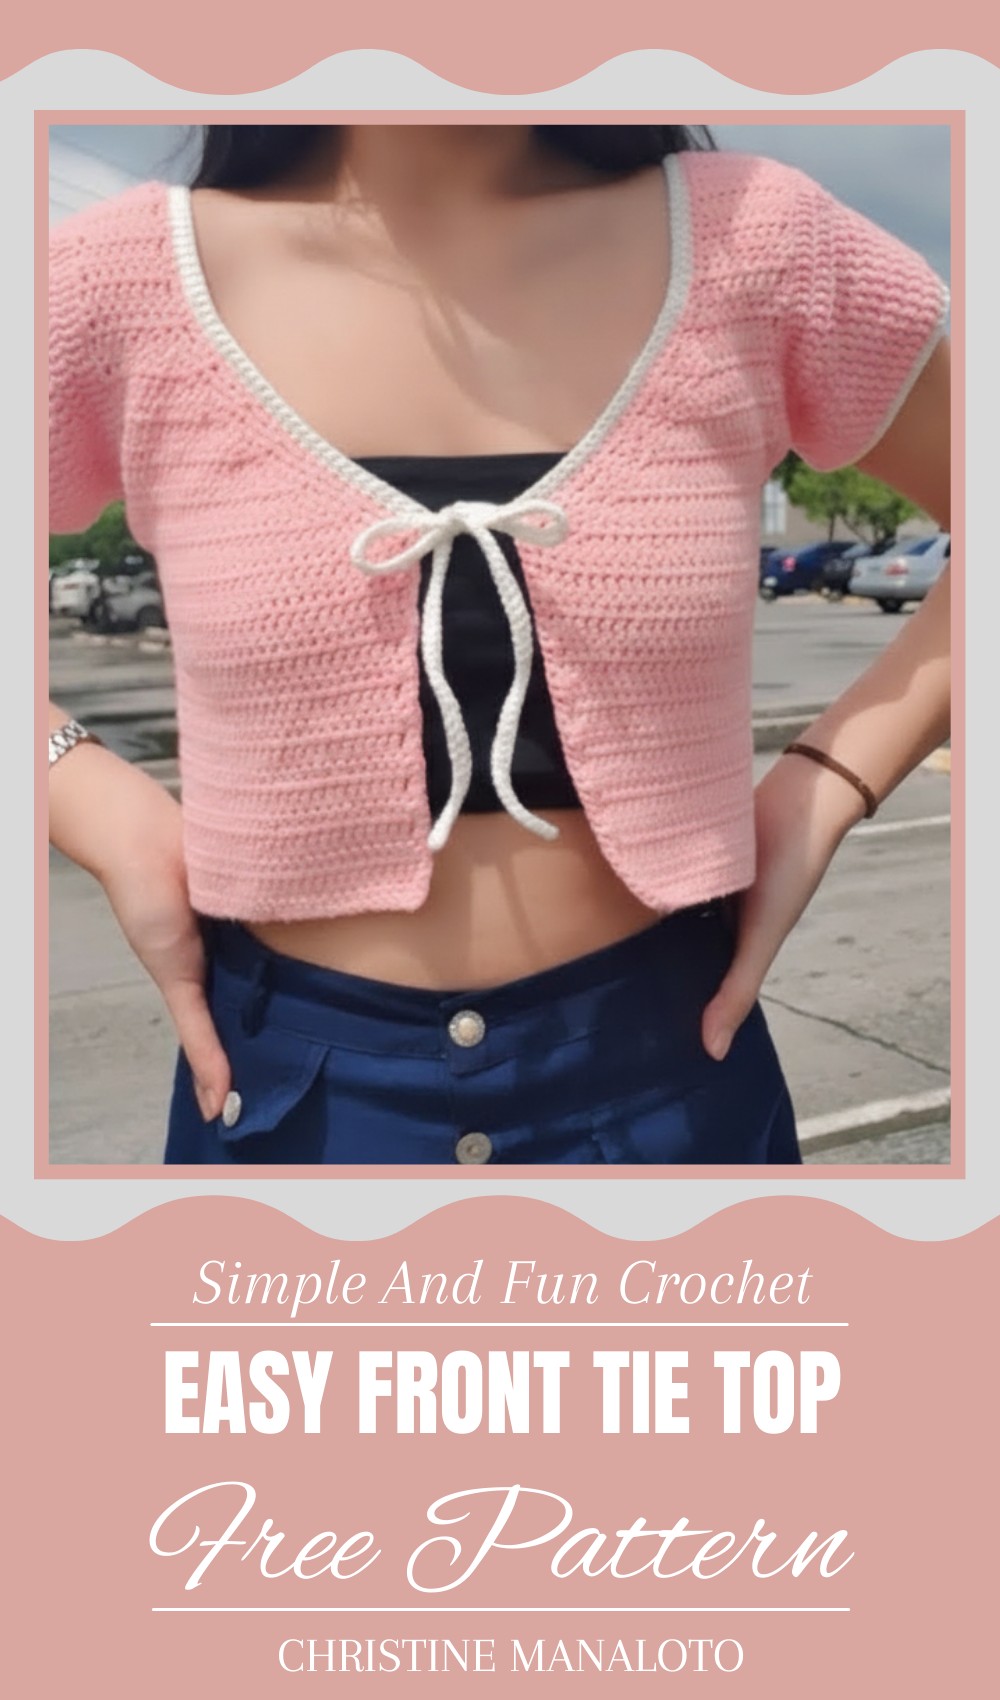
Neat Crochet Front Tie Top Pattern for Custom Fit Options
Looking for a fun and stylish top that you can make yourself? This front tie top is a simple and beautiful piece that anyone can enjoy creating. It features a lovely texture with neat stitches that make it unique and eye-catching. The front tie adds a playful touch while letting you adjust the fit just how you like it, making it perfect for all body types.

Whether you want to wear it on a sunny day or dress it up for a casual outing, this top is light, comfortable, and trendy. Its design is both elegant and relaxed, so it pairs well with skirts, shorts, or jeans. Plus, it’s great for all seasons because you can layer it or wear it on its own. Making this top is a great way to express creativity and have a special handmade outfit that stands out wherever you go.
Jewels Front Tie Top Crochet Pattern
Special Features
- Sleek fitted design with shaping decreases on front panel
- Adjustable width and length of back panel to fit your size
- Separate front panels for tailored fit and front tie closure
- Comfortable sleeves with subtle decreases for shaping
- Easy color change detail on sleeves for stylish contrast
Difficulty Level
Intermediate — Requires knowledge of double crochet (dc), decreases, working in rows and rounds, joining panels via loops, slip stitches, and color changes.
Materials Needed
- Yarn of choice
- Crochet hook suitable for yarn (e.g., 4mm or 5mm)
- Stitch markers
- Scissors
- Yarn needle
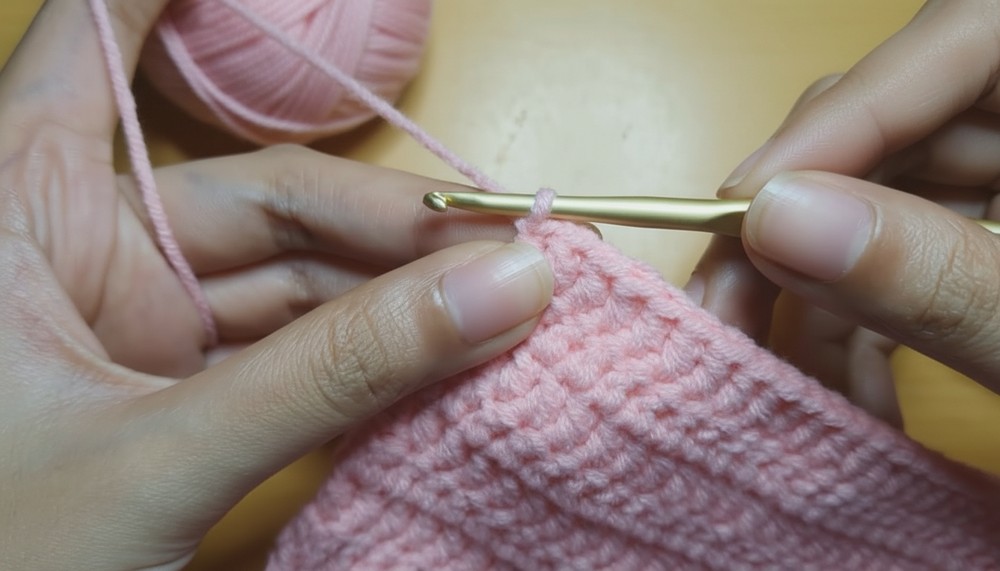
Step-by-Step Crochet Pattern
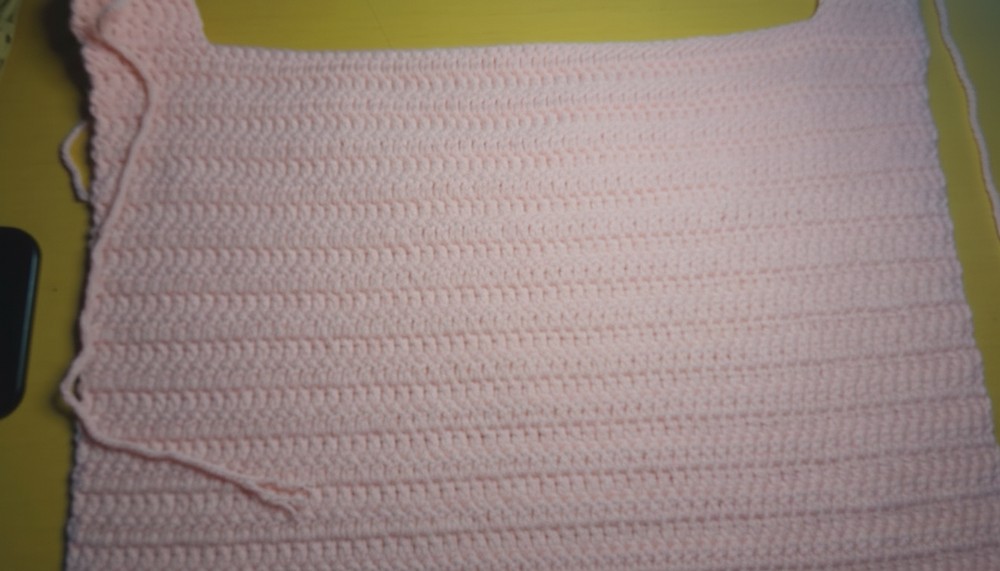
BACK PANEL
Foundation Chain:
- Make a slip knot, chain 67 (adjust this chain for your back panel desired width).
Row 1:
2. Dc in 2nd chain from hook, then dc in each remaining chain (Total 66 dc).
- Turn.
Rows 2 to 32:
4. Chain 2, turn, dc in every stitch across — keep 66 dc per row consistently.
- Count your stitches at the end of each row to avoid accidental increases or decreases.
- Repeat this step until you have completed 32 rows.
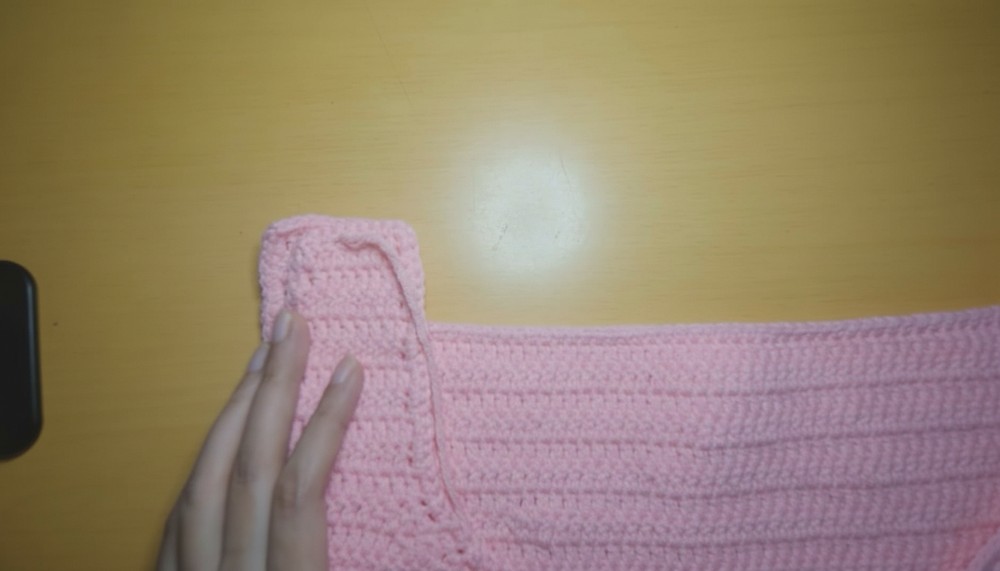
ADDITIONAL ROWS ON BACK PANEL SIDES
Rows 33 to 36:
7. Attach yarn at very first stitch of the row.
- Chain 2 (does not count as dc), dc in the first stitch, then continue dc for 8 stitches.
- Turn your work.
- Chain 2, dc in every stitch across (8 stitches).
- Repeat this for 4 rows total to add side panels for shaping.
- Repeat the same additional rows on opposite side of back panel.
- Chain 1 and fasten off.
FRONT PANELS (Make 2 identical)
Foundation Chain:
- Make a slip knot, chain 34 (half the width of back panel).
Row 1:
2. Dc in 2nd chain from hook, then dc in each remaining chain (Total 33 dc).
- Turn.
Rows 2 to 16:
4. Chain 2, turn, dc in every stitch across (maintain 33 dc).
Rows 17 to 28 (Decreases for shaping):
5. Chain 2, turn, dc in first stitch.
- Make two decreases per row:
- Row 17: dc2tog twice near start of row (2 double crochet together = 1 decrease).
- Continue dc across remaining stitches, finish with dc on last stitch.
- Row 18: dc across until 5 stitches left, make two decreases within last 5 stitches, dc last stitch.
- Alternate rows 17 and 18 until you complete 28th row, reducing total stitches gradually.

Rows 29 to 32:
9. Work 4 rows of dc with no decreases (maintain shape).
ADDITIONAL ROWS ON FRONT PANEL SIDES
Rows 33 to 40:
10. Work 8 rows of dc (same as back panel) on sides to match shaping.
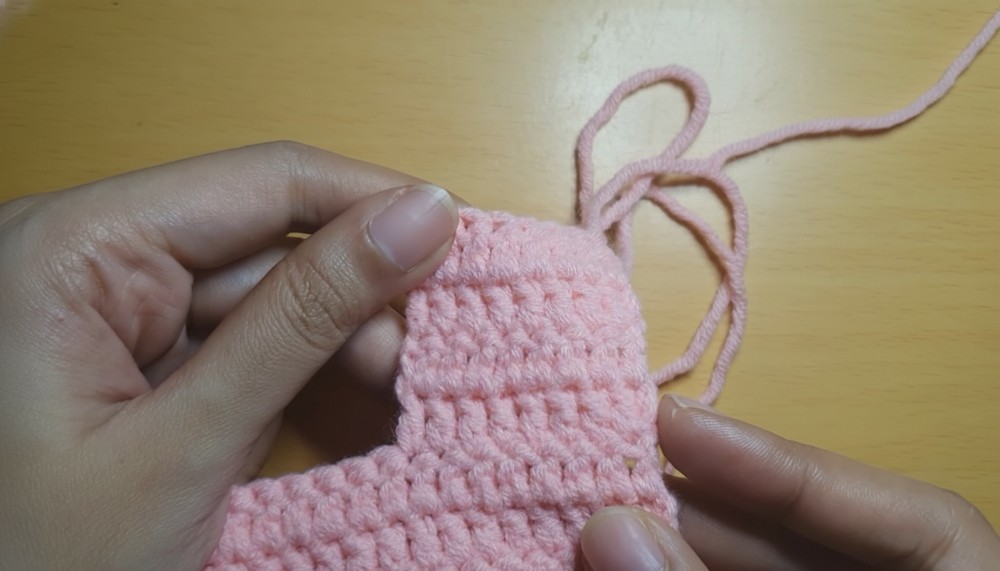
EDGING
Edging around Front and Back Panels:
- Attach yarn at corner of panel.
- Chain 1, work 2 single crochet (sc) stitches per row of dc along edge.
- When you reach corner, chain 1, turn, and sc back across stitches in single crochet.
- Repeat for back panel edges.
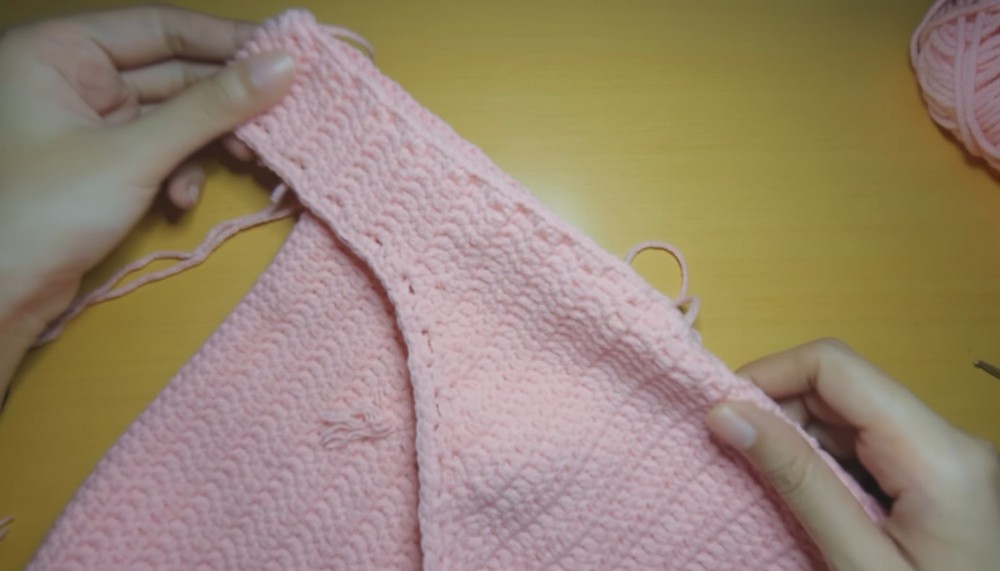
JOINING PANELS
Attach Front to Back:
- Using yarn needle, join panels by crocheting through back loops of front panel and front loops of back panel with sc.
- Chain 1, sc along edge until corner, fasten off.
Attach Side Seams:
3. Join side seams by using same technique (front and back loops sc).
- Chain 1 and fasten off.
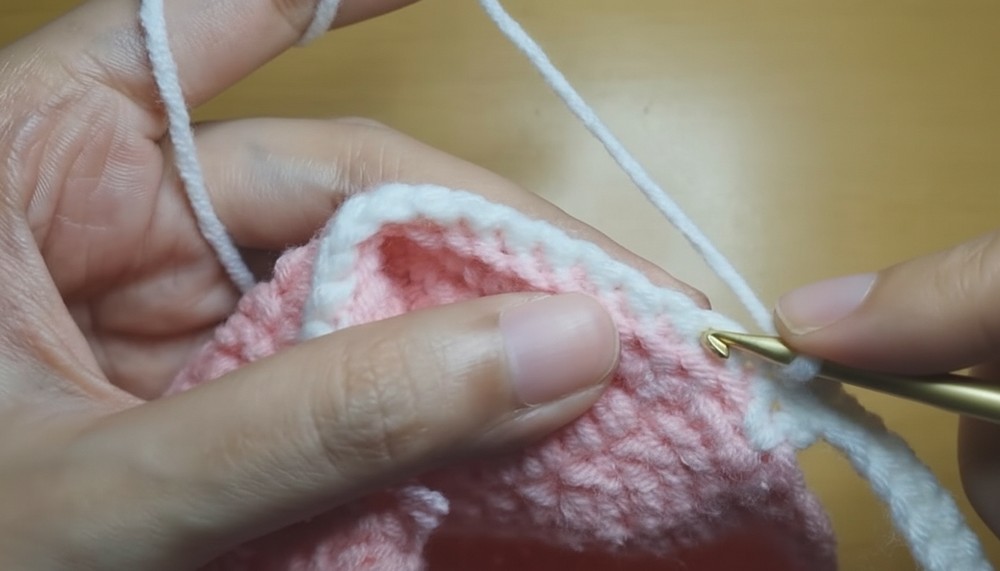
SLEEVES (Make 2)
Round 1:
- Attach yarn on joined seam loops, chain 2 (counts as first dc).
- Dc in every stitch around armhole until you reach starting point (35 stitches).
- Slip stitch to first dc to join.
Round 2:
4. Chain 2, make decrease (dc2tog) then 1 dc, repeat 4 times total.
- Dc in next 17 stitches.
- Make 8 sets of (1 dc, dc2tog) decreasing again.
- Dc in remaining stitches until end of round (35 stitches total).
- Slip stitch to first decrease.
Rounds 3 and 4:
9. Repeat decreases near decreases from previous round following pattern until sleeve tapers.
Rounds 5 to 9:
10. Work plain dc rounds without decreases.
- On last round (9), change to milky white yarn, make sc around.
- Slip stitch, chain 1, fasten off.
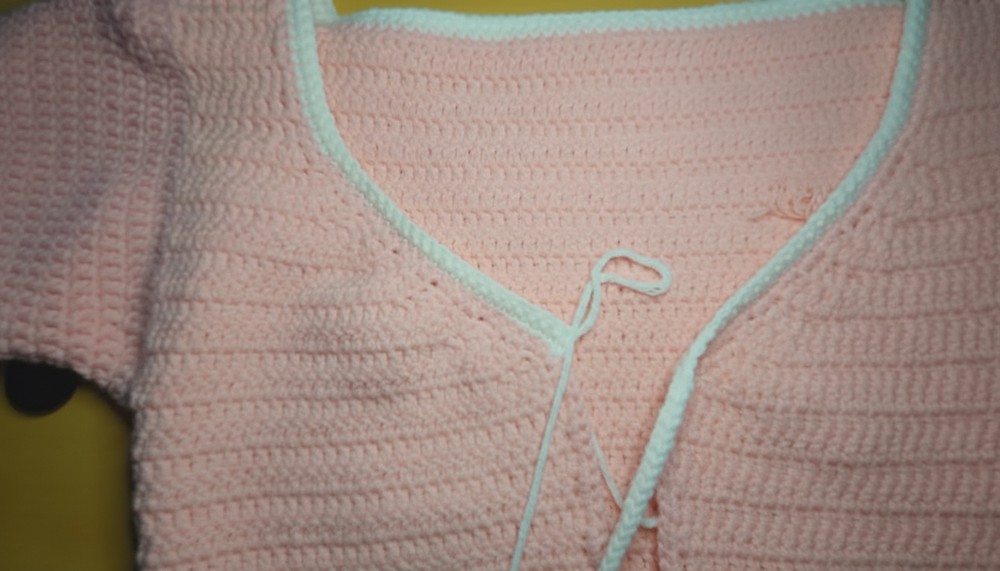
EDGING AND TIE
Attach yarn at chain-1 corner:
- Chain 1, sc across edge to opposite chain-1 corner.
- Chain 80 (or desired length for tie), slip stitch in 2nd chain from hook and slip stitch across chain to end.
- Turn, sc across tie length, fasten off.
- Repeat for second tie.
Tutor’s Suggestions
- Always count stitches per row to maintain consistent stitch count.
- Adjust foundation chains for fit customization.
- Use stitch markers to track decrease rows and stitches.
- For clean joins, crochet through specified loops (front or back) as instructed.
- Customize tie length based on personal preference.
Uses
- Casual stylish crop top perfect for summer or layering.
- Adjustable sizing for comfort and flattering fit.
- Great handmade gift or wardrobe staple.
Helpful Tip
Make sure your decreases are balanced on each side of the front panel to achieve a symmetrical, flattering fit. Maintain even tension during color changes for smooth, professional finishes.
Conclusion
You have now completed your beautiful Jewels Front Tie Top featuring custom shaping, neat finishes, and adjustable ties. This project is a wonderful addition to your crochet skills and wardrobe — perfect for effortless style.
Leave a Reply