
Bring joy to any space with this Crochet Bear Amigurumi Pattern full of charm playful style and a tiny friend that sparks smiles for all ages.
Fun Crochet Bear Amigurumi Pattern With Easy-to-Follow Steps
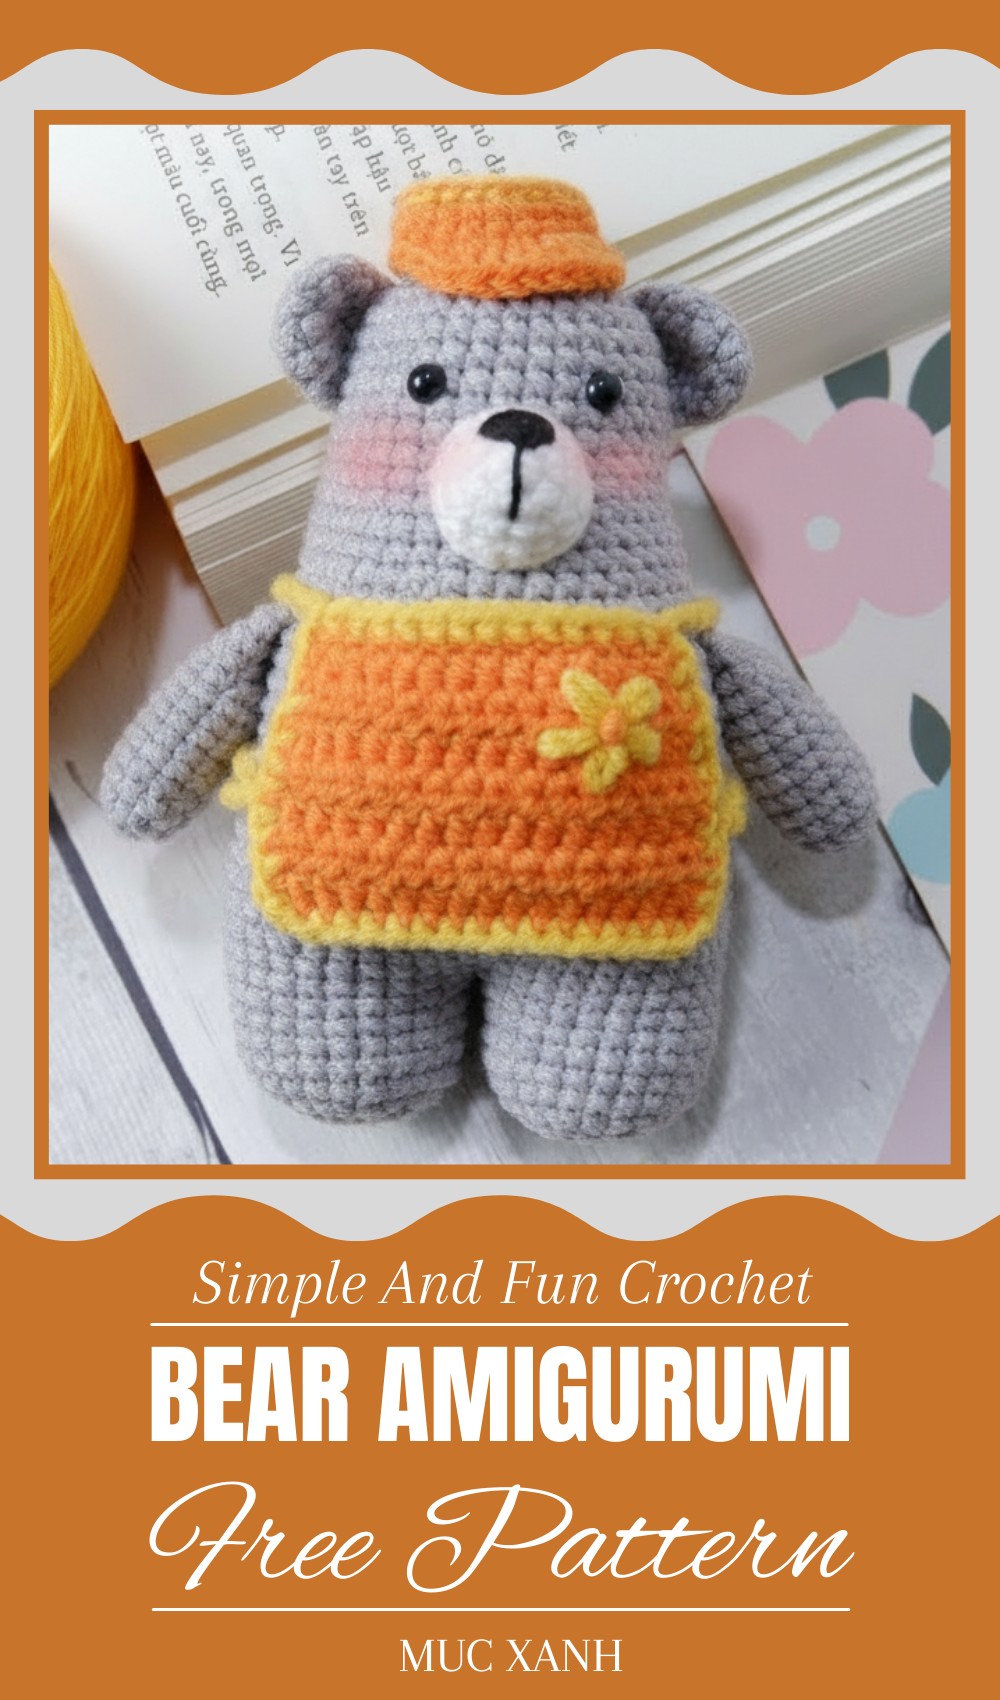
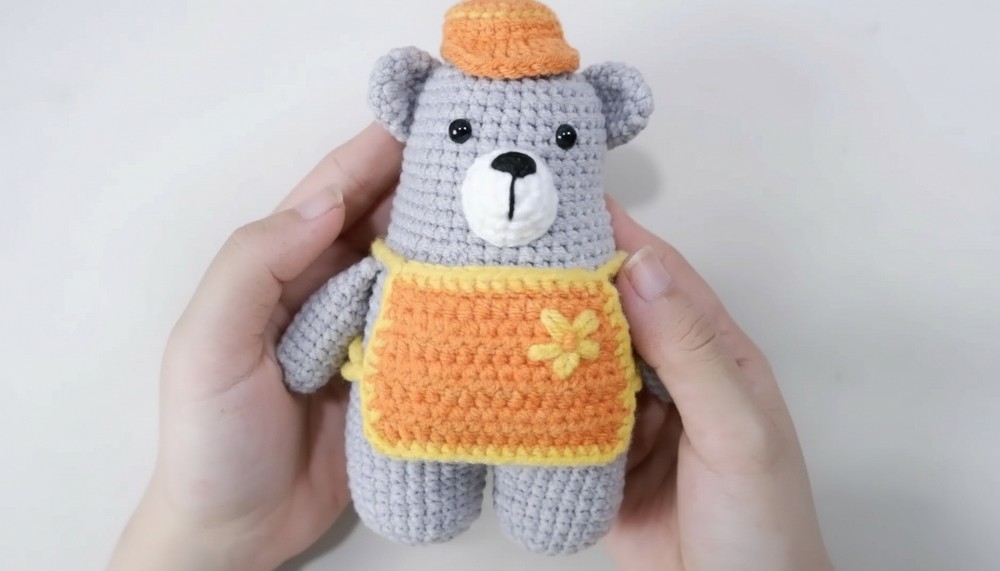
This crochet bear amigurumi pattern offers a fun and achievable project for beginners looking to dive into the world of handmade. The finished bear is irresistibly cute, featuring soft rounded shapes, small ears, and a sweet facial expression that instantly brings warmth and comfort. Its simplicity allows you to customize colors and add personal touches, making each bear unique and special.
Perfect as a decorative piece, a child’s toy, or a heartfelt gift, this amigurumi bear combines charm with practical crochet skills. The pattern guides you step-by-step through basic stitches, making it easy to follow even if you’re new to crochet. Creating this bear not only develops your crocheting abilities but also results in a delightful handmade treasure that adds coziness and personality to any room.
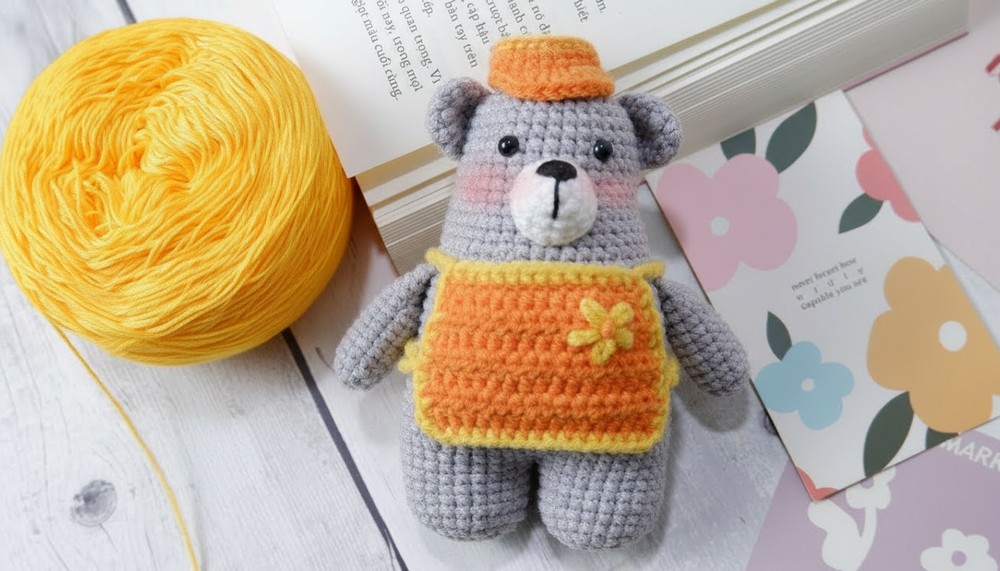
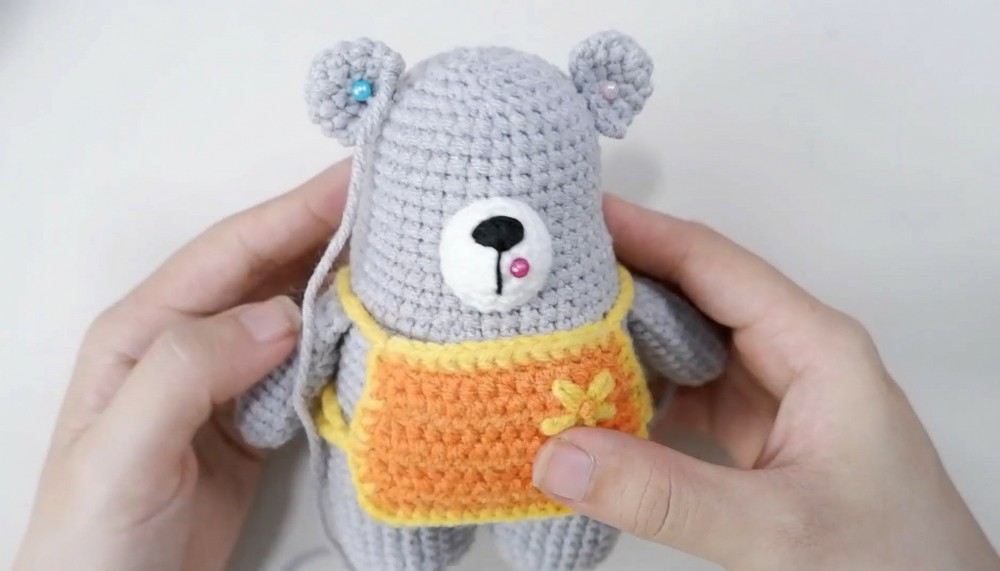
Crochet Teddy Bear with Necklace Pattern
Special Features
- Uses simple stitches: single crochet, slip stitch, half-double crochet, and double crochet stitches.
- Includes detailed shaping by increasing and decreasing stitches for a 3D effect.
- Comes with accessories: hat and necklace.
- Amigurumi style, great for gifts or decorations.
Skill Level
- Beginner to intermediate. Basic crochet stitches and techniques are used, but some shaping and assembly require careful attention.
Materials Needed
- Yarn in various colors (gray for the body, orange for the hat, colored details for nose and necklace)
- Crochet hook suitable for your yarn
- Stuffing (cotton or fiberfill)
- Yarn needle
- Scissors
- Optional: glue for securing small parts
Step-by-Step Pattern
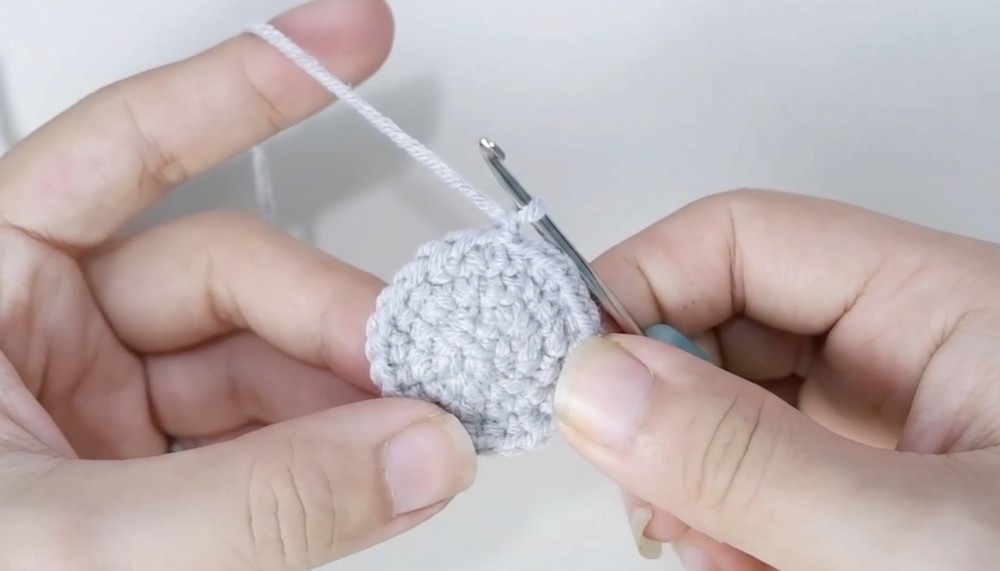
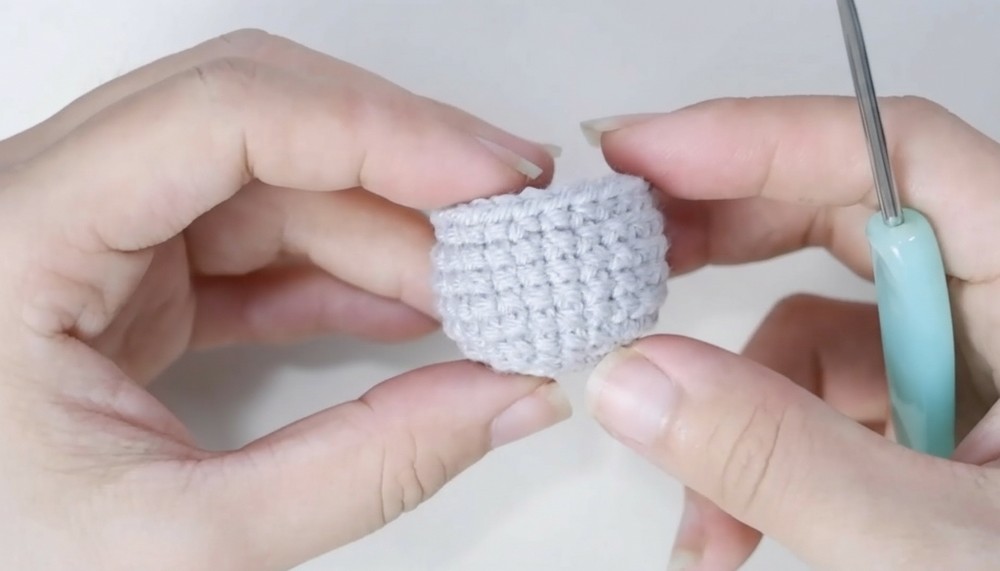
Legs and Body
- Start with Magic Circle: Using gray yarn, crochet 6 single crochets (sc) into the magic circle.
- Row 2: Increase by working 2 sc in each stitch around (total 12 sts).
- Row 3: Increase evenly by adding 6 stitches (total 18 sts).
- Row 4: Increase to total 24 single crochet stitches.
- Rows 5-9: Crochet 24 sc per row without increases.
- Finish the first leg: Fasten off, hide yarn ends.
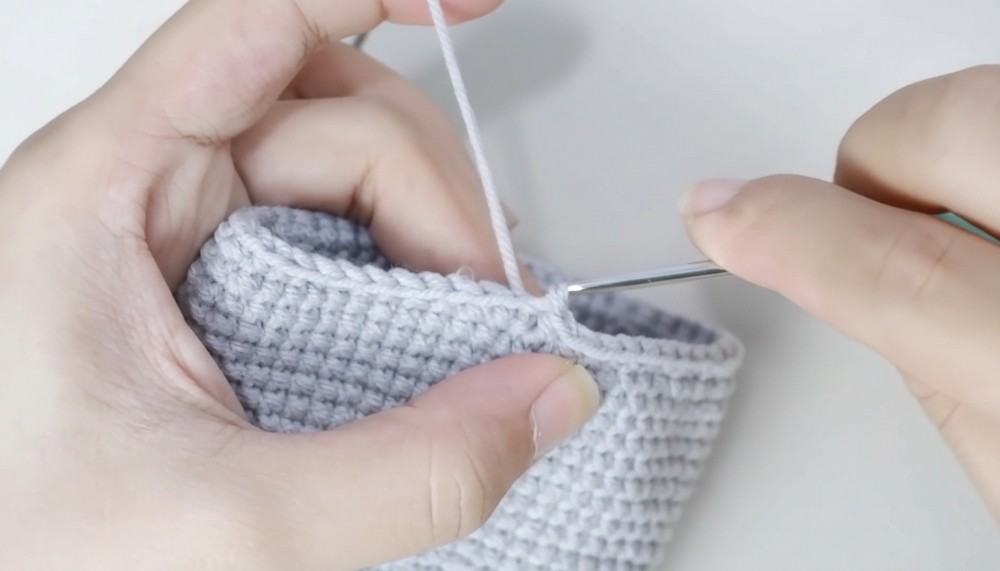
- Repeat for the second leg: Do not fasten off, instead join to first leg and continue crocheting the body.
- Row 10: Crochet 48 sc to connect legs and form the base of the body.
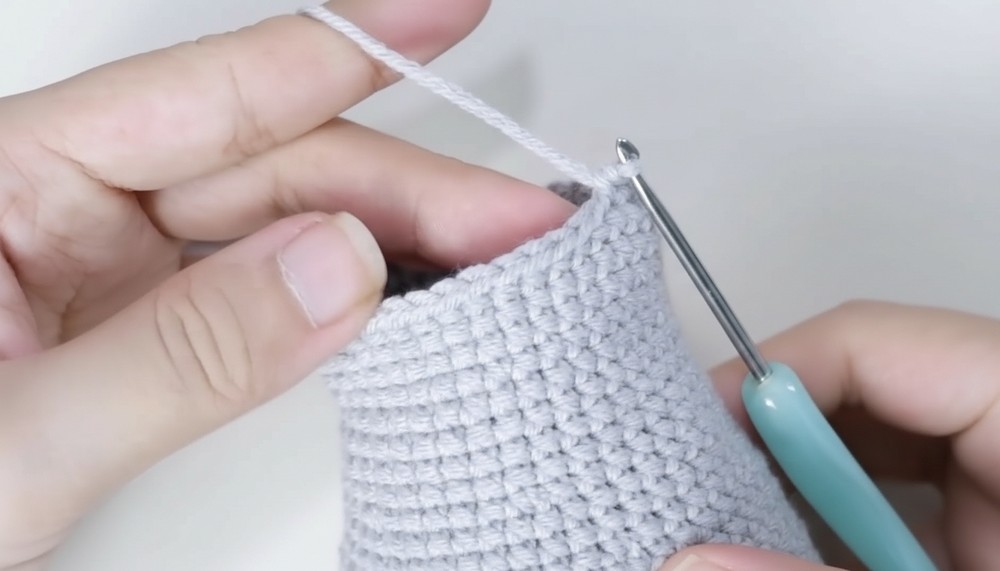
- Rows 11-22: Continue crocheting 48 sc per row without increases.
- Row 23: Begin decreasing by alternating 7 sc, 1 decrease stitch, repeated around (48 sts).
- Rows 24-26: Work 48 sc per row.
- Row 27: Decrease to 42 sc using pattern of 3 sc, 1 decrease, repeated.
- Rows 28-29: Crochet 42 sc.
- Row 30: Decrease to 36 sc with 5 sc, 1 decrease sequence.
- Rows 31-38: Crochet 36 sc per row.
- Row 39: Decrease to 30 sc using 2 sc stitches and decreases.
- Row 40: Decrease to 24 sc using 3 sc and decreases.
- Row 41: Decrease to 18 sc with alternating single crochet and decreases.
- Row 42: Decrease to 12 sc.
- Finish off and stuff: Add stuffing as you finish row 38 and toward the top rows.
Arms
- Use gray yarn.
- Crochet base chain and work single crochets, following similar increase and decrease pattern (refer to video for specifics).
- Stuff lightly when reaching row 12.
- Fold arm and join edges with 6 sc.
- Make two arms.

Ears
- Crochet ears using gray yarn following the pattern shown in the video.
- Make two ears.
Nose
- Using white yarn, crochet nose rounds with increases.
- Attach black yarn for nose tip details.
- Finish and hide yarn ends.
Hat
- Use orange yarn.
- Start with magic circle of 8 sc.
- Increase rows: 16 sc (row 2), 24 sc (row 3), then maintain 24 sc.
- Work hat brim with gold or matching yarn using sc.
- Finish off and attach.
Necklace (Miscellaneous Part)
- Use brightly colored yarn.
- Crochet chains and half-double crochet stitches according to the video instructions to create the necklace.
- Attach small flower details for extra charm.
Assembly
- Sew arms on sides of the body between rows 24 and 25.
- Attach ears on sides of the head.
- Sew nose in place.
- Glue on eyes securely.
- Attach the hat carefully with glue or by sewing.
- Finish necklace around the neck.
Tutor’s Suggestions
- Follow stitch counts carefully to maintain shape.
- Stuff firmly but not too tight to keep form.
- Take your time assembling parts; neat sewing enhances overall look.
- Use yarn needle for hidden joins and weaving ends.
Uses
- Perfect as a sweet gift for children or friends.
- Lovely decorative piece for nursery or living room.
- Great practice project for beginner crocheters developing amigurumi skills.
Tip for Beginners
Keep stitch markers handy to mark the start of rounds—it will help you keep track of stitch counts and avoid mistakes during increases and decreases.
Conclusion
This crochet teddy bear project offers a delightful introduction to amigurumi, mixing simple techniques with engaging shaping. Following the detailed steps, beginners gain confidence while creating a charming and colorful bear complete with accessories.
Leave a Reply