
Honor milestones with this Crochet Graduation Pig Amigurumi Pattern featuring whimsical design charming details and a delightful keepsake to treasure forever.
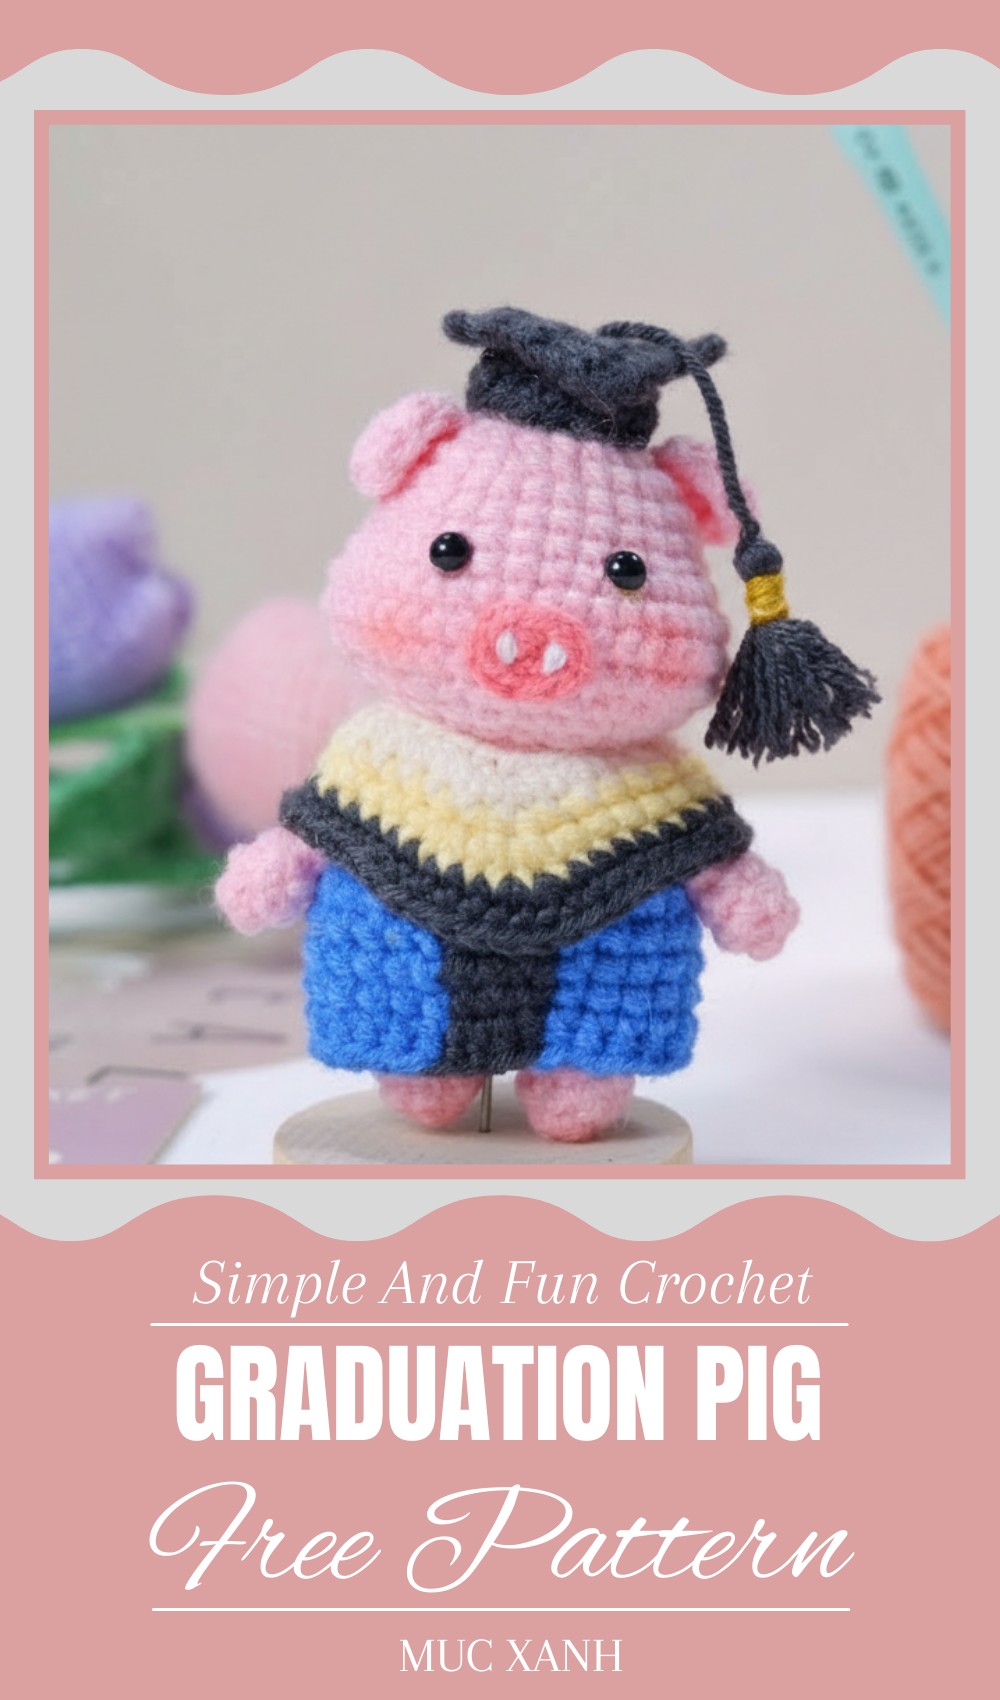
Crochet Graduation Pig Amigurumi Pattern for Personalized Keepsakes
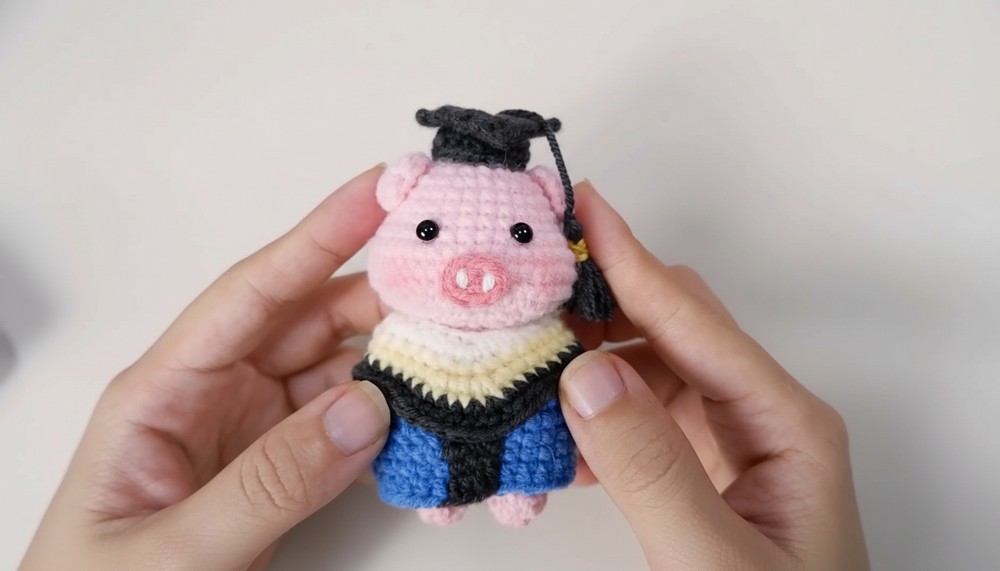
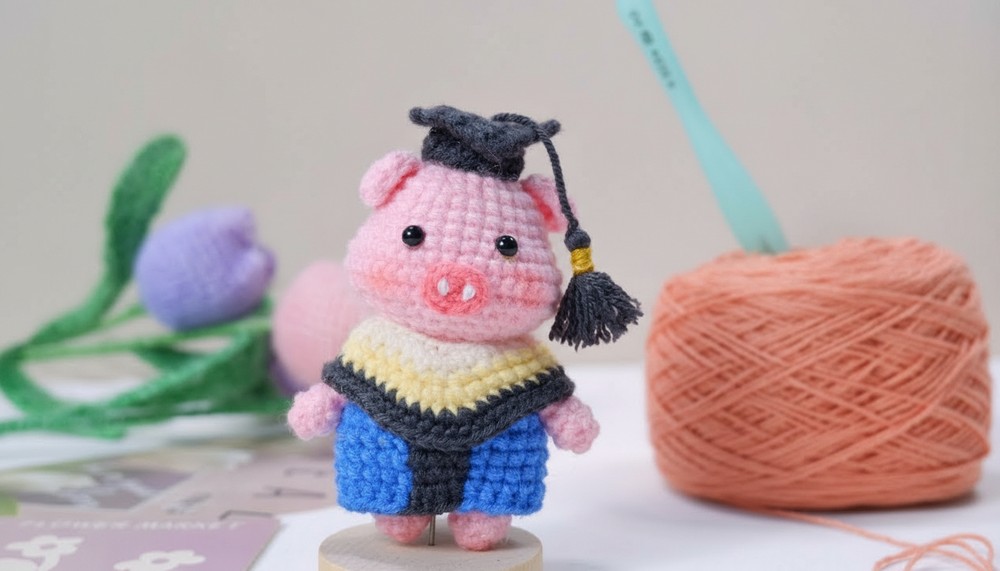
Celebrating a special achievement with a handmade gift adds a personal touch full of warmth and charm. This adorable little pig, dressed for graduation, combines cuteness with a festive spirit, making it a perfect keepsake for graduates. Its round shape and soft texture create a delightful figure that’s pleasing to hold and display.
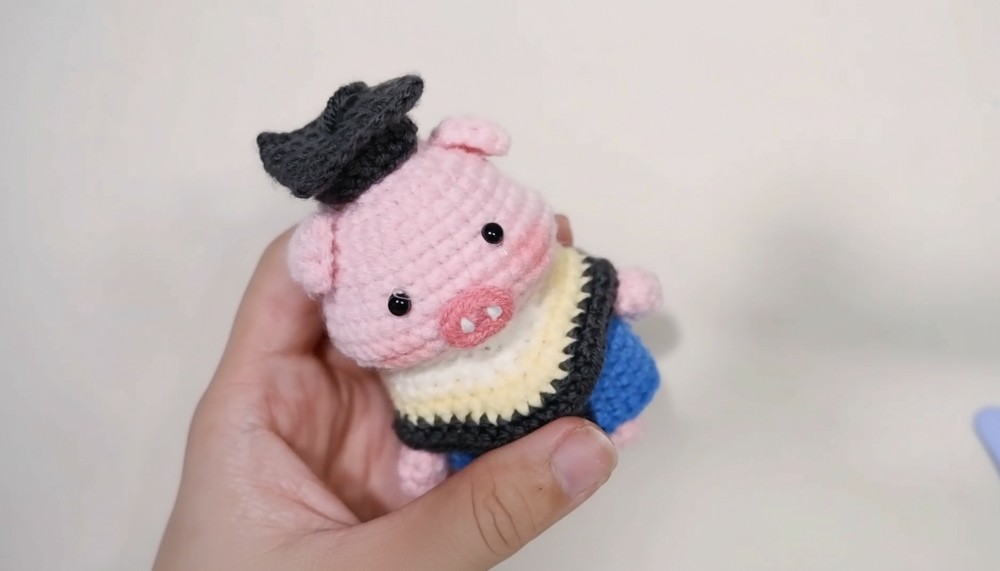
It’s small and lightweight, ideal for decorating desks, shelves, or backpacks, reminding the graduate of their accomplishment every day. Adding details like a tiny cap and tassel brings this amigurumi to life and allows for some creativity in colors and accessories. This charming pig blends celebration and craft, offering a meaningful way to congratulate someone with a handmade touch.
Crochet Graduation Pig Amigurumi Pattern
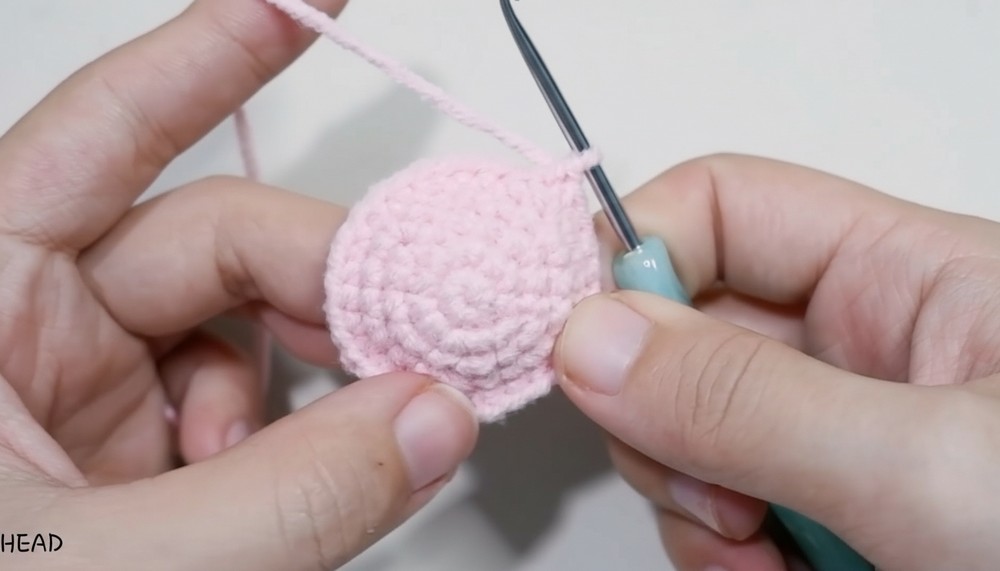
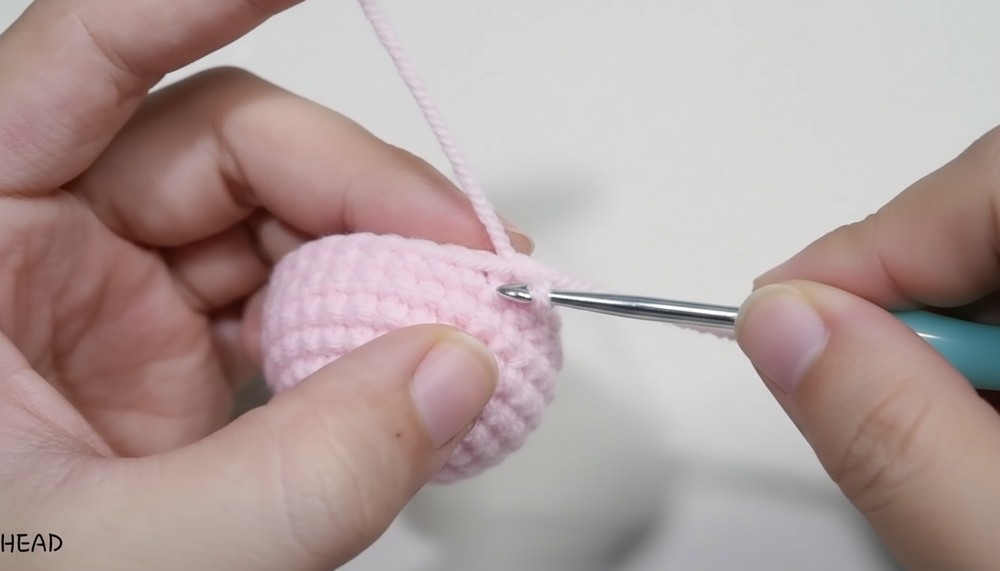
Head
- Round 1: Create a magic circle and crochet 6 single crochet (sc) into it.
- Round 2: Increase in every stitch (2 sc in each stitch) to make 12 stitches.
- Round 3: Repeat (1 sc, increase) around for a total of 18 stitches.
- Round 4: Repeat (1 sc, 1 increase, 1 sc) around yielding 24 stitches.
- Round 5: Repeat (3 sc, increase) around to get 30 stitches.
- Rounds 6 to 8: Crochet 30 single crochet stitches evenly, no increases or decreases.
- Round 9: Perform increases by crocheting (7 sc, increase, 6 sc, increase, 7 sc) for a total of 42 stitches.
- Rounds 10 to 12: Crochet 42 single crochet stitches evenly.
- Round 13: Begin decreases with (7 sc, decrease, 6 sc, decrease, 7 sc), down to 30 stitches.
- Round 14: Repeat (3 sc, decrease) around to get 24 stitches.
- Round 15: Repeat (1 sc, decrease) around to finish with 18 stitches.
- Finish the round, cut yarn leaving a tail for sewing, and stuff the head firmly.
Arms (Make 2)
- Round 1: Create a magic circle and crochet 7 single crochet (sc) stitches inside.
- Rounds 2 to 5: Crochet 7 single crochet stitches evenly in each round, no increases or decreases.
- Finish, cut yarn leaving a tail for sewing.
Ears (Make 2)
- Use half double crochet (hdc) stitches to shape the ear in a magic circle.
- Chain 2 at turning points and continue crocheting in pattern with hdc.
- Finish and leave a yarn tail for attaching.
Nose
- Use a darker shade of pink yarn.
- Crochet 3 single crochet stitches.
- From the second stitch, crochet 3 single crochet stitches together to shape.
- On the opposite side, crochet 2 single crochet stitches together.
- Finish, stuff lightly, shape to form a rounded nose, and sew in place.
- Add two white dots on top for nostrils using paint or yarn.
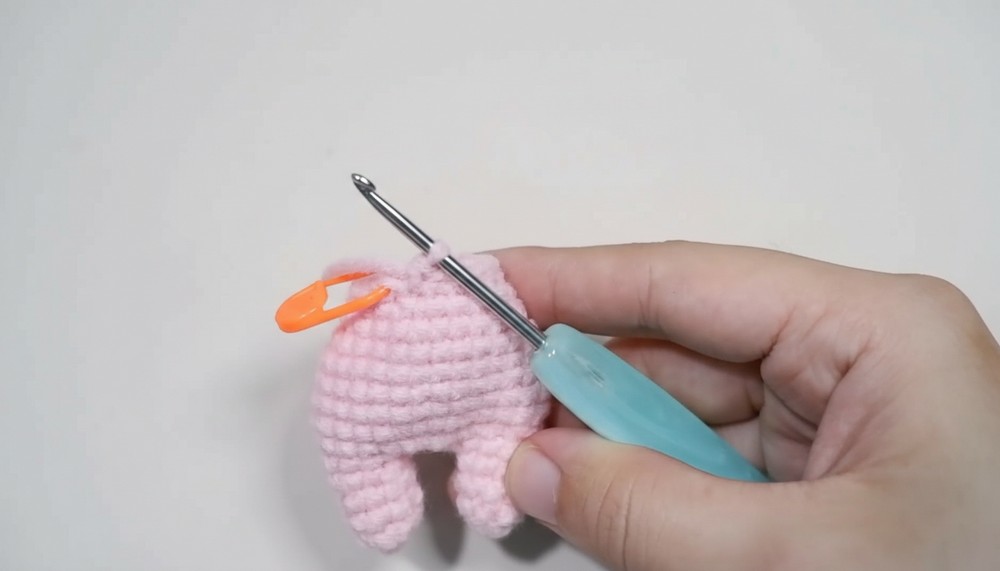
Legs and Body
- Round 1: Magic circle with 6 single crochet stitches.
- Round 2: Increase by making 2 single crochet stitches in one stitch twice, resulting in 8 stitches.
- Rounds 3 to 4: Crochet 8 single crochet stitches evenly.
- Round 5: Crochet 8 single, 3 single crochet stitches over chain stitches, total 22 stitches.
- Round 6: Repeat increase pattern to reach 28 stitches.
- Rounds 7 to 9: Work 28 single crochet stitches evenly.
- Round 10: Begin decreasing stitches to 26 stitches.
- Round 11: Crochet 26 single crochet stitches evenly.
- Round 12: Decrease again to 24 stitches.
- Round 13: Repeat decreases to 18 stitches.
- Round 14: Crochet 18 single crochet stitches evenly.
- Finish, cut yarn leaving tail and stuff firmly.
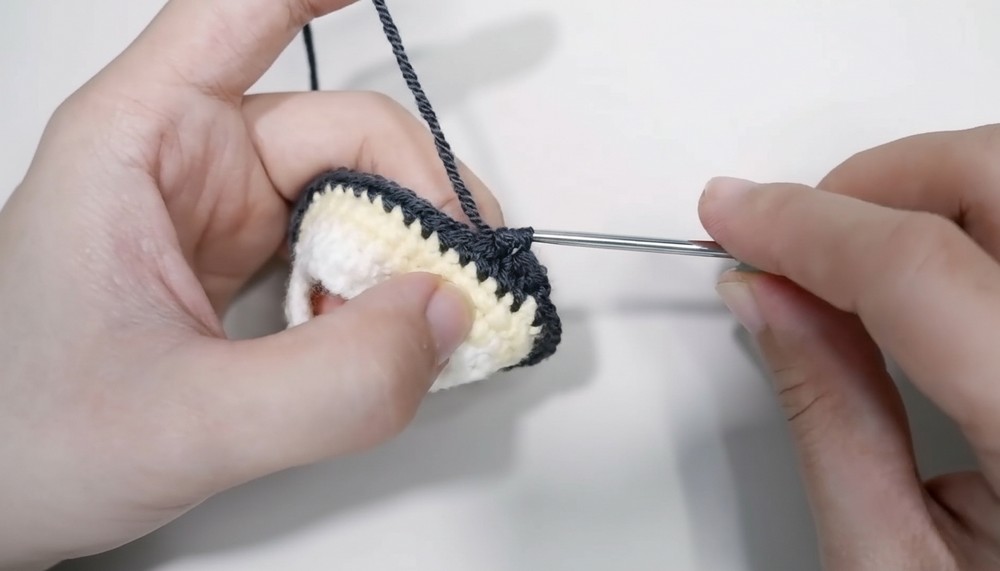
Graduation Gown (Top)
- Round 1: With white yarn, chain 26 stitches, join into a ring.
- Round 2: Crochet 12 single crochet stitches then increase to 28 stitches.
- Round 3: Switch to yellow yarn and crochet 12 single crochet stitches.
- Round 4: Increase to 40 stitches.
- Round 5: Change to black yarn, crochet 16 single crochet stitches with two increases, total 44 stitches.
- Rounds 6 to 9: Crochet 44 single crochet stitches evenly.
- Finish and cut yarn.
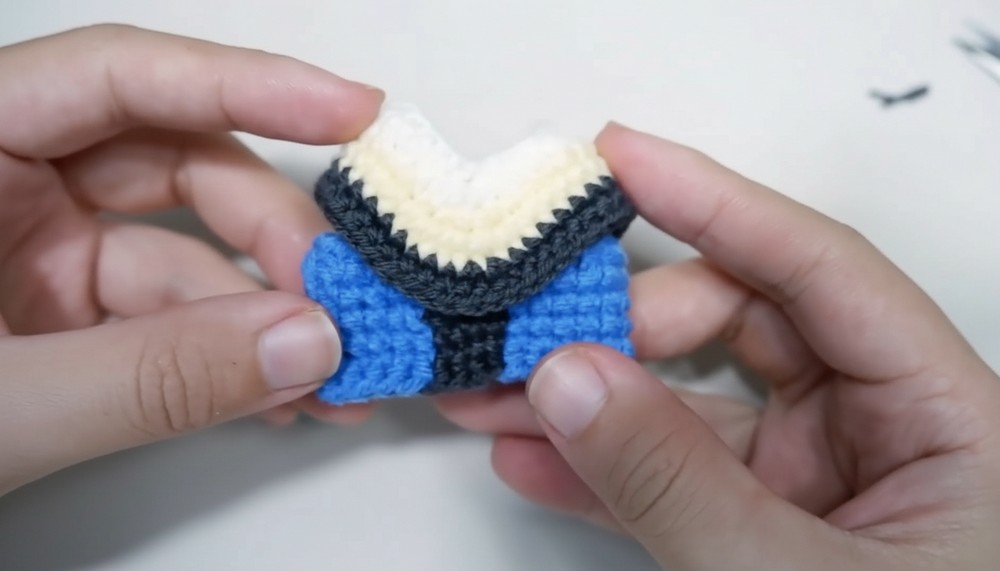
Bottom Part of Shirt
- Round 1: With light blue yarn, chain 30 stitches, join.
- Rounds 2 to 6: Crochet in stripes changing colors (blue, black, green) as instructed. Each round with 30 stitches.
- Finish and weave in ends.
Graduation Cap
- Rounds 1 to 7: Crochet 8 single crochet stitches per round evenly, no increases or decreases.
- Brim: Chain 18 stitches, join and crochet evenly around.
- Finish and assemble parts with glue or sewing.
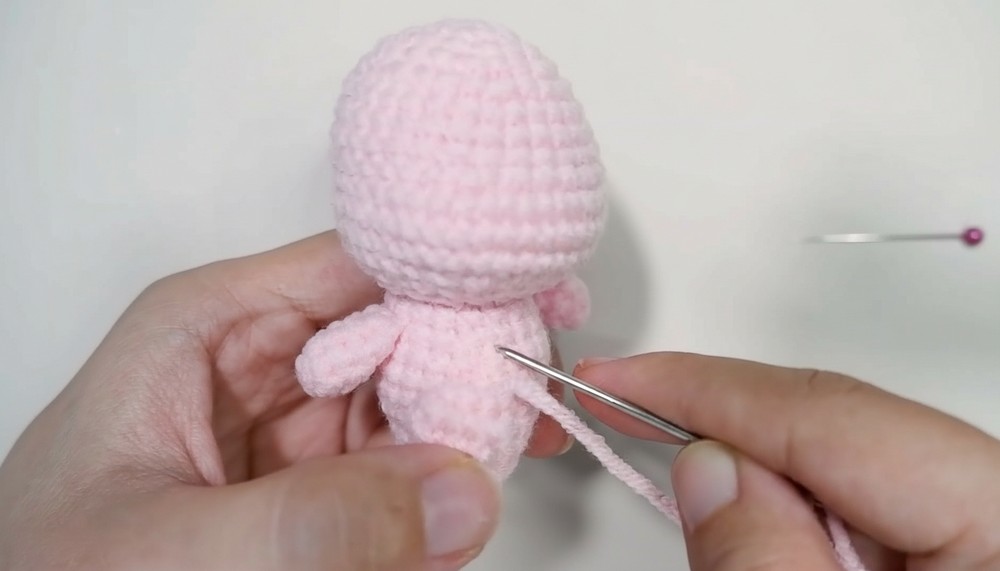
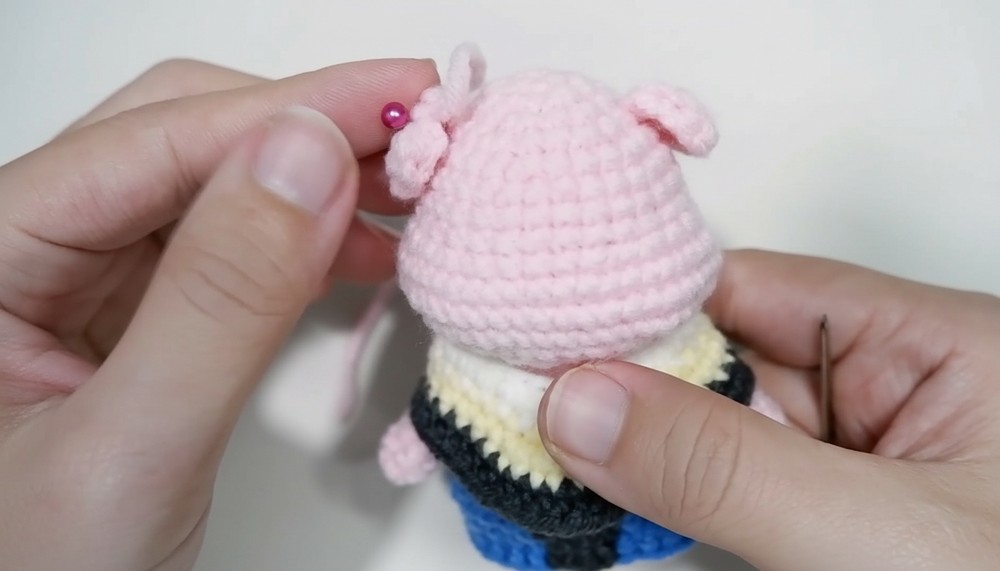
Assembly
- Sew all parts (head, ears, nose, arms, legs, body) together securely.
- Attach the graduation gown and cap in place.
- Insert 5mm plastic safety eyes about 4 stitches apart.
- Add blush to nose with paint or yarn for extra charm.
- Weave in and hide all loose ends.
Tutor’s Suggestions
- Maintain even tension for smooth shaping.
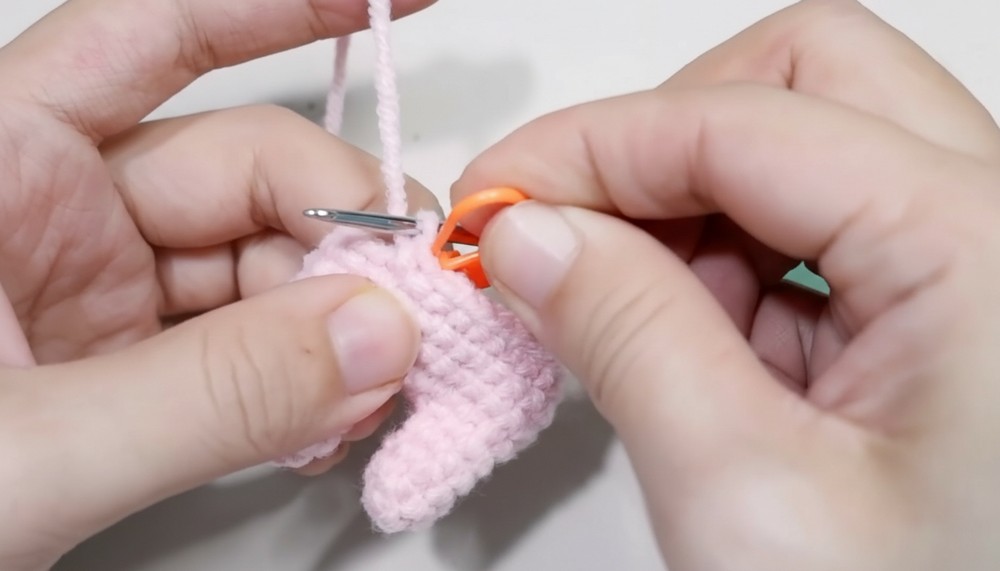
- Use stitch markers to mark the start of each round.
- Stuff pieces firmly but gently to maintain form.
- Count stitches frequently to avoid errors, especially during increases/decreases.
- Change colors by completing your last stitch of the old color with the new color yarn for smooth transitions.
Uses
- Ideal as a handmade graduation gift or keepsake.
- Cute decorative item or desk crochet buddy.
- Perfect beginner-to-intermediate amigurumi practice.
- Can be adapted for keychains or bag charms.
Tip
When starting each round, place a stitch marker on the first stitch and move it up every new round to keep track of rounds easily.
Conclusion
Congratulations! You’ve created a lovely Graduation Pig amigurumi with a festive cap and gown to celebrate special achievements. This project boosts your amigurumi skills and produces a memorable handmade gift.
Leave a Reply