
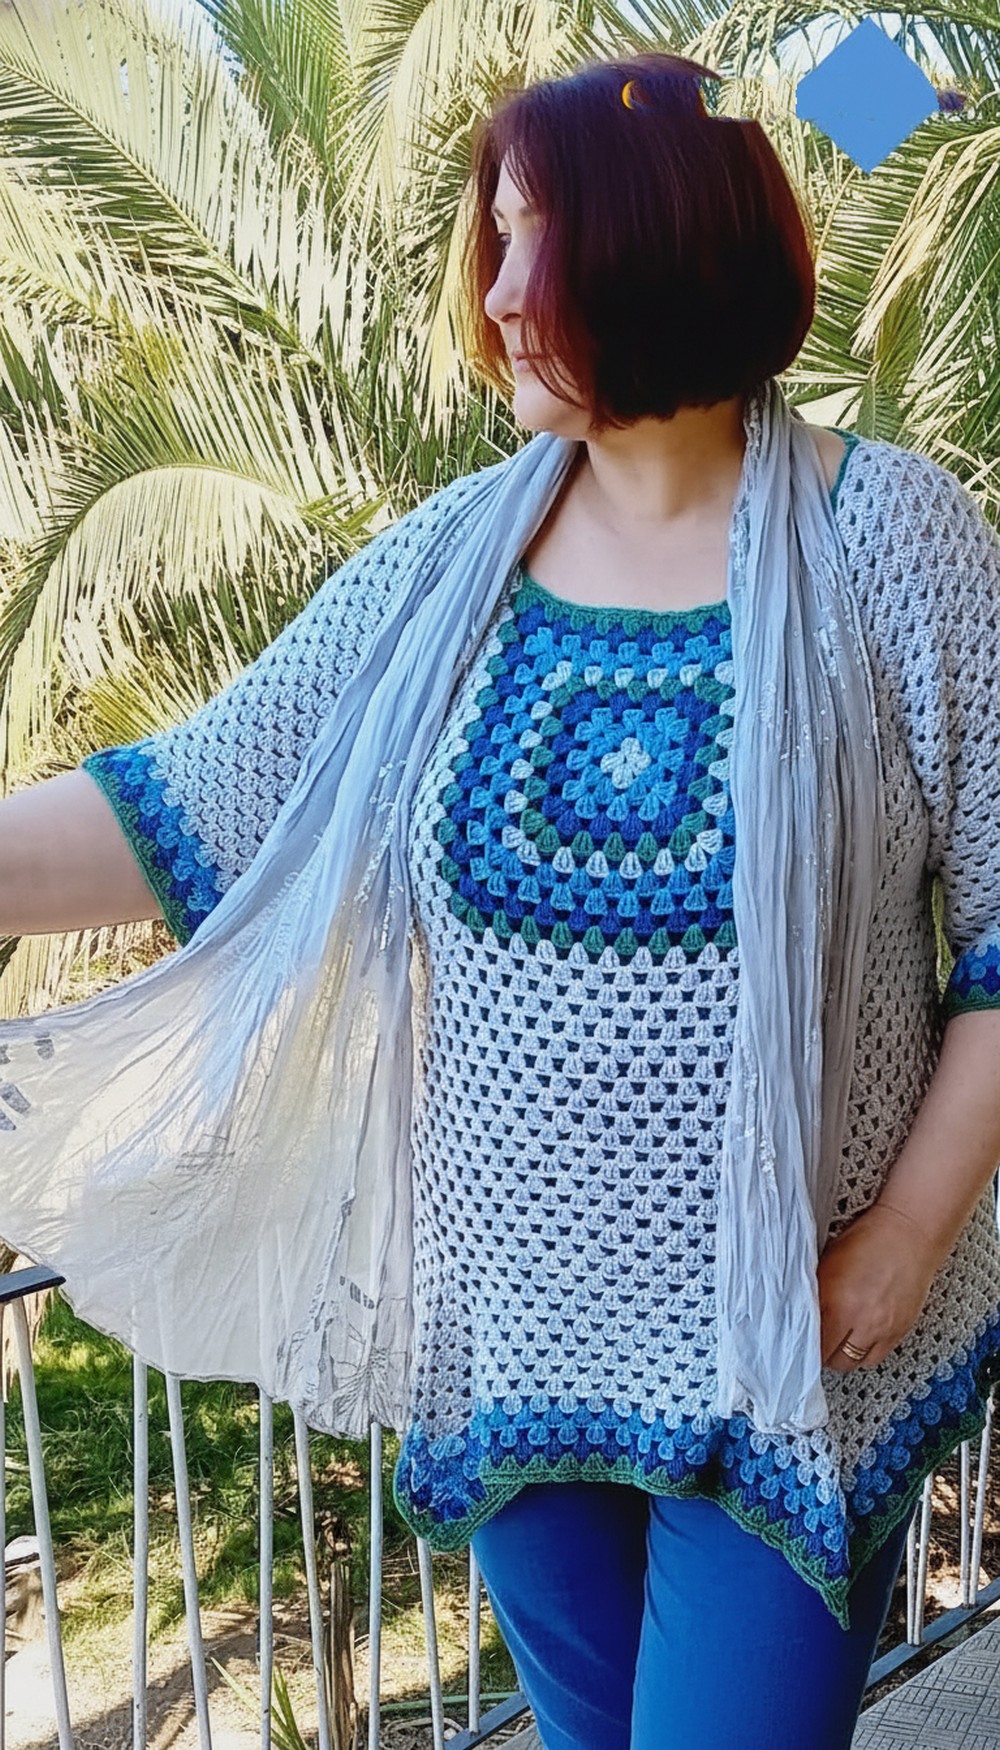
Fresh vibes bloom with this Crochet Spring Granny Square Tunic Pattern bringing light squares, comfy flow, and a cheerful piece perfect for sunny days everywhere.
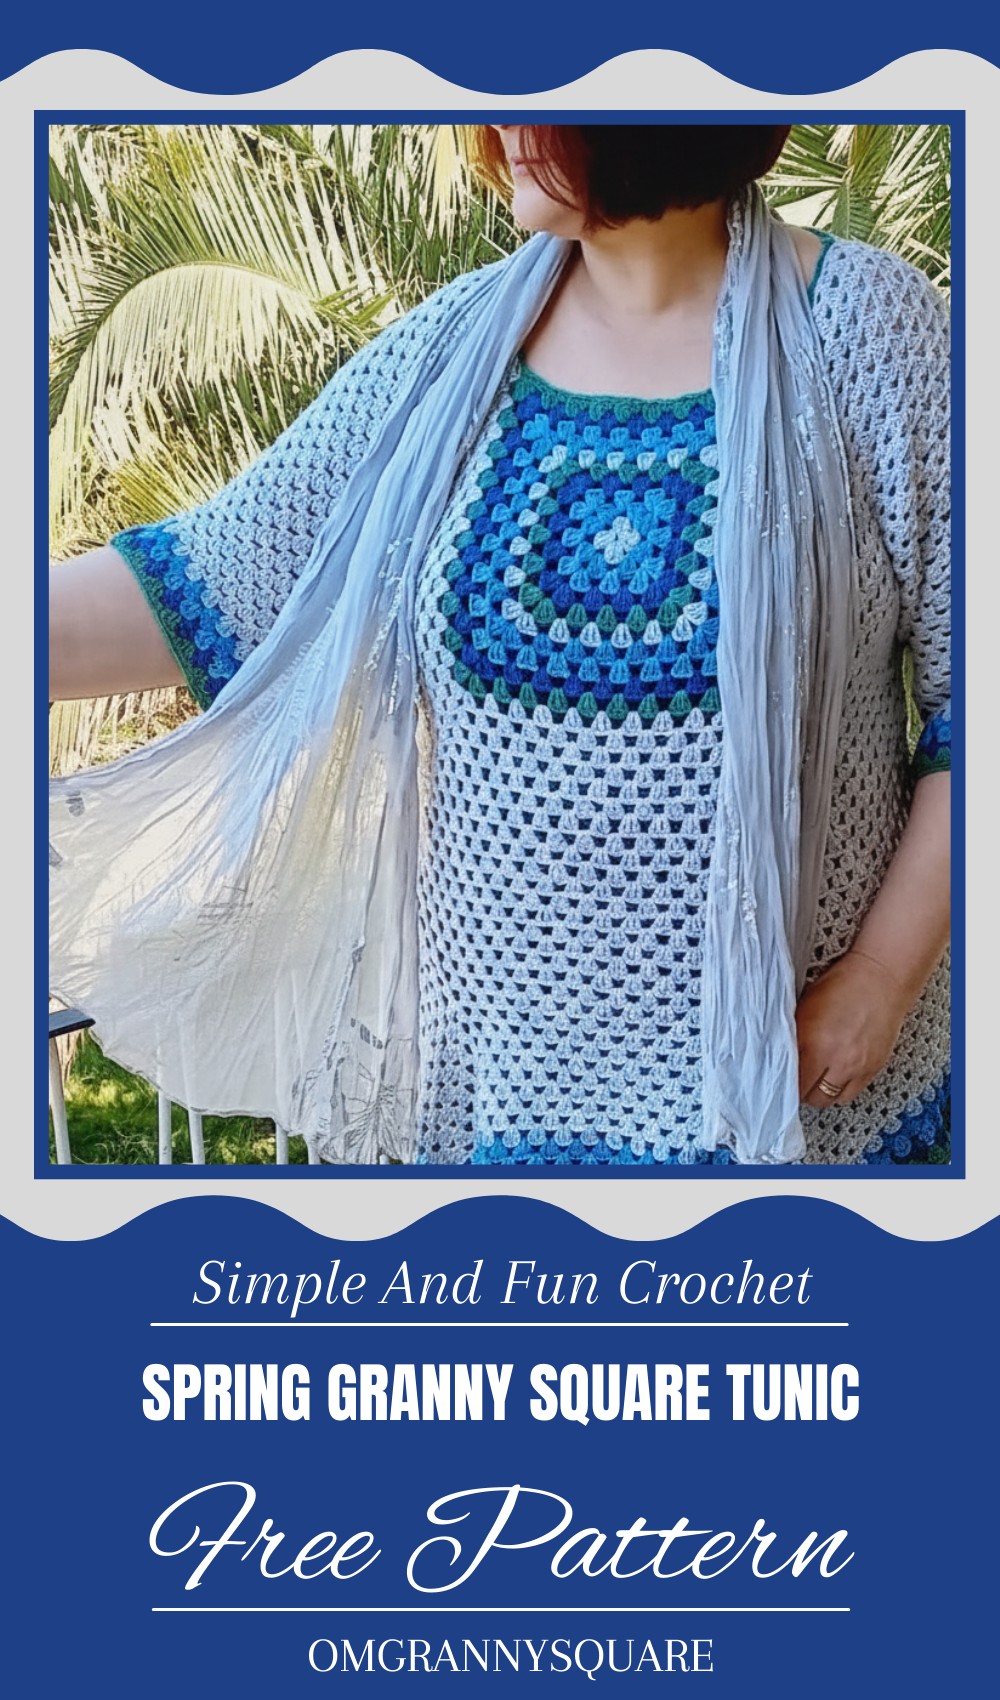
Pretty Crochet Spring Granny Square Tunic Pattern for Sunny Weather
Spring just got a whole lot more exciting with this cheerful granny square tunic! Imagine rocking a light, breezy top made from colorful granny squares that come together like a fun puzzle. This tunic isn’t just pretty — it’s super comfortable and perfect for layering over your favorite jeans or leggings. Beginners will find the repetitive granny square stitches easy to master, making the whole crochet process feel like a relaxing and enjoyable game.
Its bright, handmade look adds a splash of personality to any outfit, whether you’re out for a casual stroll or meeting friends for coffee. With its flattering fit and lively design, this tunic turns simple crochet skills into wearable springtime magic. Get ready to crochet your way to a fresh, stylish look that feels as joyful as the season itself!
Spring Granny Square Tunic Crochet Pattern
Materials
- Viola Cotton yarn (85% cotton, 15% polyester, sport weight), 100g skeins (approx. 200m per skein)
- Five colors for accent stripes (beachy tones): denim blue, royal blue, turquoise, grass green, pale baby blue
- Crochet hook 4.0 mm (recommended)
- Scissors
- Yarn needle for weaving in ends
- Stitch markers
- Measuring tape (with inches and centimeters)
Special Features
- Classic granny square technique extended to tunic wear
- Custom sizing based on own body measurements for perfect fit
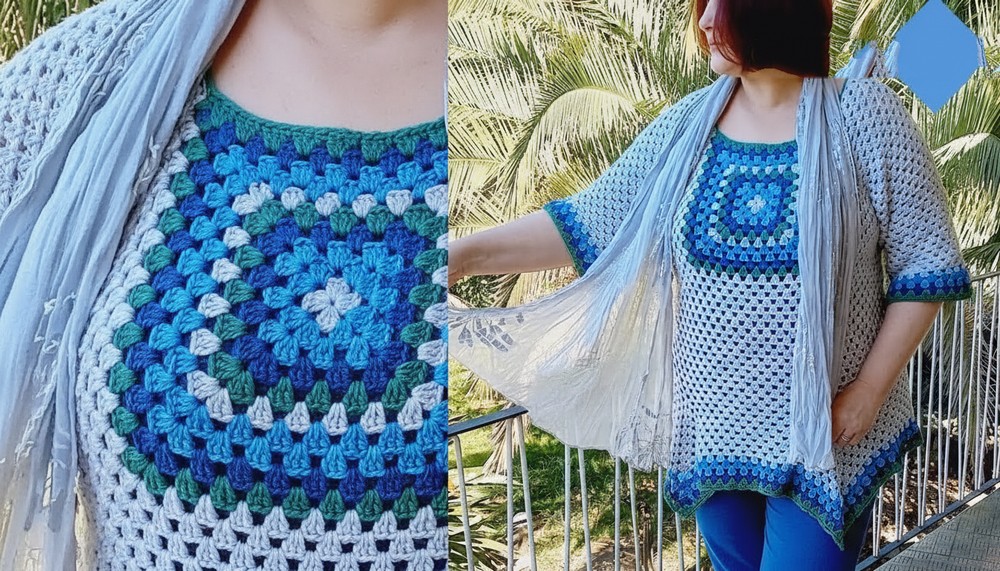
- Colorful beach-inspired stripes alternating colors every round
- Simple neckline and slight sleeve increases for comfort and style
- Seam sewing preferred for connecting panels, ensuring sturdiness
- Easy edging finishes for a clean, polished look
Level of Difficulty
Beginner to Intermediate
Requires familiarity with granny squares, basic crochet stitches, and some sewing for seams. Detailed instructions and tips make it beginner-friendly.
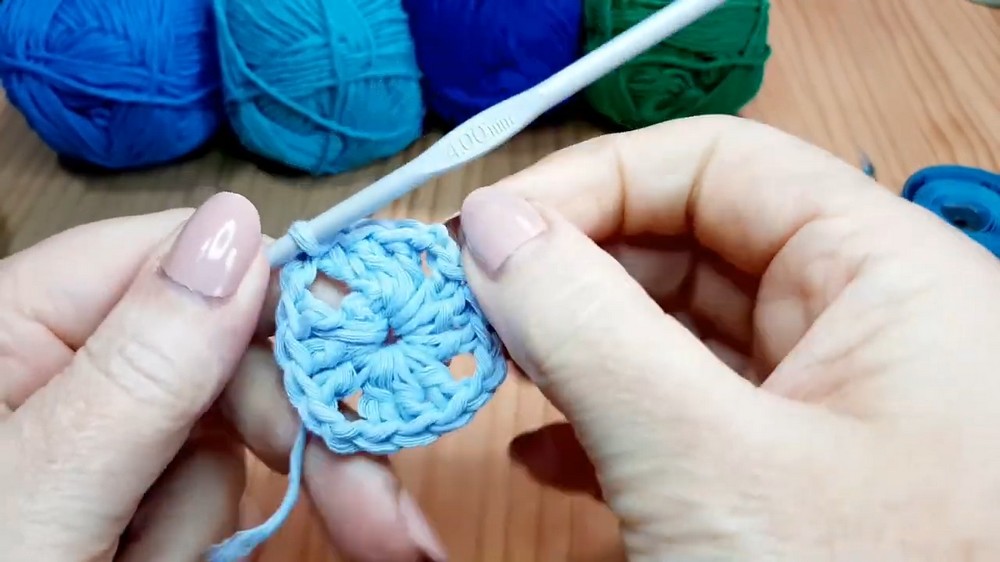
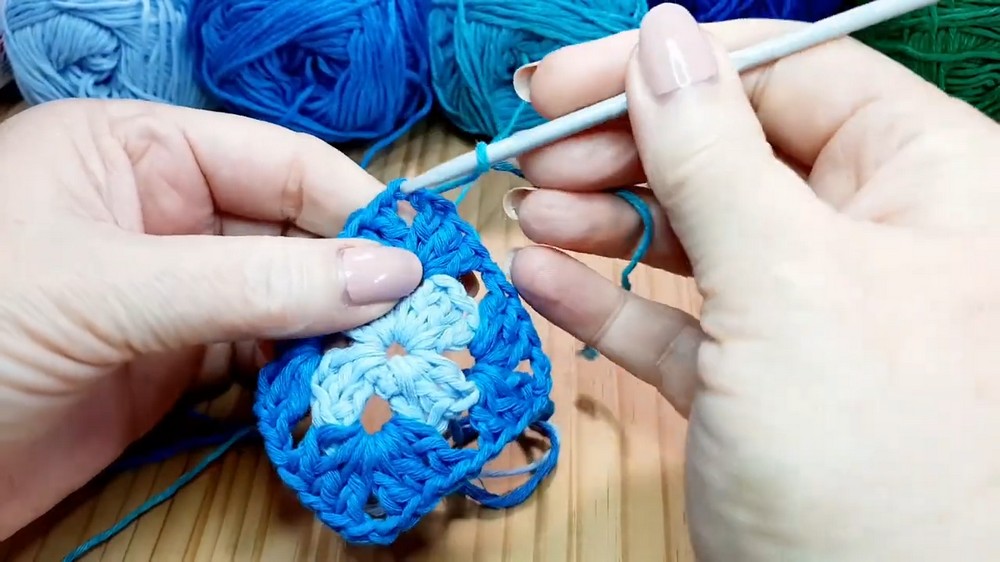
Step 1: Make Front Panel Granny Square
- Begin with a slip knot and chain 5.
- Slip stitch into the first chain to form a ring.
- Chain 5 (counts as a double crochet + chain 2 for corner space).
- Work 3 double crochets into ring. Chain 2 for corner.
- Repeat 3 double crochets, chain 2 two more times to form three corners.
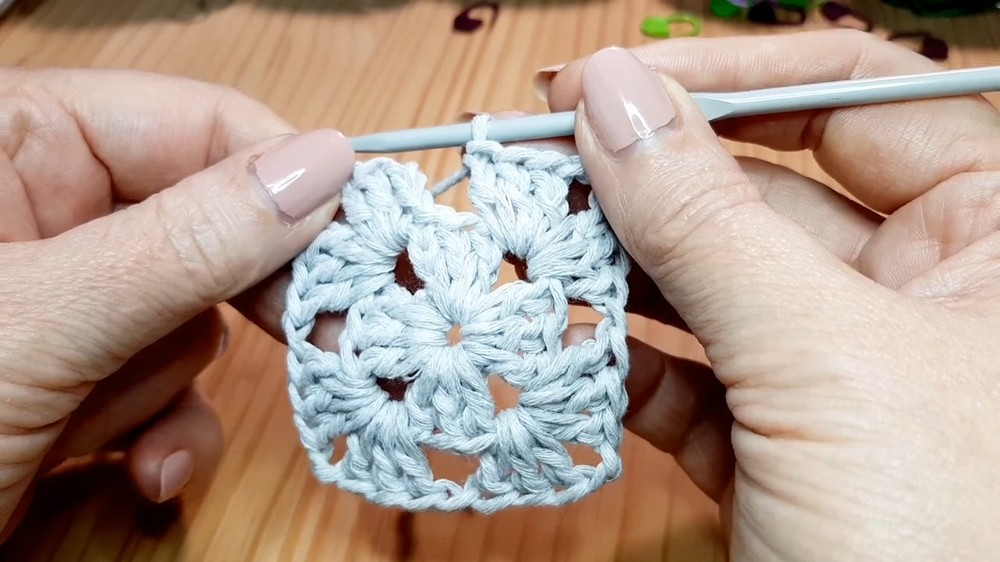
- Complete round with 3 double crochets in last corner, chain 1, and slip stitch at top of starting chain 5.
- Change color every round, weaving in ends as you go to avoid excess tails.
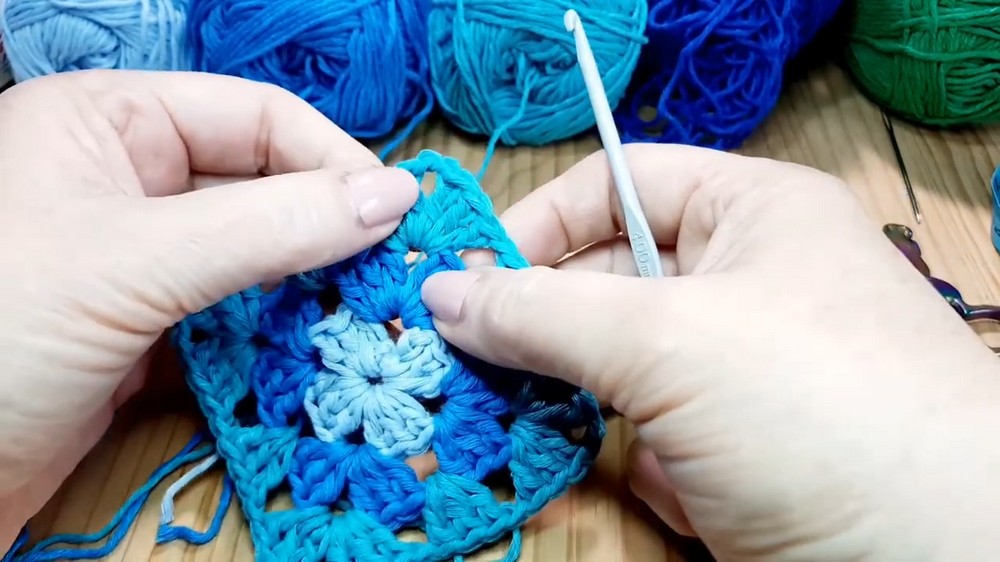
- Continue rounds adding granny stitch clusters (3 double crochets grouped together), chain 1 between clusters, working corners with chain 2 space, as usual.
- Use stitch markers to count stitch clusters and maintain consistent tension.
- Customize size: measure length and width on yourself or mirror, stopping when front panel covers from shoulder down to hips or desired length.
- For example, 10 inches (25 cm) wide at neckline, 13 cm from neckline down, adjusting with clusters and stitches for a good fit.
Step 2: Make Back Panel Granny Square
- Repeat the granny square process for back panel, starting from the center outwards.
- Ensure the same number of stitch clusters (granny stitch clusters) from top to bottom as on the front for uniformity.
- If back is not wide enough, add two extra rows on each side to widen panel.
- Seam sew additional rows onto edges neatly using yarn and needle.
Step 3: Connect Panels & Side Seams
- Lay front and back panels with right sides together.
- Use stitch markers to mark sleeve edges and areas to sew.
- Sew side seams starting from bottom, working up to underarm.
- Use whip stitch (or preferred sewing method) ensuring granny clusters and chain spaces line up for neat seams.
- Sew shoulder seams in the same manner.
- Weave in all ends securely.
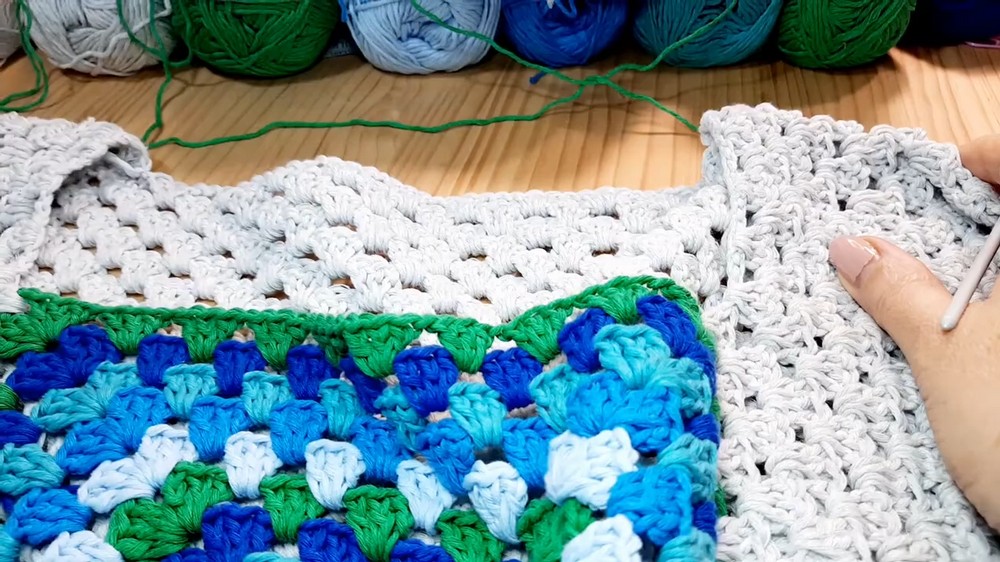
Step 4: Work the Bottom Border
- With garment laid flat, start at side seam along bottom edge.
- Work single crochet with chain 2 (“fake double crochet”) in chain spaces, creating three double crochet clusters with chain 1 between, following the granny stitch pattern around the bottom edge.
- Incorporate decreases (double crochet decreases and chain omissions) where necessary to avoid gaps and ensure good shaping.
- Use stitch markers to guide decreases at seams or corners.
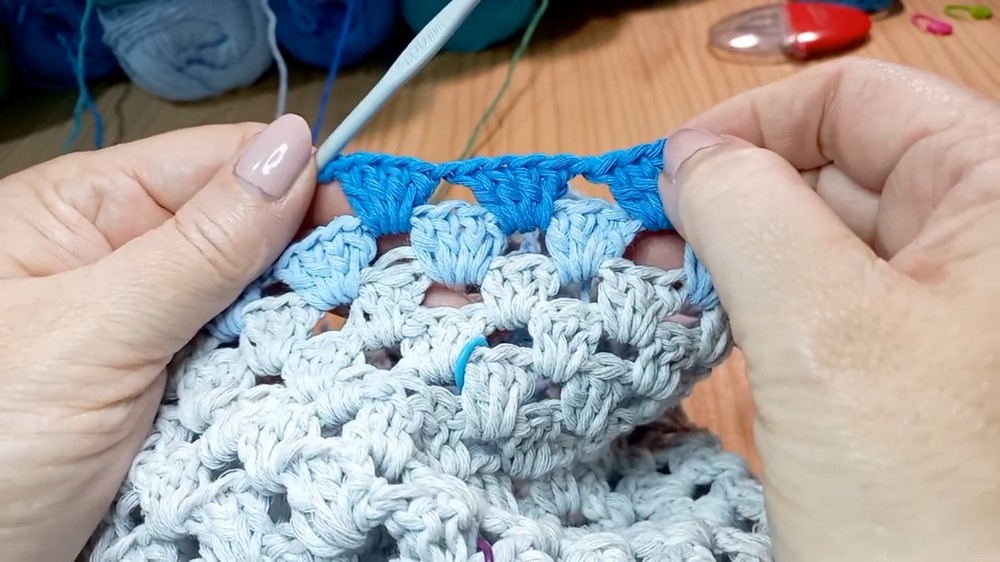
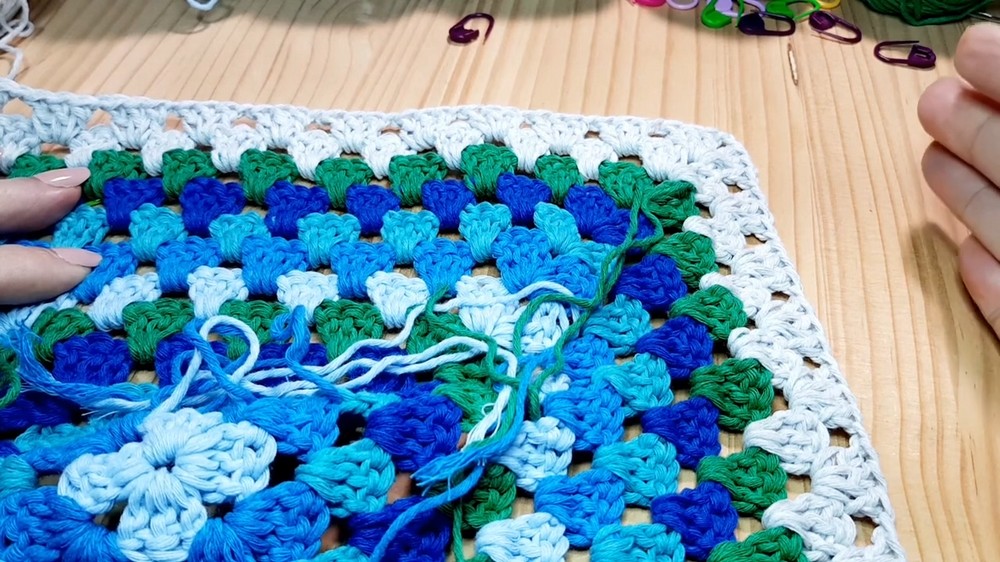
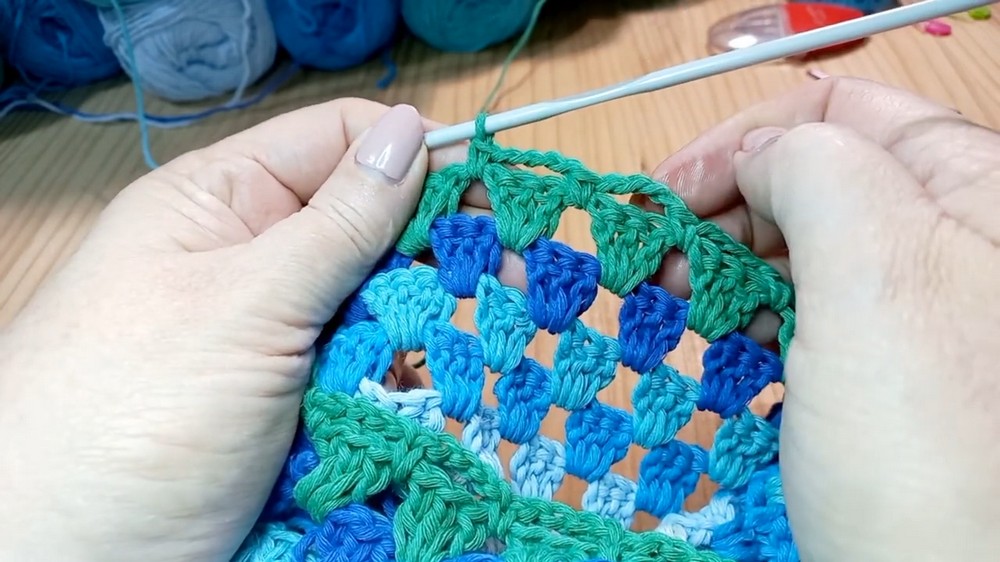
Step 5: Add Colorful Striped Rounds at Bottom
- Change yarn colors every round to add beachy stripes.
- Work 5 rounds in chosen colors at bottom to complement main section.
- Follow granny stitch pattern, connecting rounds with slip stitch and changing colors neatly.
- Try garment on after completing these stripes to adjust length if needed.
Step 6: Work Neckline Edging
- Begin on one shoulder with a single crochet.
- Alternate single crochet and chain 4 spaces around neckline for a delicate open edging.
- At corners, work single crochet, chain 4, and single crochet to neatly turn corners.
- Finish round with slip stitch and fasten off, leaving a long tail to weave in.
Step 7: Make Sleeves with Decreasing Shaping
- Starting under the arm seam, join yarn in the first one-chain space.
- Work the granny stitch in the round for the sleeve length desired (ends just at elbow).
- Incorporate decreases every 4 rounds by omitting certain double crochets and chain spaces to shape sleeve snugly.
- Keep slip stitching in back loops to navigate decreases neatly.
- For a boho touch, add slight increases (extra double crochets) in specified stitches to widen sleeve near shoulder.
- Finish sleeve with a delicate edging of single crochet and chain 4 loops, increasing to 5 chains over major increases for a consistent look.
Tutor’s Suggestions
- Measure often during making to customize length and width to your body.
- Weave in ends as you go to keep project manageable.
- Use stitch markers to track decreases, increases, and seam lines.
- Sew seams instead of crocheting for more control and durability.
- Adjust decreases on sleeves depending on arm size; decrease every 3 rounds for smaller arms, every 4 for larger.
- Choose colors that coordinate and flatter your wardrobe for versatile wear.
Uses
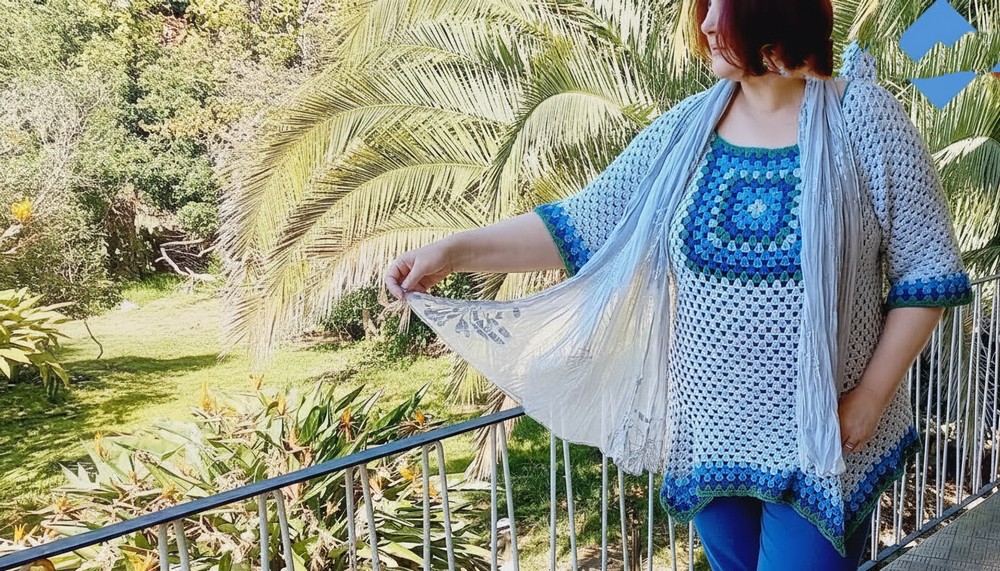
- Stylish spring and fall layering tunic.
- Can be paired with jeans, skirts, or worn over tops as a light cardigan alternative.
- Great for cool sunny days, casual events, or relaxed work environments.
Tip
When working seams, align clusters and chain spaces carefully and secure with yarn needle to keep edges neat and maintain overall garment shape.
Conclusion
This spring granny square tunic is a vibrant and wearable project perfect for beginners looking to make a garment with classic crochet textures. Its custom sizing, delicate edging, and boho-inspired sleeves create a flattering piece that’s both comfortable and stylish. With simple stitches, creative color use, and guided shaping, you’ll enjoy wearing a handmade tunic that suits your personal style all season long.
Leave a Reply