
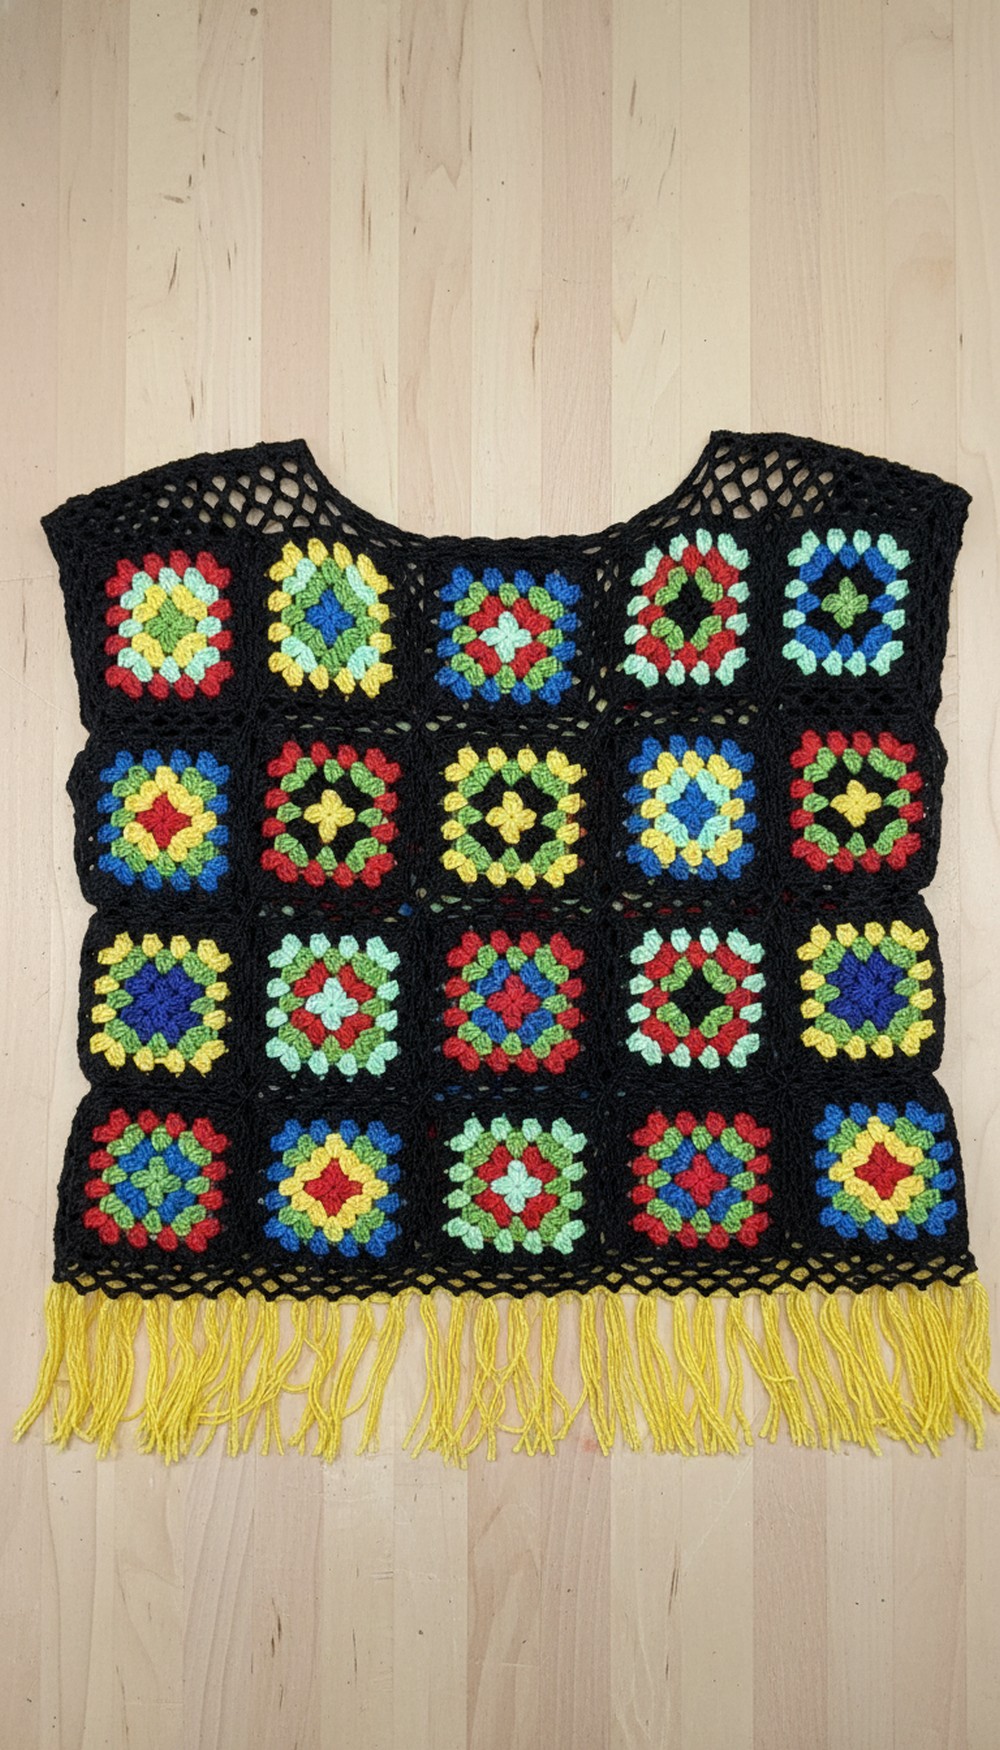
Step into sunshine with this Crochet Granny Square Summer Top Pattern, featuring breezy stitches, colorful squares, and a playful top perfect for warm days.
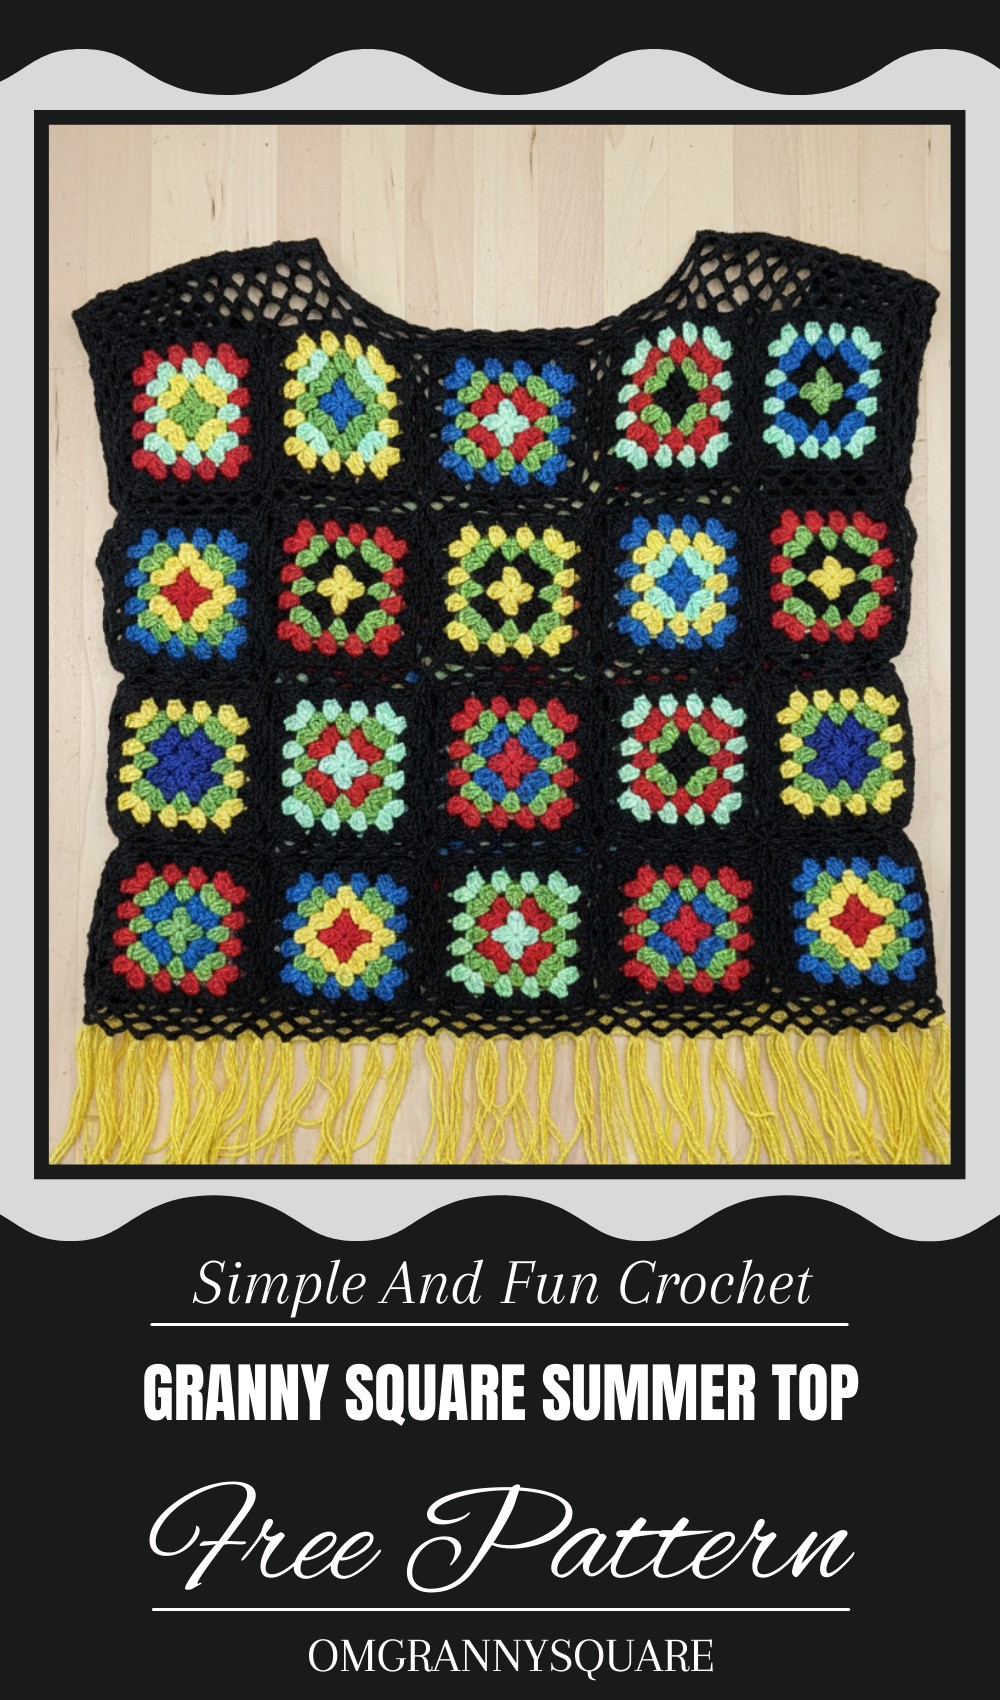
Sweet Crochet Granny Square Summer Top Pattern for Beach or Travel
This summer top captures that feeling with its classic granny square design, offering a playful yet elegant look. Made with soft cotton yarn, it feels gentle on the skin and breathable, ideal for staying cool without sacrificing style. The loose fit allows plenty of comfort and freedom of movement, making it great for casual outings, beach cover-ups, or layering over your favorite sundress.
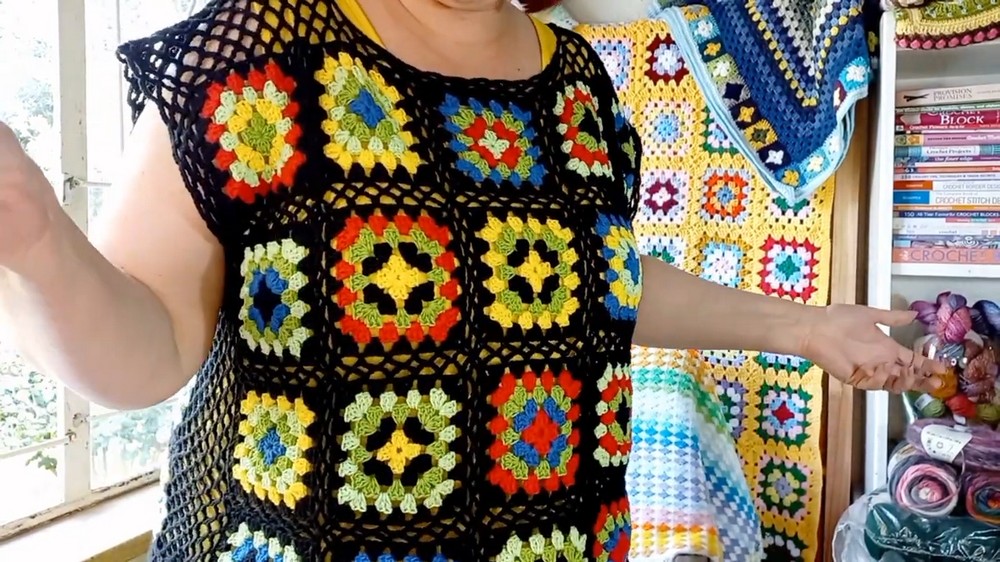
The pattern uses simple stitches that beginners can easily follow, providing both a relaxing and rewarding crochet experience. Bright colors woven into each square create a lively patchwork effect, while delicate lace-like spaces between squares add just the right amount of charm. This top isn’t just clothing—it’s a handmade statement of creativity and comfort perfect for summer wardrobes.
Granny Square Crochet Top Pattern
Materials Needed
- Cotton yarn in multiple colors (cotton & cotton blends work well)
- 3.5 mm crochet hook
- Scissors
- Wool needle (for weaving in ends)
- Stitch markers
- Measuring tape
Suggested yarn colors from the tutorial:
- Canary yellow (amigurumi cotton)
- Apple green & pale green (Cartopu amigurumi cotton or similar)
- Royal blue (cotton DK)
- Blood red
- Black (for joining squares and edging)
Step 1: Create Your Template Garment and Measure
- Lay out a template garment or an existing similar piece to determine the final size.
- Measure across the body and decide how many granny squares you need for width and length.
- Customize the square size to fit your height and body type. (For tall users, bigger squares; for smaller users, smaller squares.)
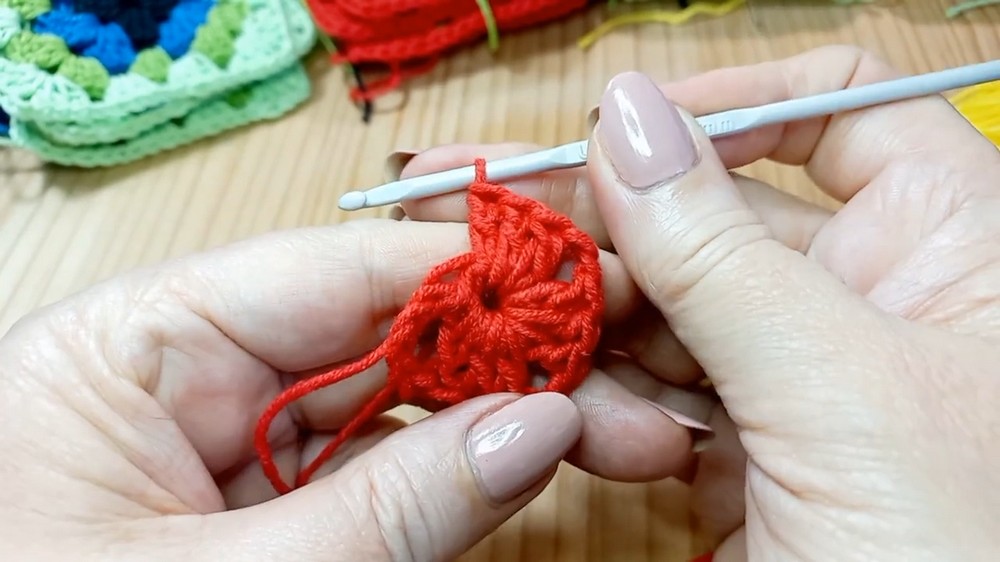
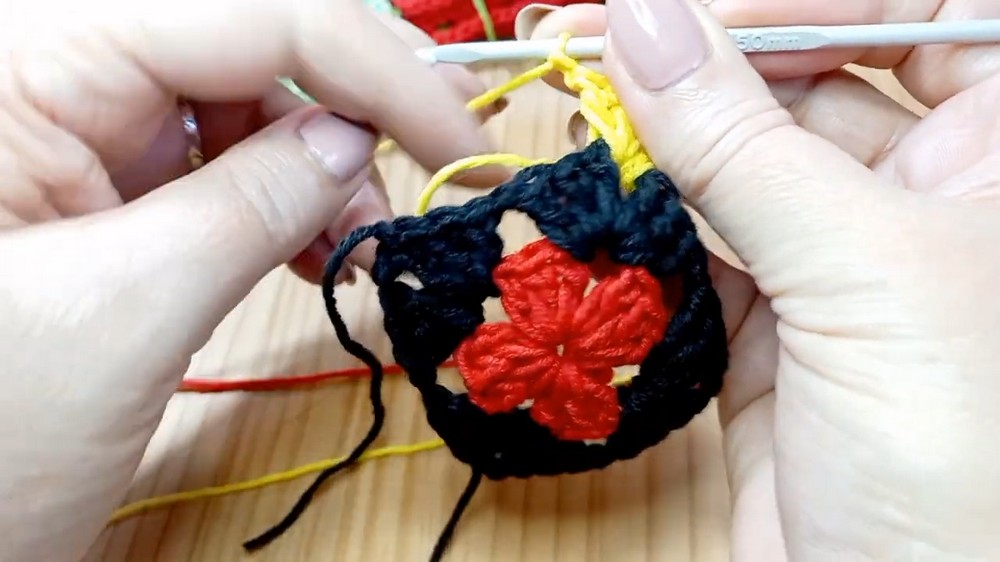
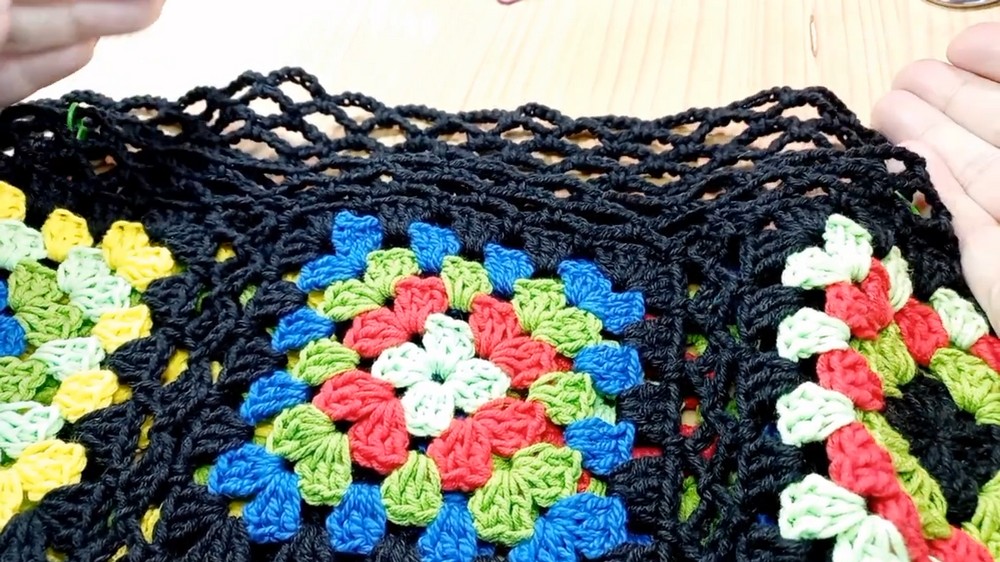
Step 2: Make the Granny Squares
- Start with a slip knot and chain 5.
- Join to form a ring with a slip stitch.
- Chain 3 (counts as first double crochet).
- Create a cluster of 3 double crochets in the ring.
- Chain 2 (corner space).
- Repeat clusters of 3 double crochets separated by 2 chains (for corners and sides).
- Close the round with a slip stitch on top of the initial chain 3.
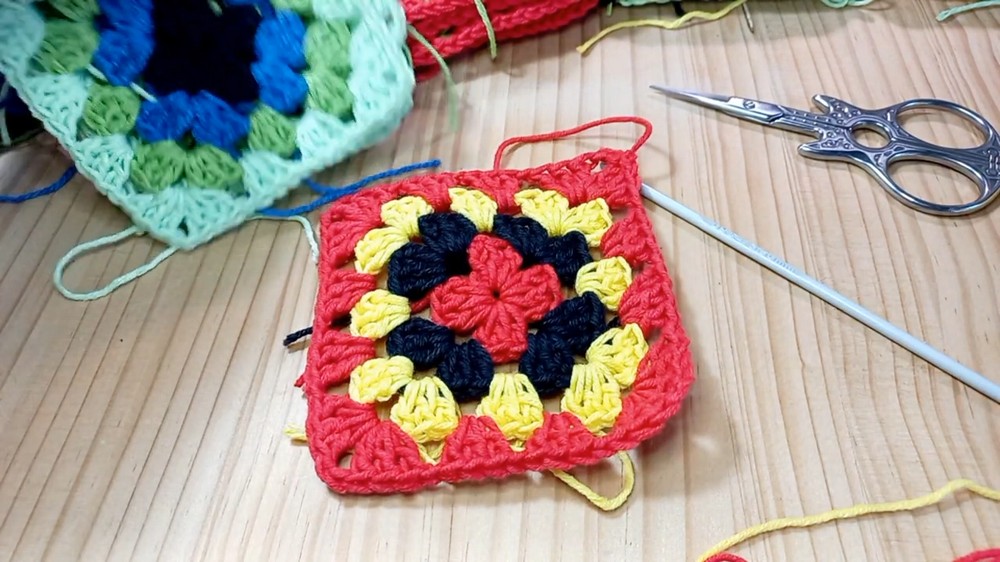
- Continue around with additional rounds (4 rounds for the tutorial) increasing chain spaces and clusters.
- Change colors for each round for a colorful effect.
- Finish by cutting the yarn and securing ends.
Tip: If your granny squares start to distort or form a twist, turn your work at the end of each round and work from the wrong side for square edges.
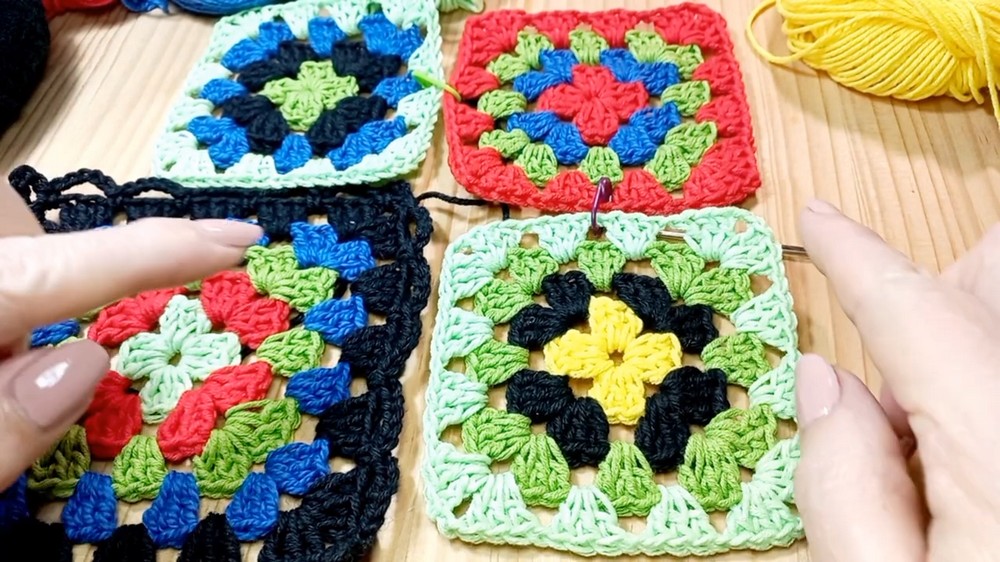
Step 3: Prepare and Organize Squares
- Arrange your granny squares on a flat surface to visualize the pattern.
- Avoid placing identical squares next to each other.
- Use stitch markers to hold squares in place if preferred.
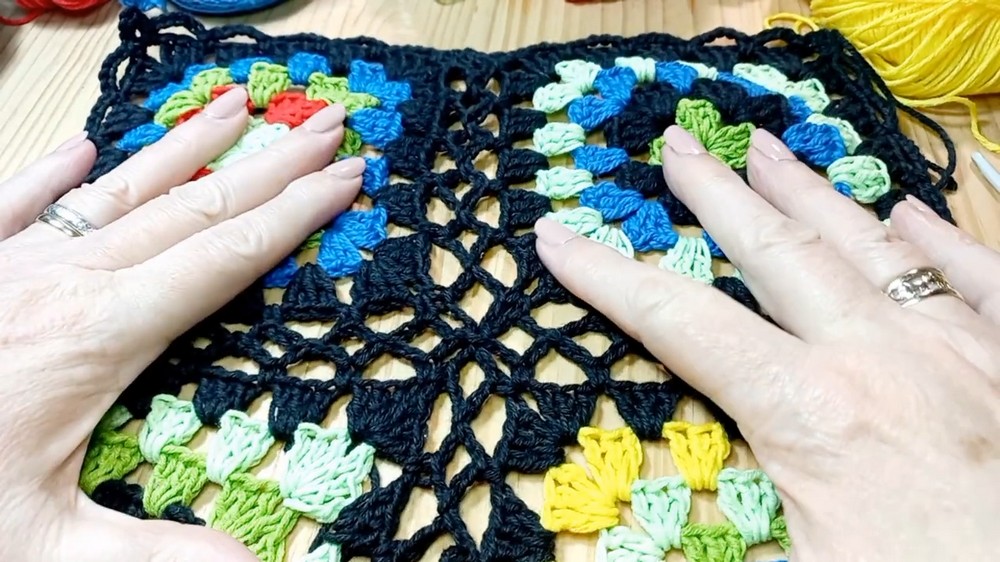
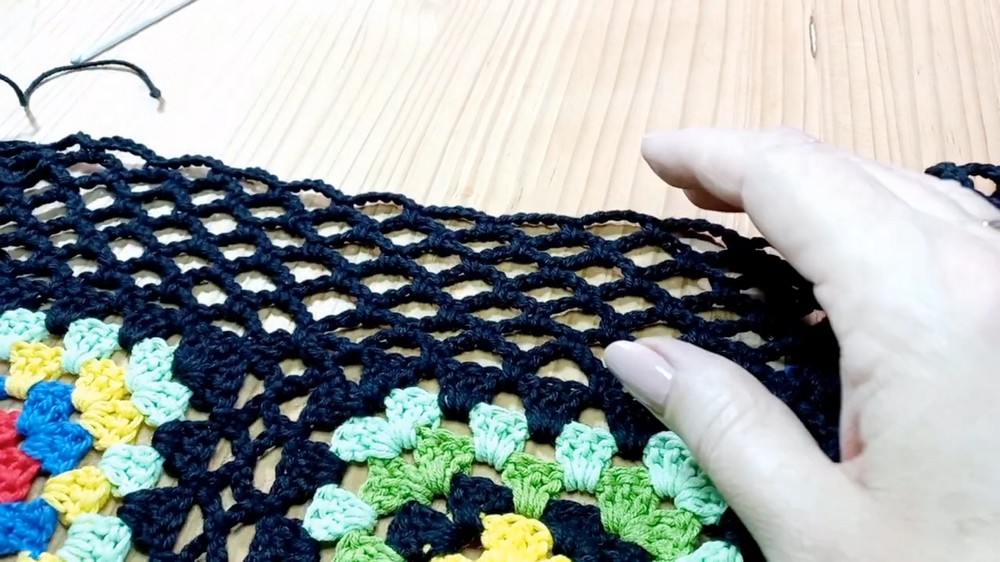
Step 4: Join Squares for Front and Back Panels
- Add a round of black yarn around each square.
- Create loops by working single crochets and chains (chain 5 loops in corners and sides).
- Lay out all squares.
- Start joining as you go using slip stitches through loops between adjacent squares.
- Secure corners diagonally by connecting chain 5 loops across squares to create a visually pleasing cross pattern.
- Continue joining rows vertically and horizontally until the front and back panels are complete.
Step 5: Frame Panels With Additional Rounds
- Add two more rounds with black yarn to increase size and create stability.
- Use single crochet and chain 5 loops in the corners and sides, slipping stitches to connect.
- Measure your panels to match desired garment dimensions (e.g., 74 cm width for size 2XL).
- Adjust the number of rounds accordingly!
Step 6: Work the Top Sections (Shoulders and Neckline)
- For the back, work 4 rows of single crochet and chain 5 loops to add approx. 5cm height.
- For the front, leave a neckline opening by dividing the squares into two sections and building up shoulders on either side.
- Use double crochet stitches to shape the neck.
- Connect front and back panels at the shoulders by working chain 2 and single crochet slip stitches invisibly on the wrong side.
- Make sure right sides face each other when joining shoulders.
Step 7: Join the Side Seams
- Mark desired underarm position (second square from top).
- Work chain 5 loops and single crochet stitches from bottom up to underarm on both front and back pieces.
- Seam sides invisibly using slip stitches and single crochet loops.
- Round off the edges for a smooth and polished finish.
Step 8: Add Fringe Tassels (Optional)
- Cut strands about 30 cm (12 inches) long.
- Fold in half to create a 15 cm (6 inch) tassel.
- Insert folded part through bottom edge stitches from the bottom up.
- Pull the ends through the loop and tighten.
- Space tassels evenly for a stylistic fringe effect that adds length and flair.
Tips from the Tutor
- Customize the size by adjusting granny square size or number of squares.
- Use contrasting colors for a vibrant look or subtle tones for a versatile garment.
- Keep your tension even to avoid distortion.
- Work joins carefully to keep seams invisible and neat.
- Blocking finished pieces can improve drape and ease of construction.
- Plan your layout before joining to avoid rearranging later.
- When joining, slip stitches into loops create a nice netting effect that’s breathable and stretchy.
Conclusion
This granny square crochet top combines the charm of vintage granny motifs with modern design features, making it perfect as a casual summer top or a stylish beach cover-up. The pattern allows complete customization in size and colors, ideal for beginners to intermediate crocheters looking for a manageable yet rewarding project. With easy joining stitches and simple motifs, you can create a unique and comfortable garment layered with elegant lace-like detail.
Leave a Reply