
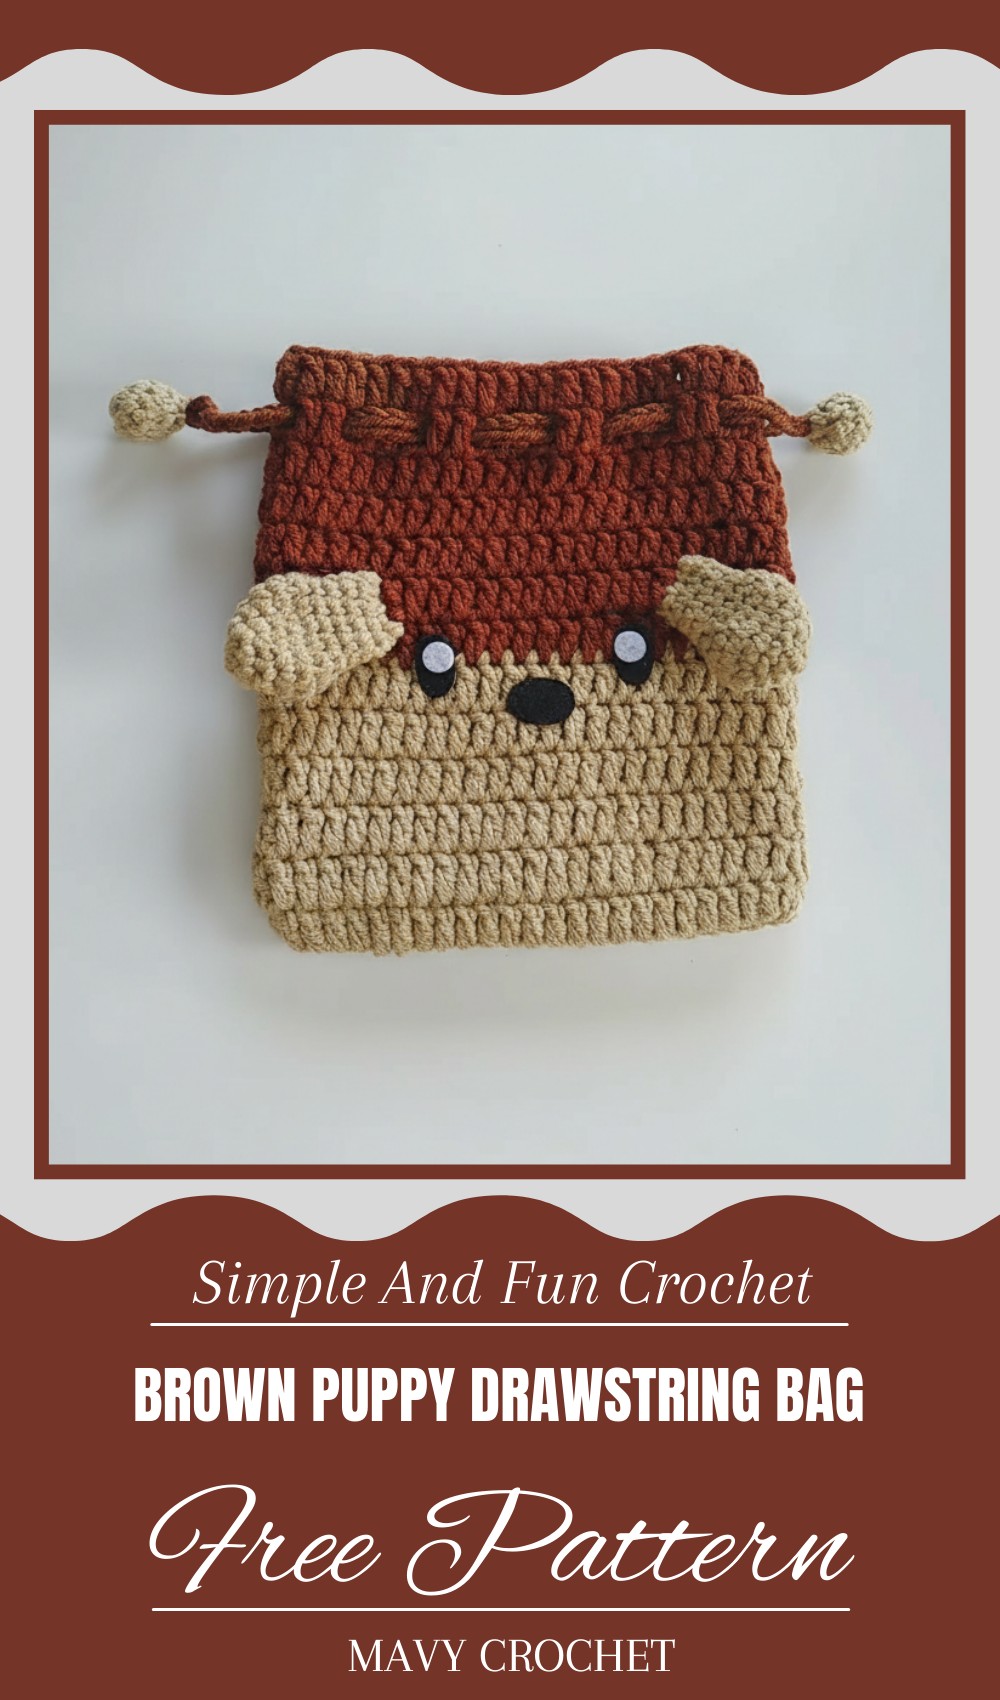
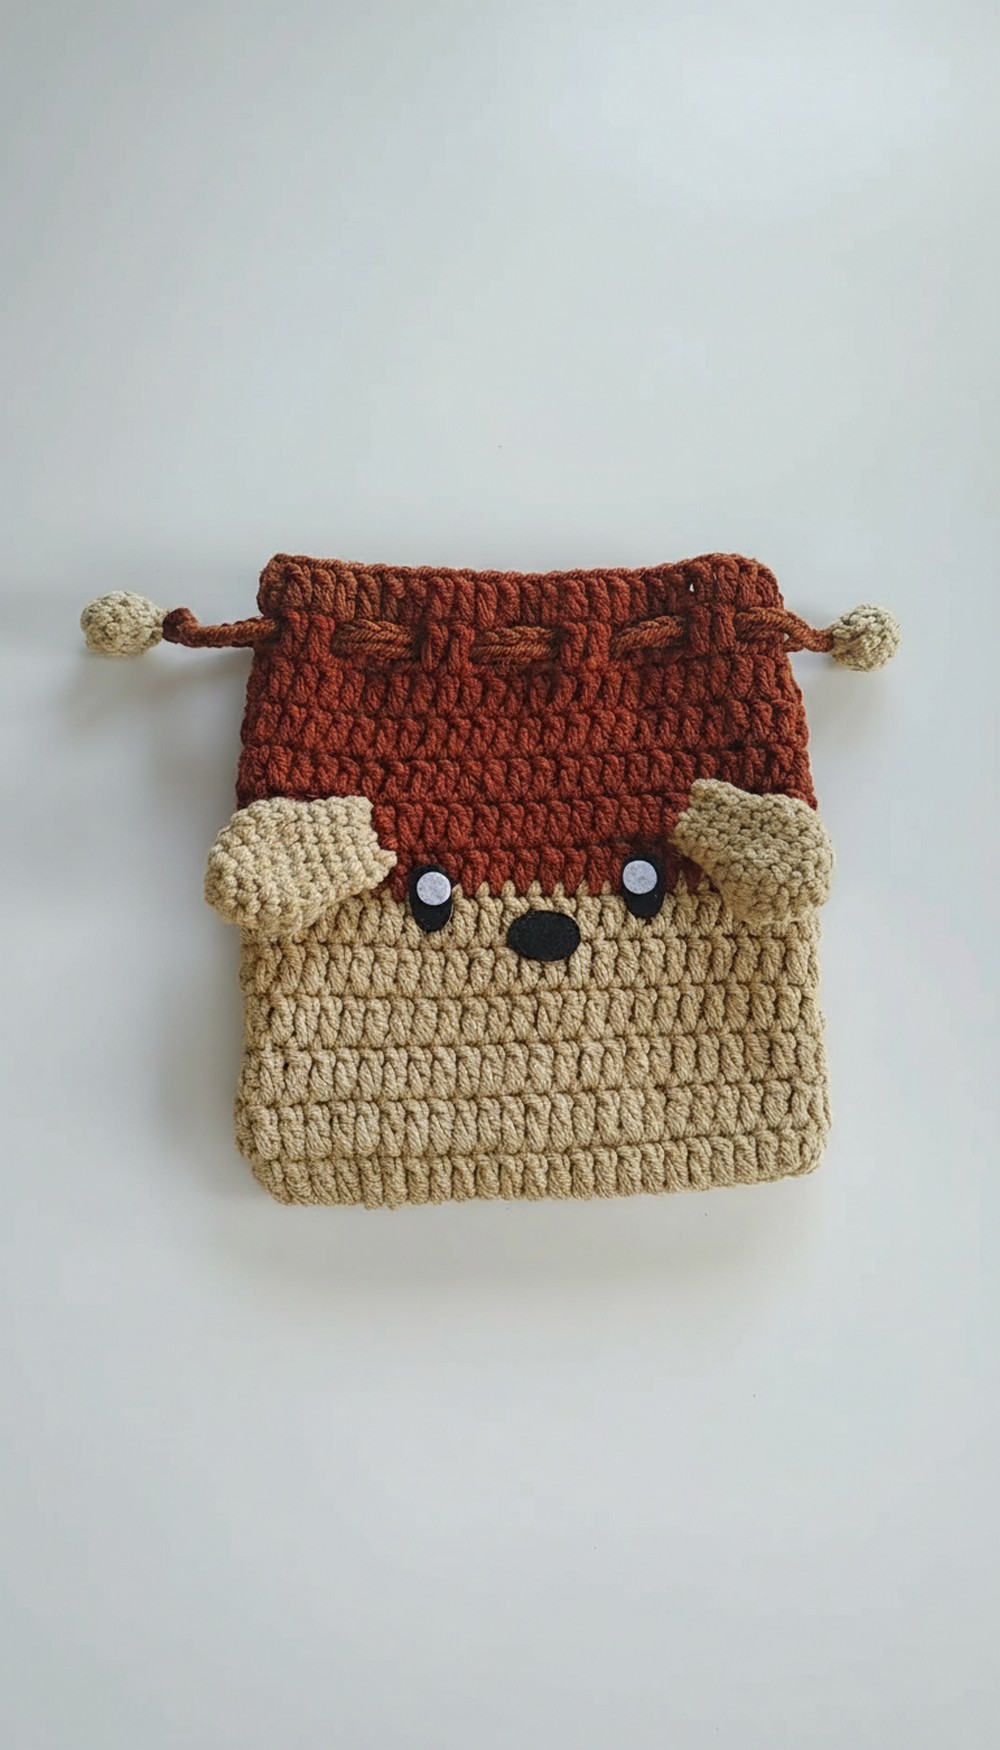
Adorable fun blooms with this Crochet Puppy Drawstring Bag Pattern, offering easy stitches, playful details, and a charming handmade bag perfect for any day.
Fun Crochet Puppy Drawstring Bag Pattern to Use for School
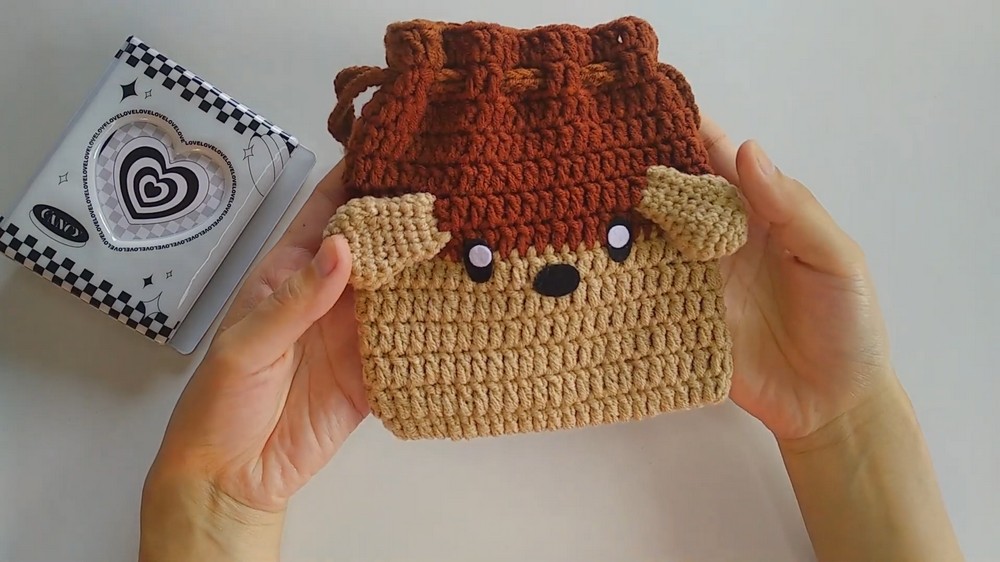
This adorable puppy-themed drawstring bag makes a perfect project for beginners learning to crochet. The playful design includes floppy ears and a sweet face, adding a fun and cheerful touch to everyday accessories. Its small size is ideal for carrying essentials like toys, snacks, or personal items, making it both cute and practical.
Ideal for children or anyone who enjoys charming handmade items, the puppy drawstring bag brings a dose of creativity and personality. It’s not just a storage solution but also a decorative piece that can brighten daily life with its friendly and inviting appearance.
Crochet Brown Puppy Drawstring Bag – Step-by-Step Pattern
Special Features
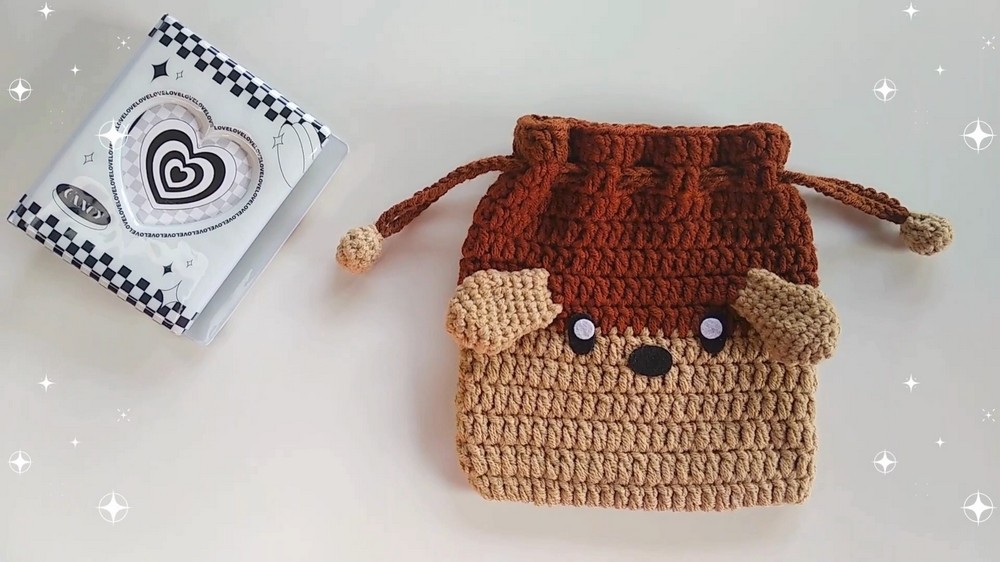
- Functional drawstring bag with adorable puppy features
- Includes 3D elements like ears, eyes, nose, and mini paw ball
- Uses basic to intermediate stitches, color changes, and assembly techniques
- Practical and decorative—perfect for kids or as a quirky pouch
Difficulty Level
Intermediate
While mostly using fundamental stitches like chain, double crochet, and single crochet, this project requires color changes, shaping, assembling of parts, and finishing details.
Materials Needed
- Light brown, dark brown yarn (3 mm hook recommended)
- Crochet hook 3 mm
- Stitch markers
- Scissors
- Yarn/tapestry needle
- Fiber fill
- Craft glue or hot glue
- Stitch tacking glue (optional)
Pattern Instructions
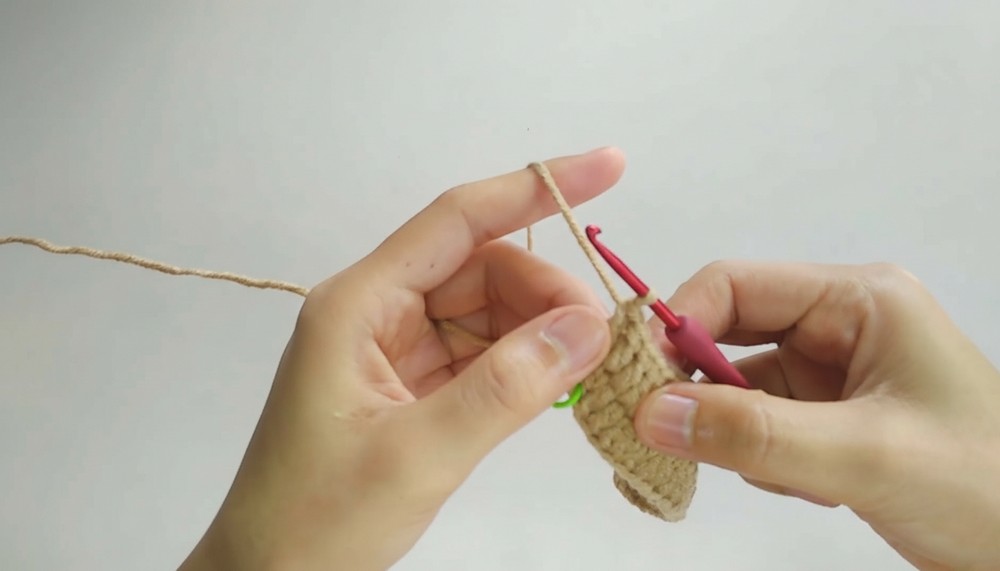
1. Starting the Bag Base
- Make a slip knot with light brown yarn.
- Chain 25 stitches.
- To establish foundation row, also chain 24 to match tension and length.
- Row 1: Starting from 3rd chain from hook, make 22 double crochet (dc) stitches along the chain. Mark the 1st stitch with a stitch marker for reference.
- Continue with 21 dc on the other side of the chain foundation to form a rectangle (working along the opposite side of the chain).
- Increase Corner: Make 3 dc into the same stitch (corner stitch) to turn the base.
- Repeat same procedure for other corner on opposite side: 3 dc in same stitch corner.
- Continue making 21 dc on the opposite chain edge.
- Join with slip stitch (sl st) into the first dc of Row 1.
- Total stitches for the round: 48 dc.
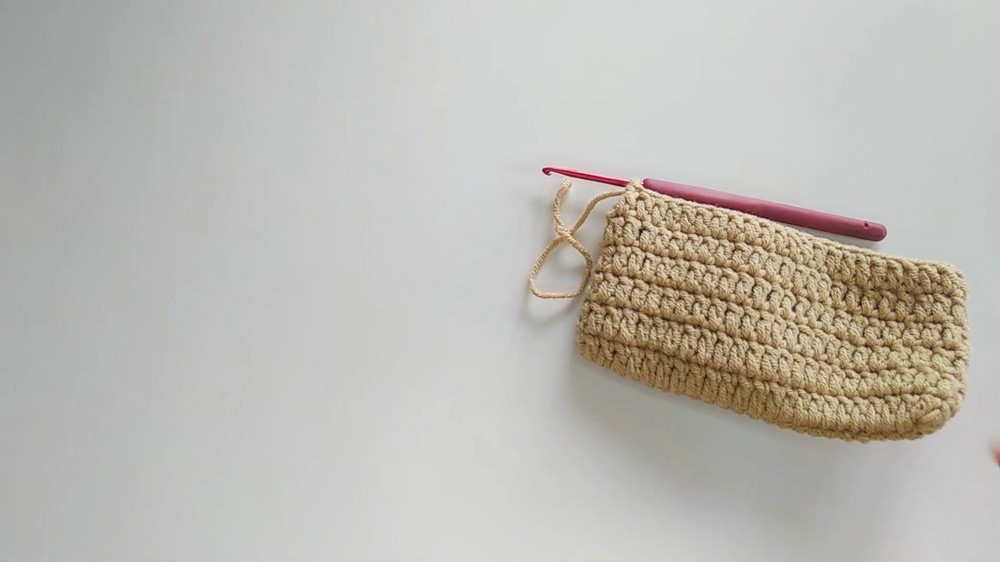
2. Building the Bag Body
- Rows 2 to 6:
- Chain 2 (counts as first dc)
- Make 48 dc evenly around each row
- Join with sl st at end of each row.
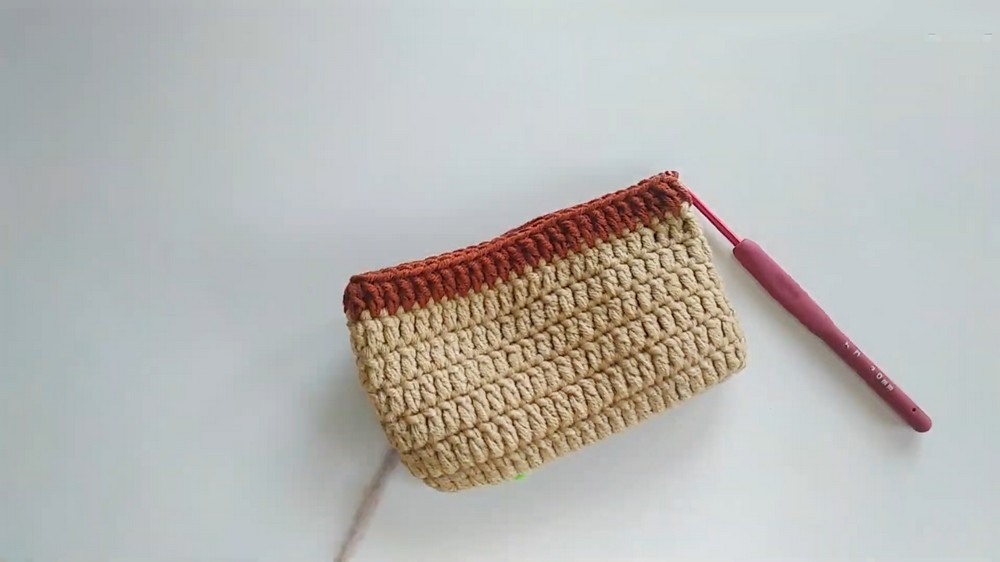
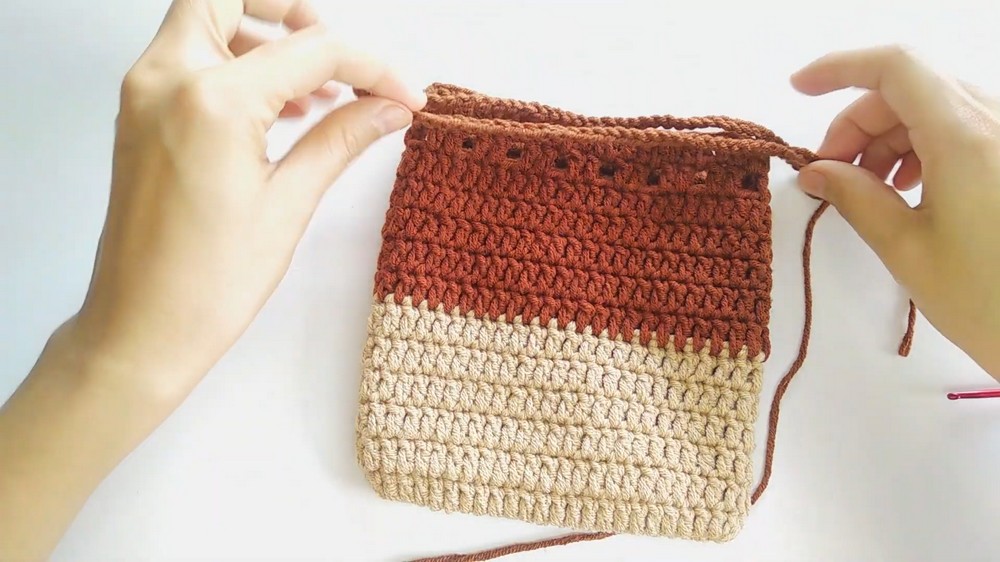
3. Color Change and Rows 7 to 11
- At the end of Row 6, make slip stitch and cut yarn. Pull through yarn.
- Attach brown yarn with a slip knot and insert hook into last stitch.
- Rows 7 to 11:
- Chain 2 (counts as dc)
- Make 48 dc per row
- Join with sl st
- Mark first stitch each row with stitch marker.
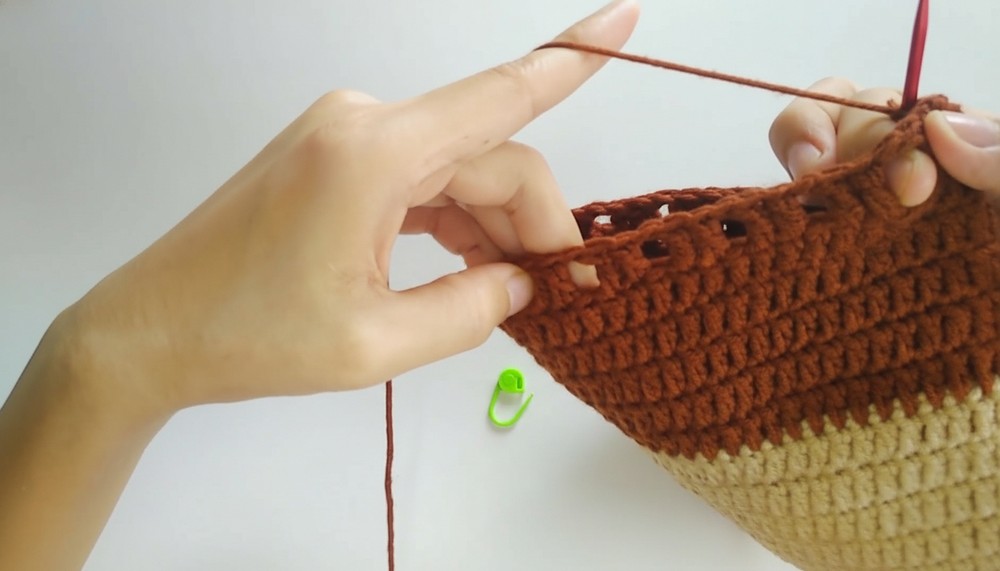
4. Special Stitch Row 12
- Chain 2.
- Make 2 treble crochet (tr), place stitch marker on first treble crochet.
- Then repeat 1 chain, skip 1 stitch, 2 tr crochet pattern across the row to create a lacy effect.
- End with a sl st to join.
5. Row 13 – Final Row of Bag Body
- Chain 2.
- Make 48 dc, join with sl st.
- Remove stitch marker.
- Chain 1, cut yarn and pull through.
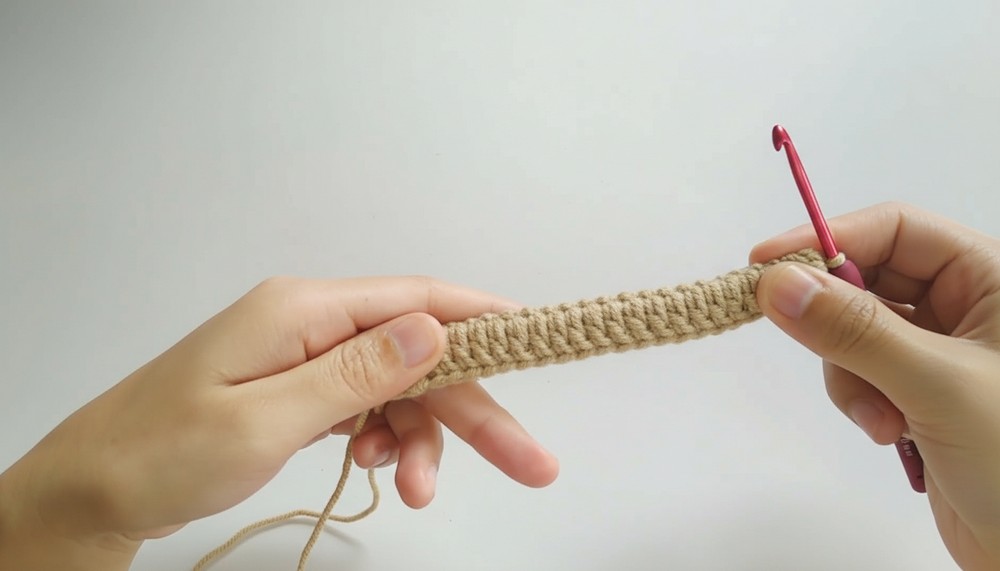
6. Making the Drawstring
- Use brown yarn, make a slip knot.
- Chain 80 stitches (or desired length for drawstring).
- Cut yarn and pull tight.
- Make one more identical drawstring if desired.
7. Making the Mini Paw Ball (Light Brown Yarn)
- Magic ring: Make a magic ring, pull yarn tight.
- Round 1: Make 3 single crochet (sc) inside magic ring.
- Close hole by pulling yarn tight, remove stitch marker.
- Round 2: Increase – make 2 sc in each stitch around (6 sc).
- Round 3: Continue increasing to shape the ball.
- Round 4: Decrease by crocheting through front loops of adjacent stitches to close the ball.
- Finish with slip stitch, cut yarn, and pull through.
- Make two for the ball.
8. Making the Ears (Make 2)
- Magic ring.
- Row 1: Make 6 sc inside ring.
- Row 2: Repeat 1 sc, 1 increase pattern 3 times (9 sc total).
- Row 3: Repeat 1 sc, 1 increase 4 times and finish with 1 sc (13 sc total).
- Row 4: Repeat 1 sc, 1 increase 6 times (19 sc).
- Row 5: Make 18 sc evenly.
- Row 6: Repeat 1 sc, 1 decrease 6 times (13 sc).
- Row 7: Repeat 4 sc, 1 decrease 3 times (10 sc).
- Rows 8-10: Make 10 sc evenly.
- Finish off: Slip stitch to finish, leave yarn tail to sew.

9. Making the Eyes and Nose
- Cut felt or fabric for eyes and nose shapes, or crochet small rounds.
- Use craft glue to attach eyes and nose securely on bag front at centered points marked by folding.
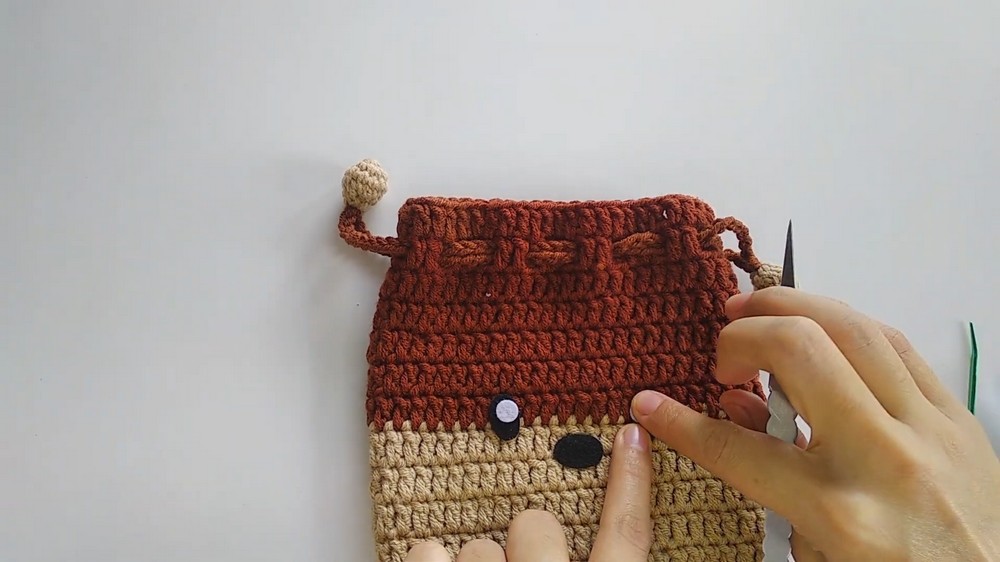
10. Assembly
- Using yarn needle, sew the drawstring into the holes on top of bag body. Pull tight to close bag.
- Attach mini paw balls to the drawstring ends by sewing or knotting on securely.
- Sew ears firmly to bag sides near top edge using yarn tail and needle.
- Fix eyes and nose position firmly with glue or stitching.

Tutor’s Suggestions
- Mark the beginning of each row to maintain stitch counts.
- Maintain even tension for a neat and uniform fabric.
- When working decreases and increases, count stitches carefully to keep the shape correct.
- Use a yarn needle for assembly instead of glue where possible for durability.
- Make the drawstring length slightly longer to facilitate opening and closing.
Uses
- Cute functional bag for small toys, jewelry, or coins
- Gift item for children or dog lovers
- Crochet skill-building in shaping and assembly techniques
- Home décor item or playful accessory
Tip
If you want a sturdier bag, consider lining the finished bag with fabric or interfacing for durability. Also, blocking your crochet pieces before assembly will help them keep shape.
Conclusion
This brown puppy drawstring bag combines practical crochet skills with amigurumi charm for a lovable accessory. Its detailed shaping and cute features make it a perfect intermediate crochet project—and a delightful handmade gift.
Leave a Reply