
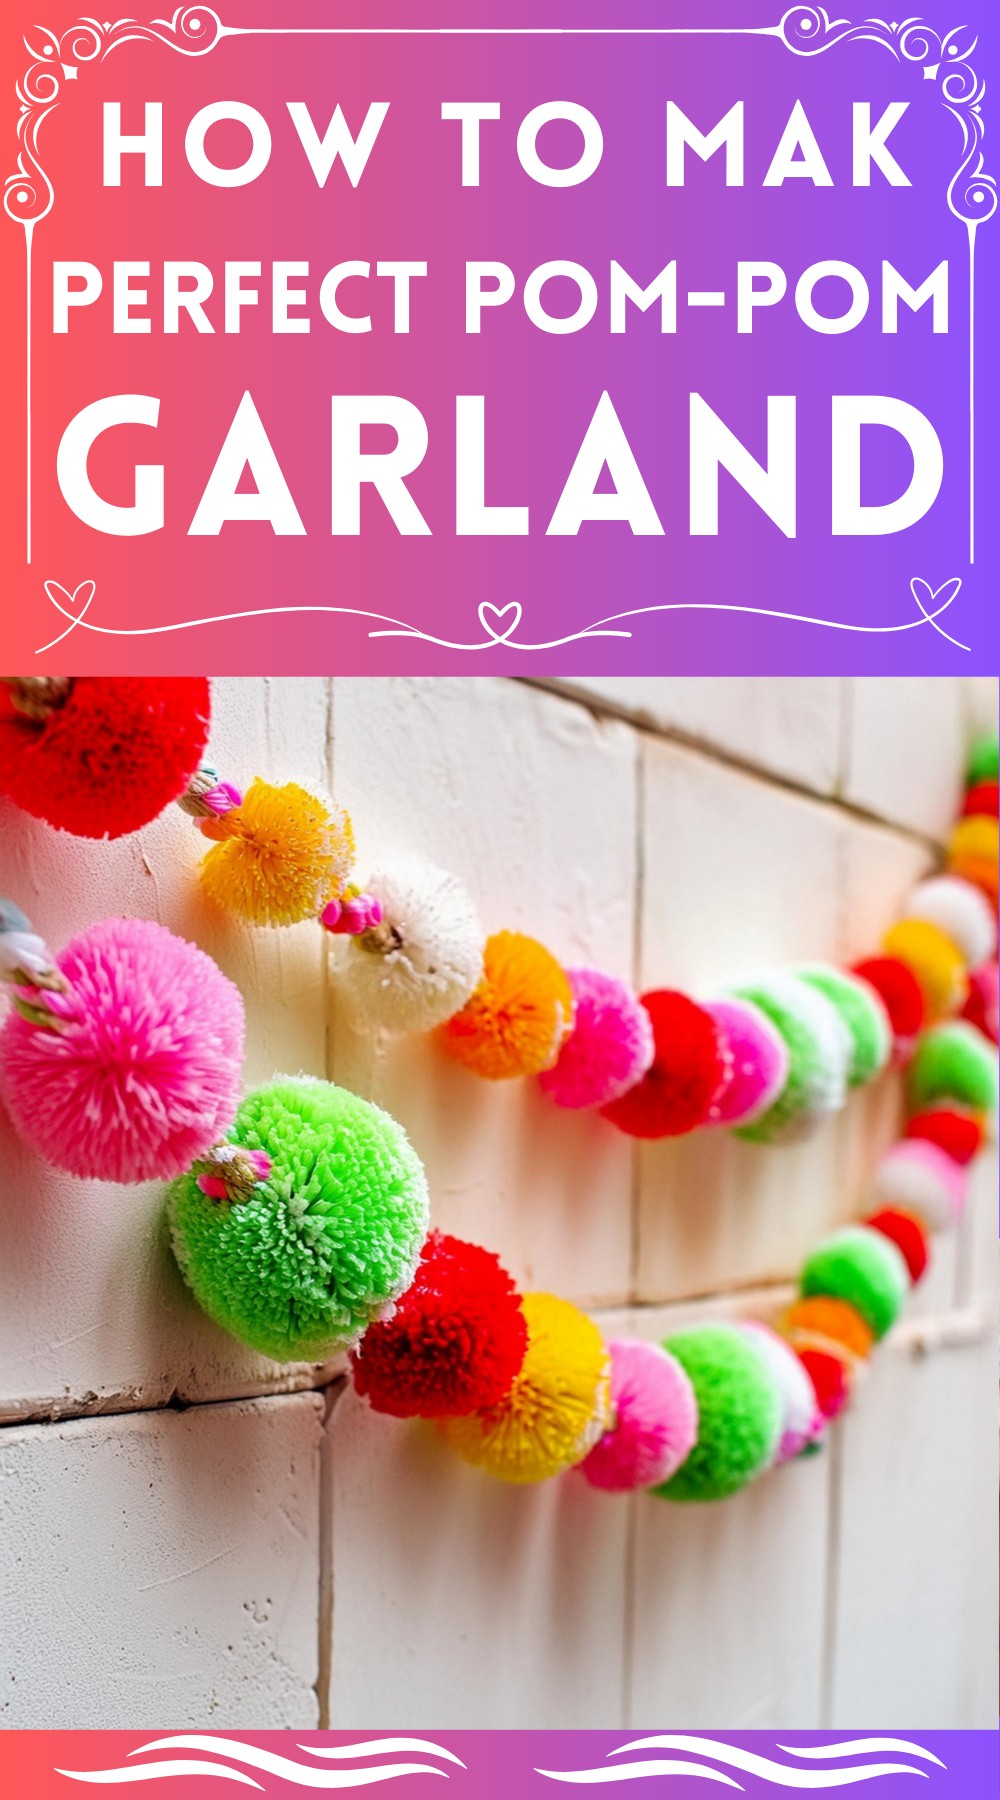
The DIY Perfect Pom Pom Garland is an affordable and fun way to personalize festivities. Using materials like yarn, a Loome tool, and some beads, one can create unique, colorful garlands. Perfect for any celebration, this project is ideal for using up spare yarn and bringing families together for crafting. Pom-pom garlands are versatile; they can decorate walls, wrap around gifts, or make special occasions even more memorable. They’re not just for holidays but also serve as beautiful, year-round home decor, adding a personalized touch wherever they are hung.
Perfect Pom Pom Garland

Materials List:
- Omegacryl yarn in various colors
- Loome tool
- Embroidery floss
- Pom-pom trim guides (1.75″ size preferred)
- A pair of sharp scissors
- A bowl or tray to catch yarn scraps
- A skein of worsted weight (or thicker) yarn for stringing the garland
- A plastic yarn needle
- An assortment of beads with sufficiently large holes
- Additional pieces of Omegacryl yarn
- Washi tape

Step-By-Step Guide to Making Pom-Pom Garland:
Pom-Pom Production:
To begin, forge a colorful army of soft pom-poms utilizing Omegacryl yarn and a handy Loome tool. Venture into patterns or solids, sticking to a chosen color palette to ensure a cohesive look. Don’t shy away from variety; mix and match to your heart’s delight.

Design Your Masterpiece:
Once you’ve amassed a collection of pom-poms, play the role of a maestro laying out their symphony. Arrange your fluffy spheres and beads in a pattern that pleases your eye. This strategy will help you envision the final product and make adjustments before everything is set in yarn.
The Threading Begins:
Measure and cut a generous length of yarn—somewhere around 5.5 feet should suffice, allowing for extra at each end. Secure the sturdy yarn to your needle and commence the threading ceremony, alternating pom-poms, and beads as you see fit.
A Parade of Beads:
Grace your yarn canvas with beads, ensuring their holes can accommodate the yarn needle. They not only act as spacers but add a dash of elegance between the plush pompoms.
Creating a Standstill:
For garlands terminating in beads, loop back and thread through the last few to hold them in place, creating ornamental borders. Should you end with pom-poms, allow them to hold their ground as they are on the bulky yarn.
Adding Frills:
In place of tassels, knot short strands of Omegacryl yarn at intervals along the garland. These fluffy tails infuse an extra sprinkle of texture and color, enhancing the garland’s festive flair.

Leave a Reply