
Creating extra storage space in your backyard has never been more straightforward or more enjoyable than crafting your custom shed. Whether seeking to house gardening tools or to create a workshop oasis, building a shed catapults the functionality and style of your outdoor living space.
This project is a practical one that also offers the satisfaction of DIY accomplishment. A compact shed measuring approximately 3 by 6 feet can easily fit into a smaller yard, yet with clever arrangement, it can accommodate a surprising amount.
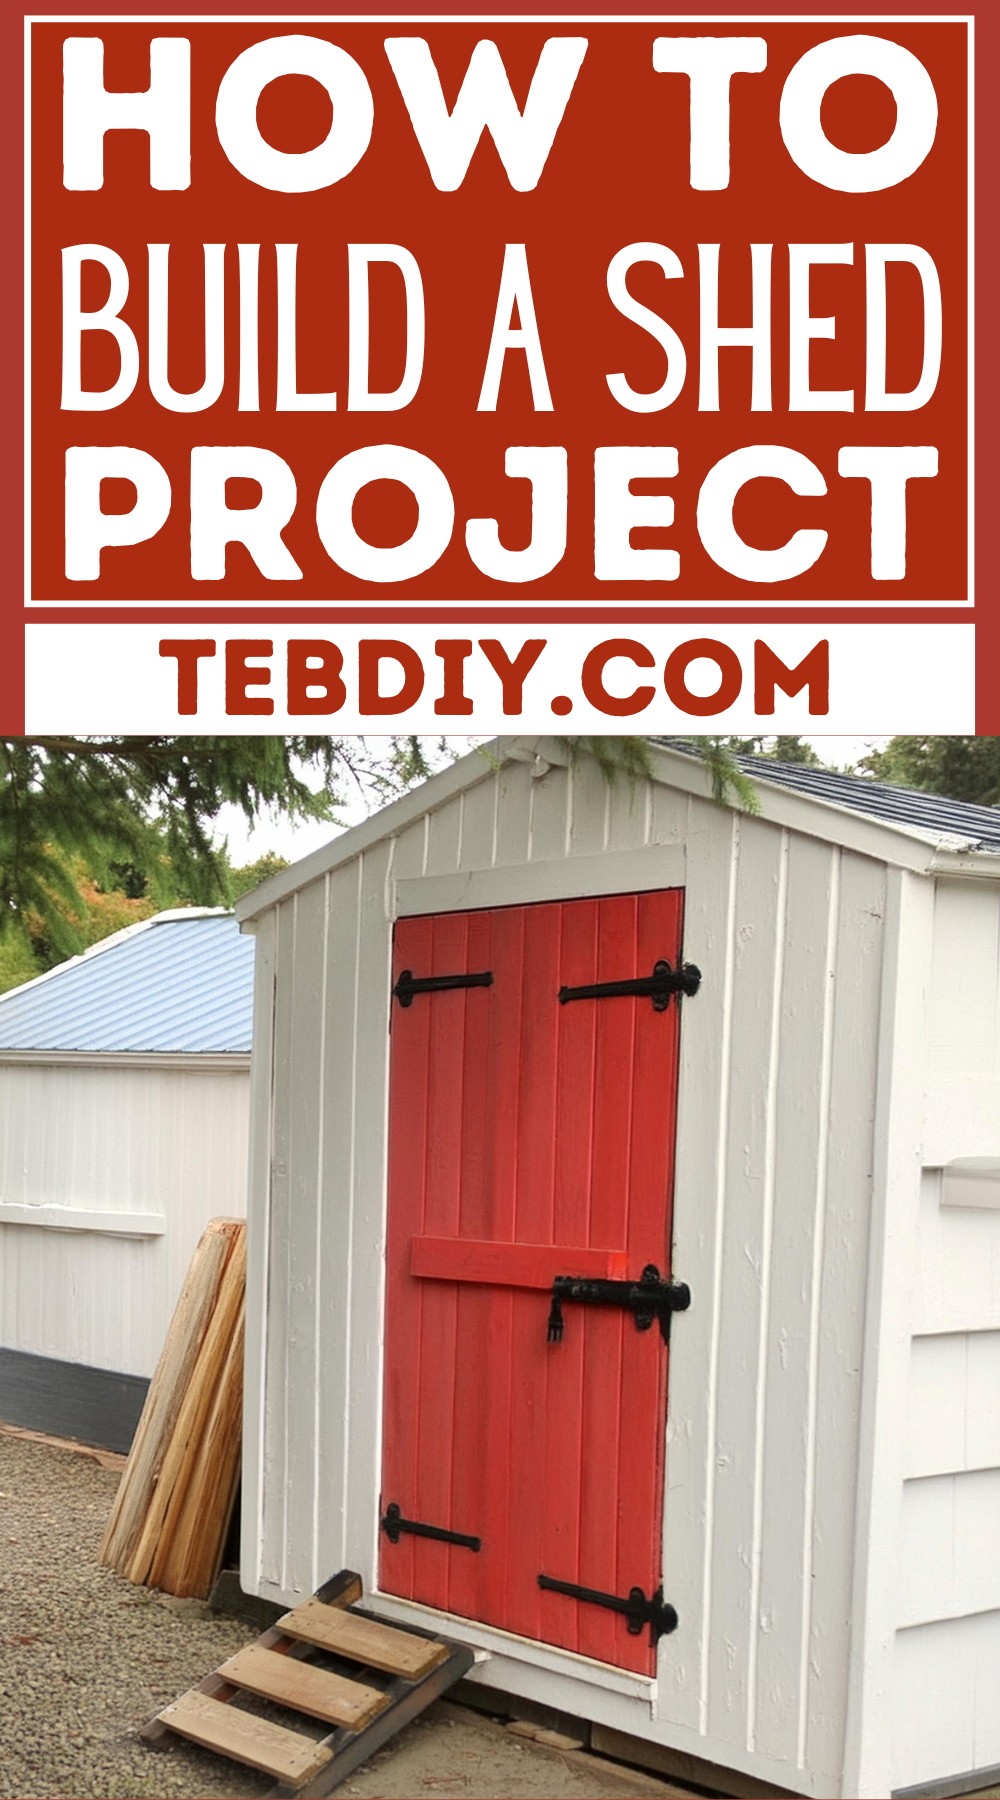
How To Build A Shed

Materials List
- Gravel (for drainage)
- Level pressure-treated wood (for the foundation and framing)
- Garden fabric (to prevent weed growth)
- Rebar (to secure the foundation)
- Filter fabric (to prevent weeds under the base)
- 2 x 4 wood (for the floor and roof framing)
- OSB plywood (for the floor, walls, and roof sheathing)
- Nails and screws (ensure they are suitable for use with pressure-treated wood)
- Yellow oil paint (for additional protection on the plywood)
- Home wrap (to protect against moisture)
- Drip edge (for water runoff from the roof)
- Shingles (for the roof)
- Fiber cement siding (optional for exterior walls to match a specific aesthetic)
- Exterior paint (for finishing touches)
Tools Used
- Shovel (for foundation preparation)
- Level (to ensure an even foundation)
- Drill (for assembling the wood frames)
- Jigsaw (for cutting the wood to the correct lengths and angles)
- Hammer (for nailing parts together)
- Screwdriver or power drill (for securing parts with screws)
- Staple gun (for attaching the home wrap and trim)
- Paint sprayer (optional for even painting)
Building Process
The Foundation
- Mark the construction area.
- Excavate to remove any roots and level the ground.
- Add a layer of gravel and tamp down for proper drainage.
- Level the ground and lay down pressure-treated lumber.
- Secure the lumber with rebar inserted into the ground.
- Place garden fabric to discourage weed growth.
The Base
- Construct a rectangular frame from pressure-treated wood to serve as the shed’s base.
- Enhance stability by driving rebar through the base into the ground.
- Cover with filter fabric to prevent weed propagation.
For The Floor
- Build a floor frame using 2 x 4 wood placed 12 inches on center.
- Top the frame with OSB plywood, securing it with screws.
- Apply yellow oil paint on both sides of the plywood for extra protection.
The Walls
- Accurately measure and mark the wood for wall framing.
- Start by screwing studs to plates, then reinforce with nails.
- Attach each wall to the floor by screwing through the plywood into the floor frame.
- Connect wall frames at the corners and clad them with plywood.

The Roof
- Design the roof to match the pitch of an existing structure (e.g., a workshop).
- Cut wood to construct roof framing, paying attention to the proper angle for the birdsmouth cuts.
- Assemble the frame on the ground for ease and then lift it onto the shed.
- Verify the roof fits well, then sheathe it with plywood.
For The Roof – Shingles and Drip Edge
- Wrap the roof with home wrap as an alternative to tar paper.
- Install a drip edge along the roof’s perimeter.
- Nail down the shingles and secure the assembled roof to the wall plates.
Finishing Touches – Wrap and Trim
- Cover the shed with home wrap for moisture protection.
- Trim the edges and the roof line, attaching trim with a staple gun.
- Opt to add siding to match specific aesthetics, installing it over the OSB sheathing.
Painting
- Apply a coat of exterior paint to the shed, possibly using a spray gun for an even coat.
Conclusion
The satisfaction of completing a structure with your own two hands brings unmatched gratification and functionality to your outdoor space. Linn recommends watching the accompanying video tutorial for a more detailed perspective on each step of the process. This guide serves as a compass to direct your efforts, but the journey is yours to adapt and enjoy as you bring your dream shed to life.
Leave a Reply