
Stamps are a practical necessity, but sometimes you need more than just your household’s name and address. Stamps are a great way to personalize papers, present gifts, and leave your mark on the world. And while they can be pretty pricey, there is no reason you can’t make your own stamp that is just as good as the store-bought kind for a fraction of the price. Here are 15 DIY stamp ideas, from materials you probably already have lying around the house to materials you can pick up at any craft or hobby store. They’re also practical in that you can use them repeatedly, so they’re a better investment than just buying custom stationery.
Easy DIY Stamp Ideas
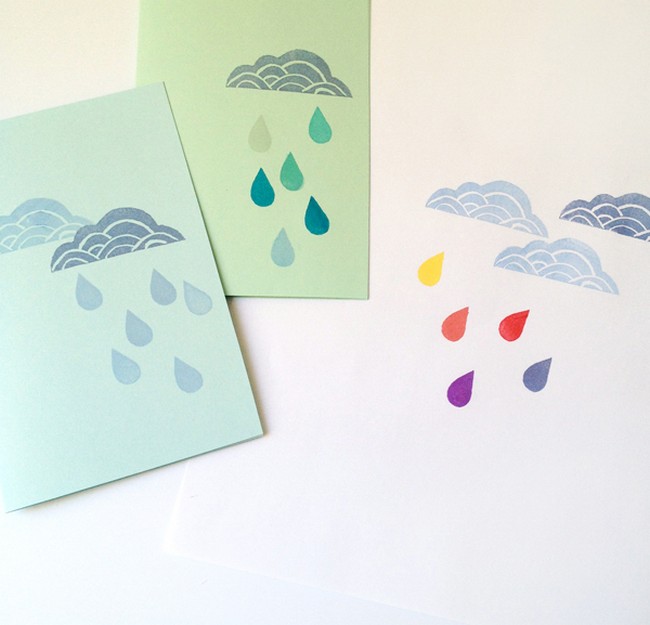
A stamp is a great way to add personalization to your decor. Creating your own DIY stamp takes just a few steps, and it’s a fun, rewarding way to create something that will last. Save your creative ideas with each of these DIY Stamp Ideas. These DIY stamping tips will help you make unique and personalized stamps from stamps or other materials. Create your own design with stamps, then use them for birthdays, invitations, and more!
What materials do I need to make my stamps?
Making your own stamps requires a few basic materials, including rubber or foam sheets, which serve as the base for the stamp. You will also need a carving tool to carve out the design, a cutting tool to cut the stamp to the desired shape, a pencil for tracing the design, a spray adhesive to attach the rubber or foam sheet to the block, and an ink pad to apply ink to the stamp. A wooden block can also be used as a base for mounting the rubber or foam sheet.
How do I design my stamp?
First, develop a design you would like to use for your stamp. It could be anything from a simple pattern to a detailed illustration. Sketch the design on paper and trace it onto your rubber or foam sheet using a pencil. Carve out the design using a carving tool, taking care not to go too deep or damage the stamp. You may then use a cutting tool to cut the stamp to the desired shape. Finally, use a spray adhesive to attach the stamp to a wooden block or handle.
What are some design ideas for my DIY stamps?
Many design options for DIY stamps range from simple patterns to intricate illustrations. Some popular ideas include flowers, leaves, geometric shapes, quotes, and personal initials. You can also create custom stamps for special events like weddings or holidays, such as a wedding date or a special holiday message.
How do I use my DIY stamps?
Using your DIY stamp is quite simple. First, ink the stamp with the desired color and press it onto the surface you want to stamp. Make sure to apply even pressure so that the design comes out clearly. You can use your stamps on surfaces such as paper, fabric, or other materials to create custom designs.
How do I care for my DIY stamps?
To ensure the longevity of your stamps, it is important to take good care of them. After each use, clean the stamp thoroughly with soap and water to remove any ink residue. Store your stamps in a cool, dry place and protect them from heat and light. Avoid exposing your stamps to direct sunlight or high temperatures, as this can cause the rubber or foam to become brittle and lose its elasticity over time.
You Can Search Also
DIY Stamp | No Carving Required
Create your handprints and design with this DIY stamp. Enjoy this easy-to-use DIY stamp that is perfect for decorating scrapbook pages and cards. Just choose your image, place the paper in the holder, apply the ink, and press down to get an amazing stamped image. This DIY stamp is the perfect tool for quick and easy stamping. It takes the hassle out of carving into the wood; you can start stamping in under 10 minutes.
DIY Custom Rubber Stamp
If you are looking for a fun and easy crafty activity, you’ve come to the right place! Make your own custom stamp with any design of your choice. You can use this rubber stamp to create a one-of-a-kind message or image that you can use in various ways. Bring your design projects to life with these easy DIY Custom Rubber Stamps. Make the stamp color your choice in any size and shape you can imagine.
DIY Rubber Stamps From Erasers
How to make rubber stamps with an eraser? This DIY craft is easy and inexpensive and can be used for many different things, from greeting cards to homemade invitations. Make fun stamps out of erasers and use them around the house or give them as a gift. Just turn a simple eraser into a rubber stamp, and you’re on your way to creating beautiful letterpress prints with this DIY Stamp video tutorial!
How To Carve A DIY Rubber Stamp
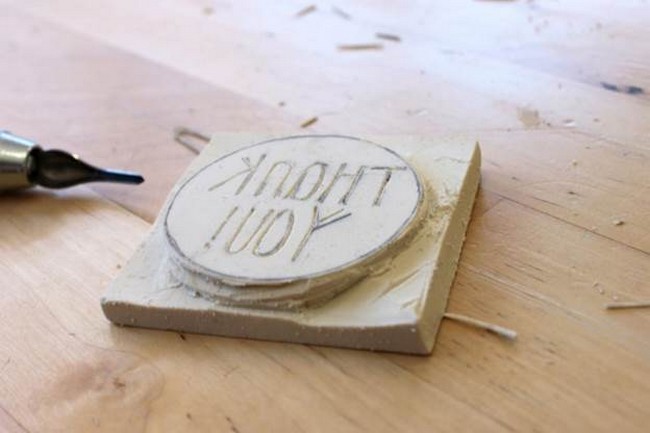
There’s something rustic, old-world, and charming about rubber stamps. They can add a personal touch to your crafts, be they cards or scrapbooking, and are great party favors at a wedding shower or baby shower. This project is a great way to make your own stamps using materials you probably have lying around the house. First, prepare the stamp by carving or engraving the desired image. Trace the image onto your stamp block with a pencil, and then use a utility knife to carve away material until it is raised above the rest of your block.
DIY Cork Stamps
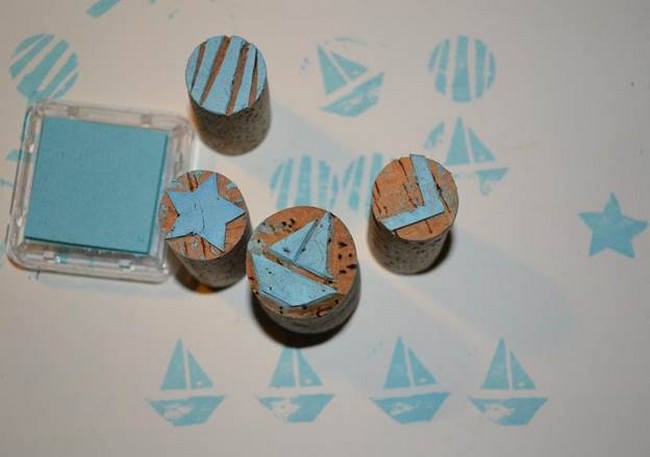
The DIY Cork Stamps are a great gift for the crafty and creative person in your life! Bring your own unique style to your correspondence, or make something special and memorable with friends. Use this cork stamp to add an accent to your craft projects or scrawl secret messages on pieces of paper, envelopes, or cards. Make a mark on your cork with these DIY stamps. Using just a few tools, you can add an authentic finish to all surfaces.
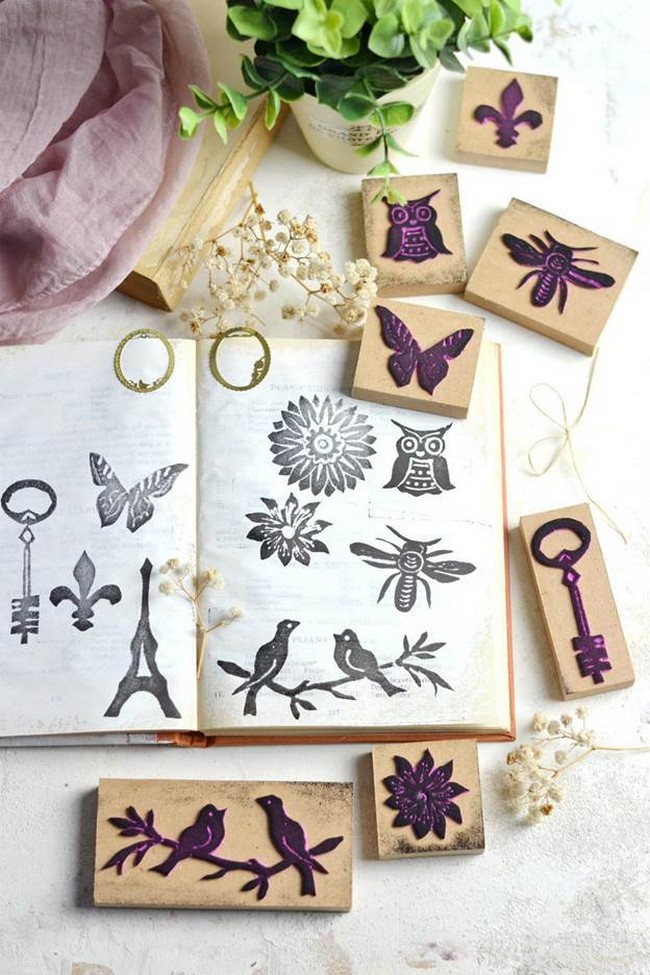
DIY Rubber Stamps
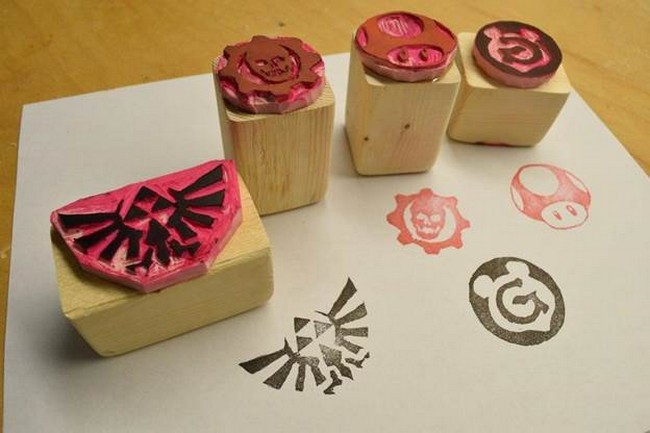
Give your letters and documents the personal touch with these DIY rubber stamps. Stamp a personalized design onto handmade cards, invitations, and holiday gifts. Add a touch of creativity to your work with these DIY Rubber Stamps. You can use them at home, in the office, or even to decorate cards or party invitations and put one on your wall as a fun piece of art. Stamps can be used with ink pads or acrylic blocks for an even more unique look. The possibilities are endless when it comes to crafting with rubber stamps!
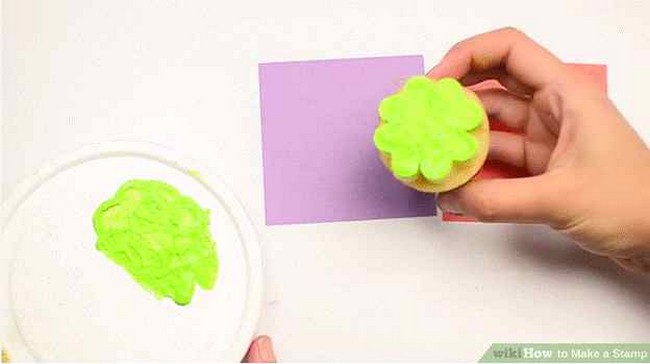
How To Make A Stamp
DIY Stamps are great for stamping and can be used to make fun designs, letters, and numbers. Perfect for crafters and lettering lovers! A stamp is a mechanical device to impress an image onto a surface, usually paper. But why buy one when you could make one from any material you like? You can use things you already have around the house or in your local craft store. This tutorial will show you how to make stamps at home with various supplies, techniques, and materials.
How To Make A Stamp In 3 Ways
Are you looking for a way to stamp various designs and patterns onto your craft projects? Making your own stamps can be very easy and inexpensive. You can make one from a potato, sponge, or eraser. Make sure the material you choose is suitable for the project you’re doing – some are better suited for surface embossing, while others work best for stamping directly onto paper – and check out these three techniques to see which works best for you!
How To Carve Your Stamps
Carving stamps is a fun and easy project that lets you stamp your own unique designs onto paper with ink or paint. It’s a great way to use Plain white block erasers, and it can be a fun project for the whole family. Beginners can learn how to make their first stamps in just a few steps. Learn tips, tricks, and techniques to help you design beautiful stamped artwork. This is a great craft activity for kids and adults alike.
DIY Metal Stamping
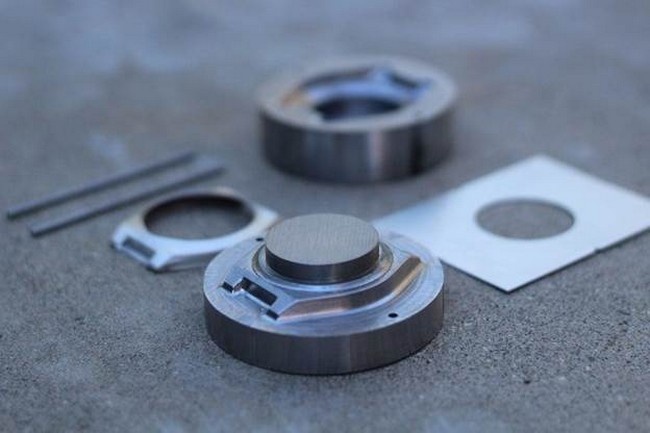
This article will explore the basics of metal stamping and guide you through creating your own stamps and stamping designs. Whether you’re new to metal stamping or an experienced DIYer, you’ll learn everything you need to know to get started with this fun and rewarding hobby. From the tools and materials required to step-by-step instructions and helpful tips, this guide will help you create beautiful and unique stamped pieces. So, grab your hammer and get ready to discover the world of DIY metal stamping!
Homemade Stamps For Kids
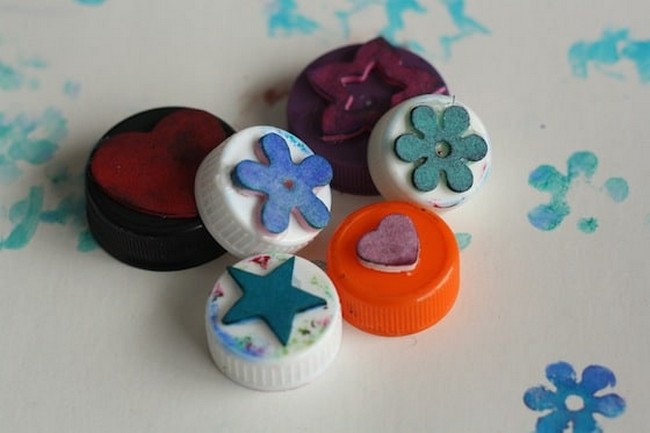
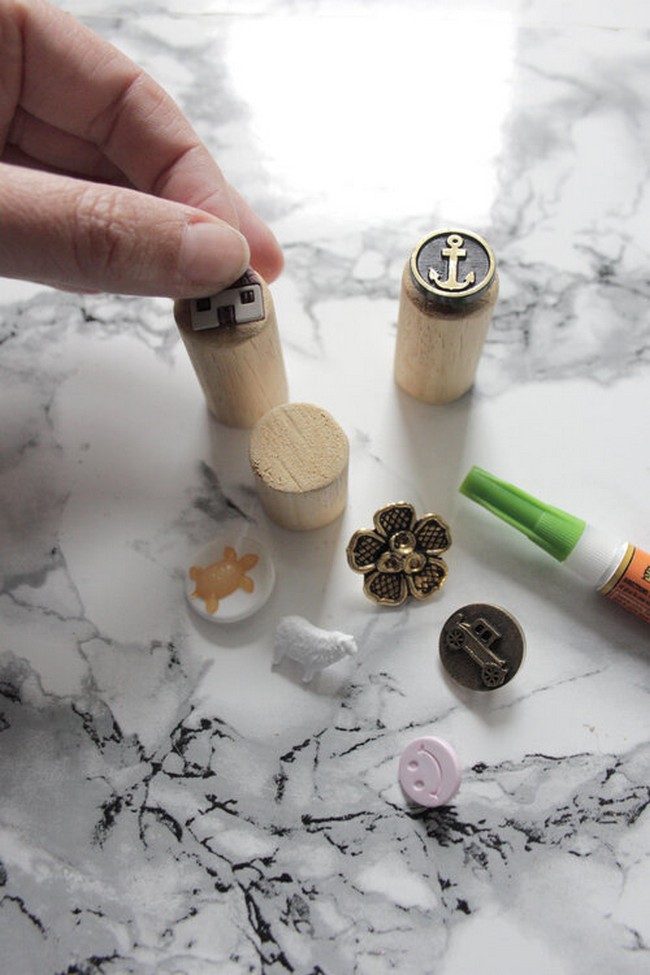
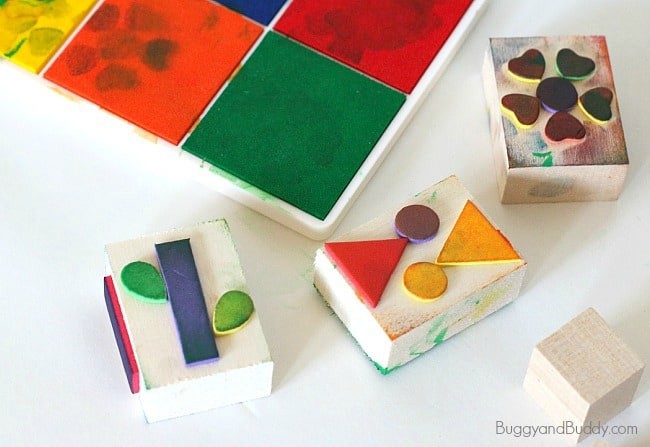
Stamping is a fun and creative activity for kids of all ages. But buying stamps can be expensive, and sometimes you can’t find exactly what you’re looking for. That’s where homemade stamps come in! This post will explore various ideas for making stamps using everyday items like wine corks, bottle lids, wood blocks, and more. Your kids will have a blast creating unique stamps and using them to make art, cards, and other fun projects. These homemade stamps are easy to make, safe for kids, and a great way to encourage creativity and imagination. So, get ready to unleash your kids’ inner artists with these fun and simple homemade stamps!
DIY Vintage Foam Stamps
Make your mark on lettering, cards, and paper crafting projects with these DIY Vintage Foam Stamps. These easy-to-use stamps look like old-fashioned letter stamps, but they’re brand new—with crisp impressions every time. Peel off the foam stamp pad’s paper backing and press onto an ink pad to get started, then press onto paper for a charmingly vintage touch. Kids will love making their mark with these fun stamps, and you’ll love the endless possibilities of lettering and artwork they can create to decorate cards, invitations, and more.
Wax Seal Stamp DIY
This Wax Seal Stamp idea is an easy way to make custom stamps. Easily create your customized wax seal stamp featuring your family name, monogram, or favorite design. This DIY wax seal kit is perfect for weddings, birthdays, anniversaries, or other special occasions! Make your wax seal stamp in a few easy steps. This is a quick project that you can use to personalize envelopes and create a unique look on cards, invitations, or packaging.
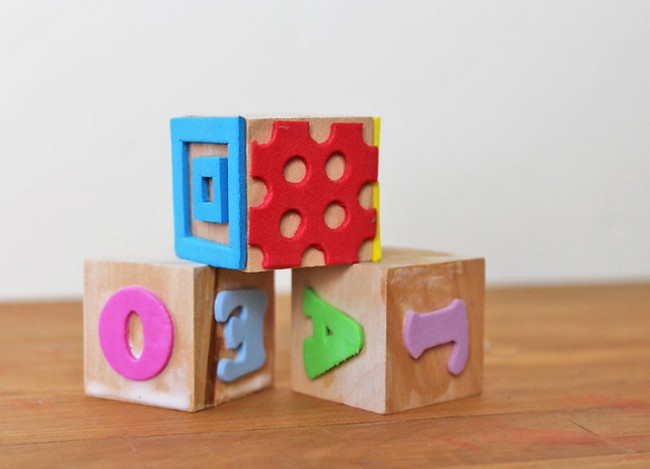
DIY Foam Stamps For Kids
DIY foam stampers make a great craft for young children. They are also a great way to create handmade cards and other fun projects and help kids learn about stamps, spelling, and motor skills. These DIY foam stamps are super easy to make and cost just pennies! These DIY foam stamps are perfect for greeting cards and other artsy creations with kids. With the help of an ink pad, they add the perfect personal touch to your crafts.
Leave a Reply