
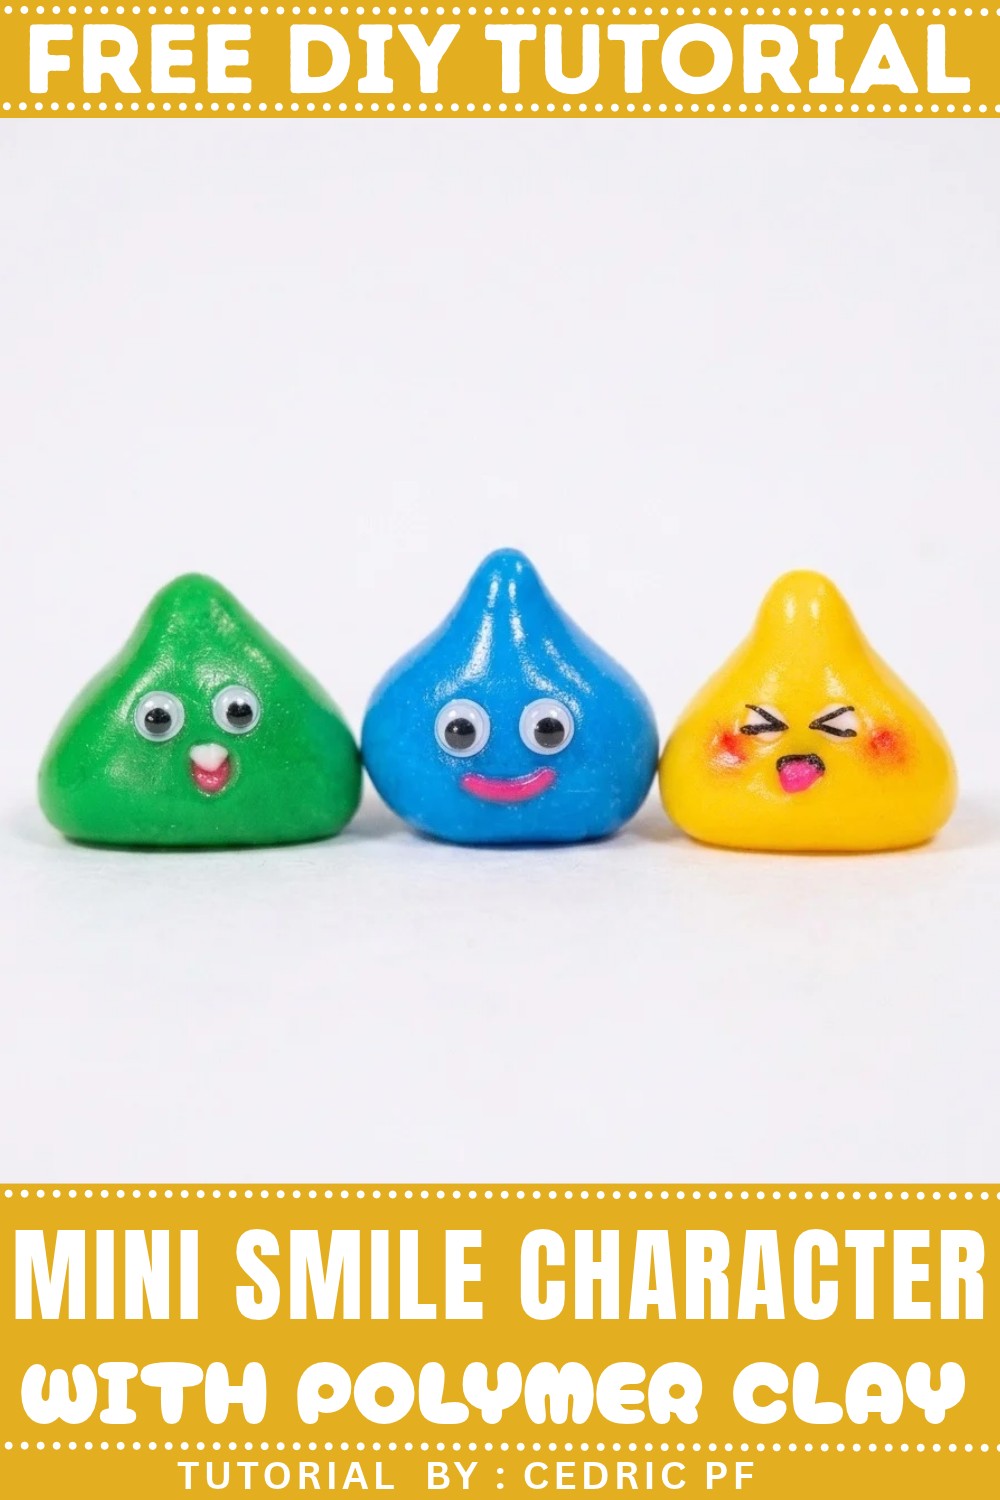
Turn your love for slime into a cute creation with this DIY Polymer Clay Slime Character tutorial, designed to inspire your next craft session.
Creating a DIY Polymer Clay Slime Character is a fantastic way to combine creativity with charm, resulting in a cute and squishy-looking figure that’s anything but messy. Inspired by the lovable blobs from games, anime, and cartoons, these characters are full of personality, featuring bright colors, expressive faces, and sometimes fun accessories like crowns, bows, or tiny props. Whether you aim for a cheerful slime, a mischievous one, or even a shy little puddle, the design options are endless.
Craft Adorable Slime Characters With Polymer Clay at Home
A big thank you to Cedric PF for sharing your creative work and inspiring others with your ideas. We really appreciate the time and effort you put into your content. It is always nice to see creators sharing their passion with the world. We are happy to give you proper credit and recognize your work. Thank you for being a source of creative inspiration.
To dive into this project, you’ll need soft polymer clay in vibrant colors for the slime’s body and additional shades for details or accessories. Sculpting tools, such as dotting tools, small blades, and texture stamps, are helpful for shaping and refining each detail. Acrylic paint or markers can be used to bring the facial expressions to life, and a glossy sealant adds that irresistible “wet” slime effect.
These whimsical creations are perfect as display pieces, desk companions, or custom charms for keychains or jewelry. They’re also great gifts for friends who’d love a handmade touch of fun. From crafting to finishing touches, making your very own slime character promises a delightful and imaginative experience. Let your inner artist shine and bring your squishy vision to life.
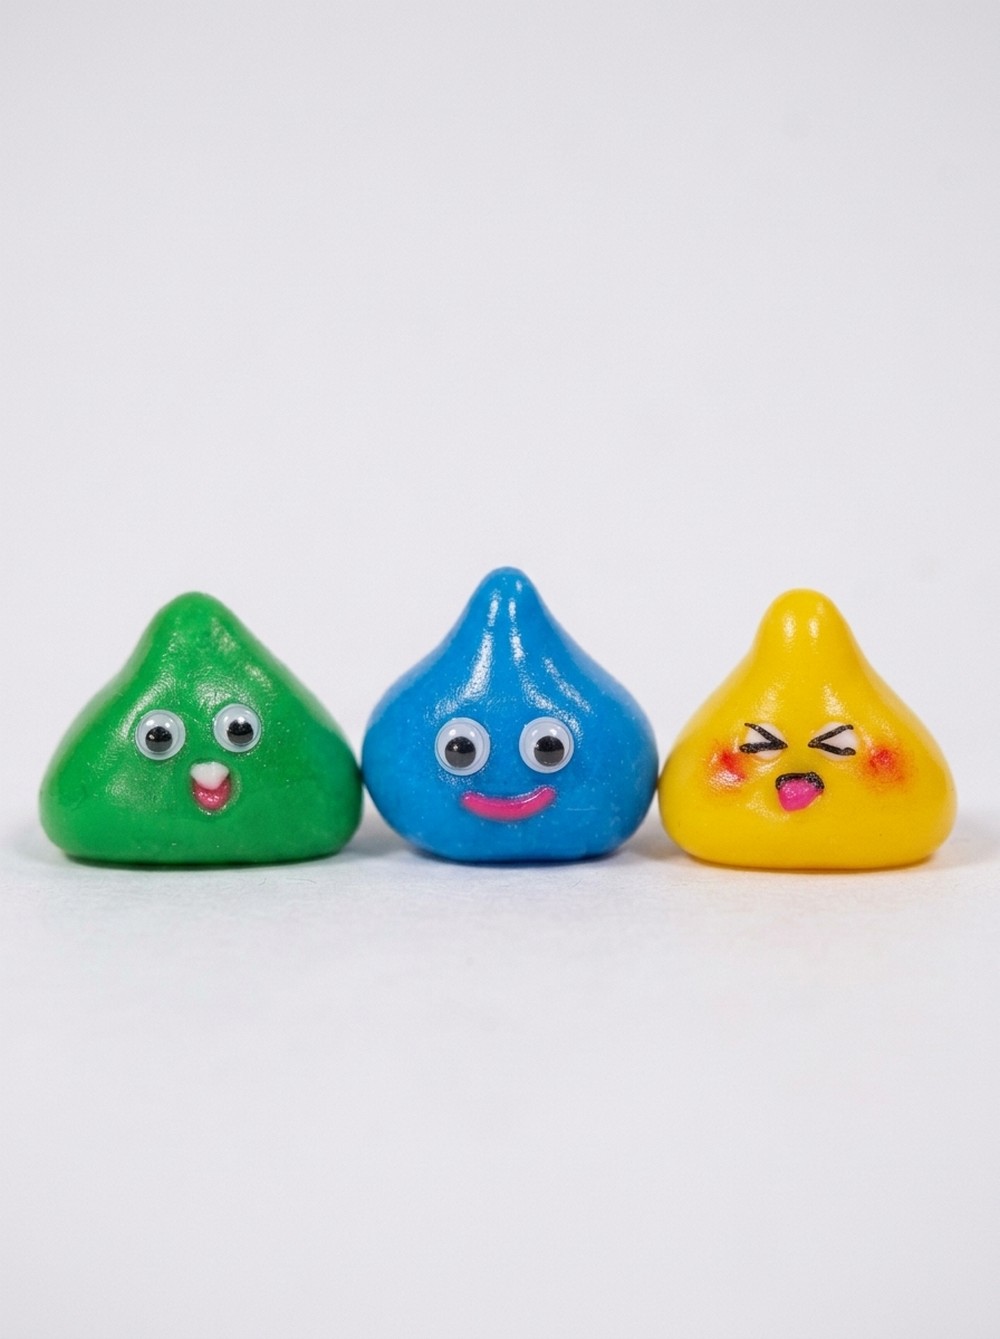
Dragon Quest Slime Polymer Clay Tutorial
Essential Materials & Tools
Materials
- Polymer clay
- Blue translucent (for the classic blue slime)
- Tropical green and yellow (or blend your own)
- White (for eyes/teeth)
- Black (for pupils and mouth details)
- Raspberry/pink (for mouth and blush)
- Translucent (for mixing and a gel-like look)
- Pastel chalk – red and pink (for blush)
- Talc or Flour (if clay is too soft)
- Varnish (for a shiny finish, optional)
Tools
- Dotting or ball tools (large and small)
- Flat, rounded sculpting tool
- Acrylic roller or your hands (for shaping)
- Paintbrush (for pastels/shading)
- Oven (for baking clay creations)
- Craft knife or blade (for detail, optional)
Step-by-Step Instructions
1. Classic Blue Slime
A. Shape the Body
- Take a portion of blue translucent polymer clay.
- Roll it into a ball with your hands.
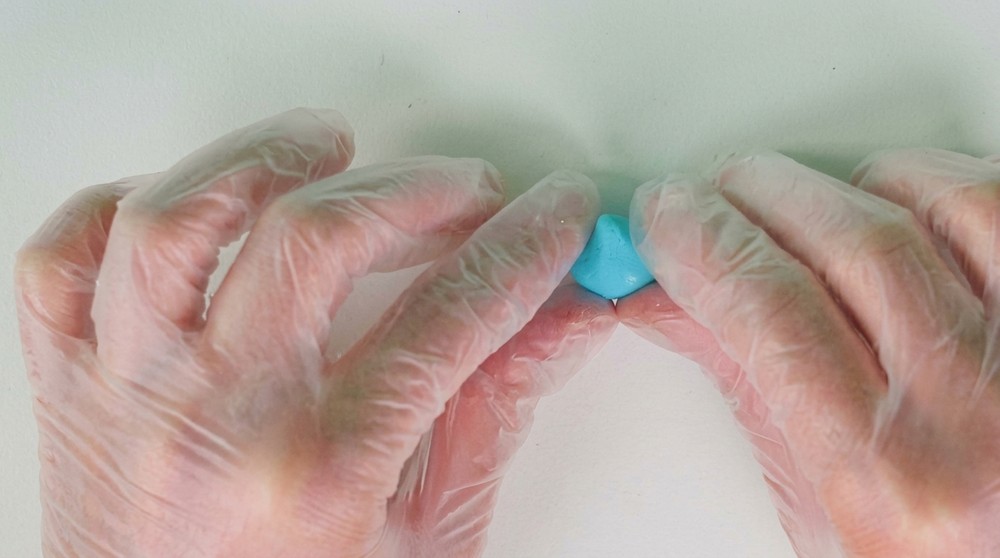
- Form a teardrop or big raindrop shape by pressing and pinching one end, then gently flatten the bottom just a little.
Tip: You want the body plump, not flat like a pancake!
B. Make the Face
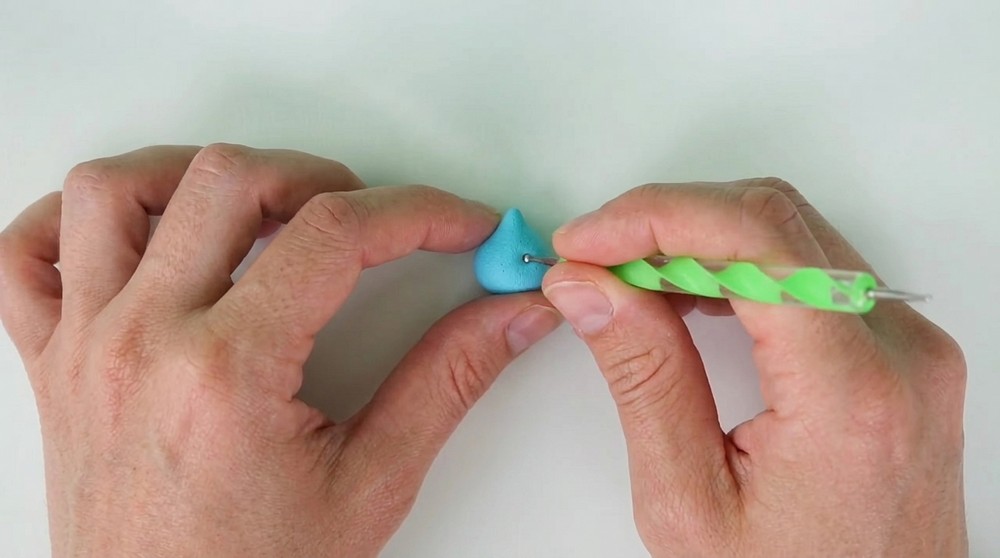
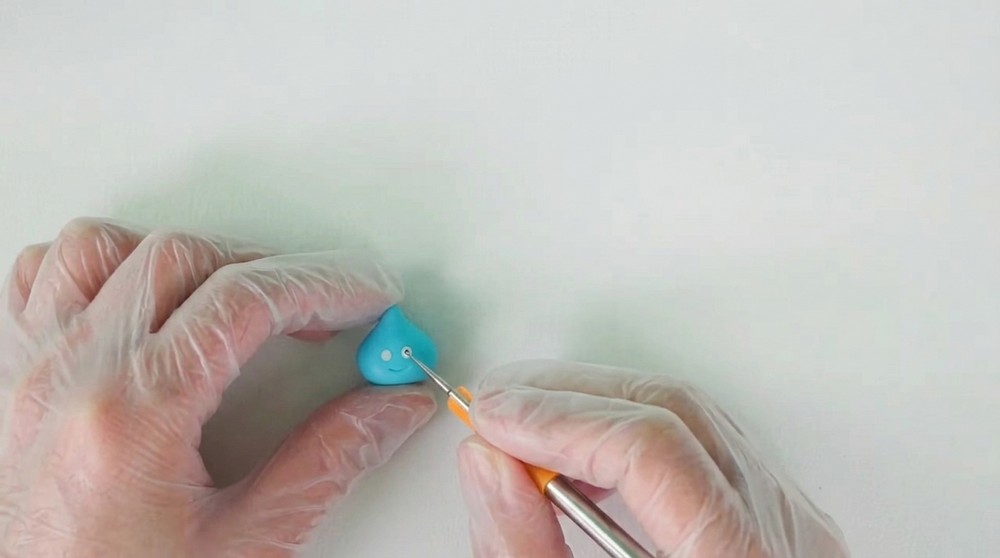
- Lightly mark the spots for the eyes using a dotting tool.
- Draw the smile with your rounded, flat sculpting tool.
Tip: You can do this by hand if you feel confident!
C. Add Eyes and Smile
- Roll two tiny balls of white clay for the eyes and place them in position.
- Add two even smaller black balls at the center of each eye for the pupils.
- For the mouth, roll a thin sausage of raspberry/pink clay. Gently press into the smile groove to secure it, flattening slightly so it stays put.
D. Perfect the Shape
- Use your round-edged tool to smooth and round out the smile and eyes if needed. Adjust any parts that look uneven or messy.
2. Tropical Green Slime
A. Shape the Body
- Mix equal parts tropical green and translucent clay until smooth.
- Shape into the same big teardrop as the first Slime, aiming to match in size.
Tip: If your mixture is too soft and sticky, use a tiny bit of talc or flour to make it firmer.
B. Make the Face
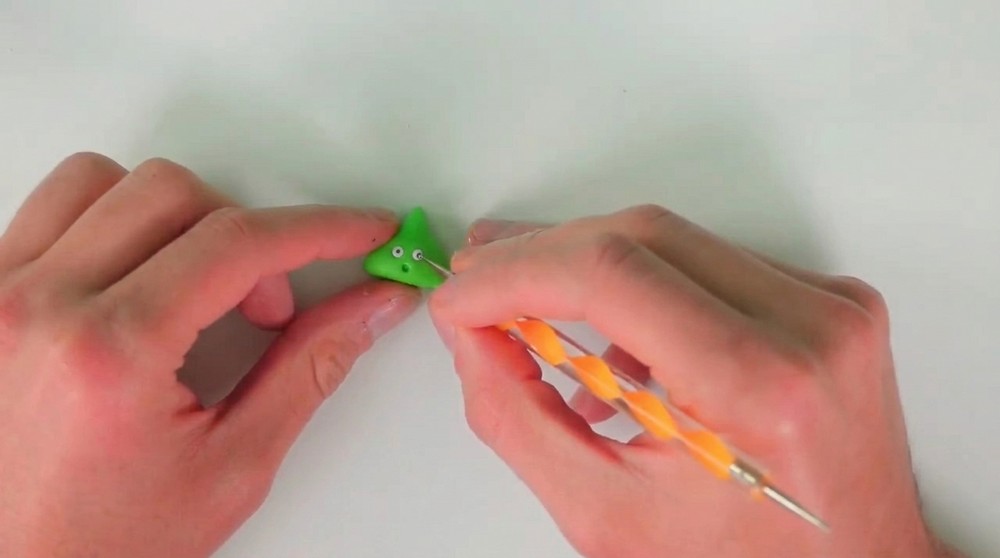
- Mark the eyes and mouth as before using your tools.
C. Details & Features
- Roll two tiny white clay balls for the eyes; position them.
- Add two tiny black pupils, making them look in any direction you like.
- Shape a small raspberry/pink ball for the mouth and press it where the smile will go (inside the mouth).
- Add a small piece of white clay to the mouth as a tooth—like a tiny bunny tooth! This adds lots of character.
3. Smiley Yellow Slime
A. Shape the Body
- Mix yellow clay with translucent clay in equal parts for a jellied, vibrant look.
- Form into a fat teardrop, same size as the others.
B. Add Features
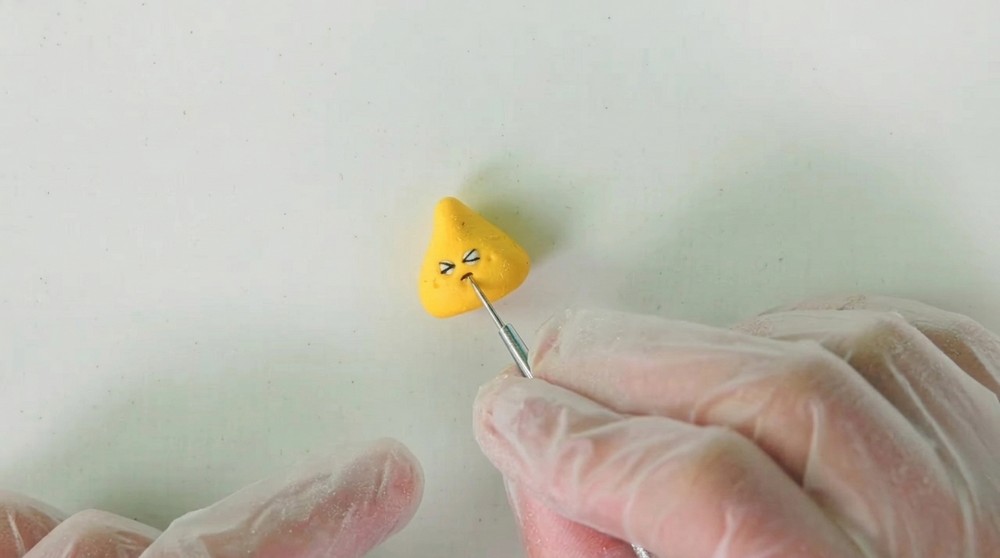
- With your dotting tools, mark the eyes, cheeks, and a wide mouth shape for a big expressive grin.
C. Build the Face
- Add two tiny white balls for the eyes.
- Roll out a very thin black clay sausage. Cut four small pieces and place them at the corners of the eyes in triangle shapes for an anime “laughing eyes” effect (lines pointing outward, not closed).
- Place another thin black piece on the top curve of the mouth groove, for an even bigger smile.
- Add a raspberry/pink ball in the mouth for tongue or inner mouth color, pressing it into the groove for the big open-mouth look.
D. Add Blush
- Take red or pink pastel and apply with a paintbrush to the cheek holes or under the eyes for a cute blush.
4. Baking & Finishing
A. Bake Your Slimes
- Preheat your oven according to your clay’s instructions (typically around 110°C / 230°F).
- Place your slimes on a baking tray, making sure they are upright and spaced apart.
- Bake for 20 minutes.
Tip: Let them cool off completely before touching to avoid dents or fingerprints.
B. Optional Varnishing
- Once cooled, brush on a layer of clay-safe varnish for a shiny, jelly-like finish.
Tips for Best Results
- Consistency: Try to match the sizes of your Slimes for a cute, consistent collection.
- Custom Colors: Mix translucent with other colors for a glowing, slime look. Adjust ratios for more “see-through” or more vibrant slimes.
- Details: Use a reference picture for face placement and expressions if you want to mimic the video game/manga style!
- Blush: Pastel dust makes the face instantly cuter.
- Soft Clay: If clay is too soft, chill it in the fridge for a few minutes or use talc/flour, as mentioned.
Ideas for More Fun
- Make a rainbow army by mixing different colors!
- Try metallic or glitter clay for rare/king slimes.
- Add a keychain or magnet to turn your slime into an accessory.
Summary
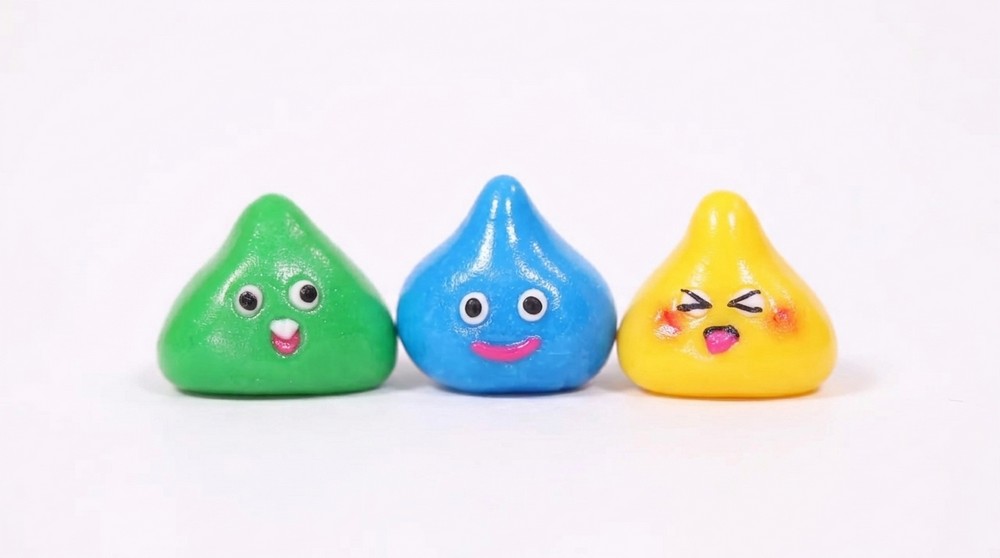
You’ve made three adorable Dragon Quest Slimes—blue, green, and yellow! Each one features its signature drop shape, playful face, and vibrant colors. This simple craft is fast, fun, and perfect for collectors or gifting.
Leave a Reply