
Explore the unmatched elegance of a live edge desk for bringing the serene whispers of nature right into your workspace. It is more than just a piece of furniture; it’s a statement of style and allure of blending organic forms with human craftsmanship. The DIY live edge desk speaks volumes of sophistication and uniqueness, turning an ordinary room into a gallery of natural art paired with the crisp, modern lines of metal. For those captivated by the idea of making such a masterpiece the centerpiece of their room, or even those with a flicker of interest in stepping into the realm of woodworking, this project unfolds as an intriguing adventure.

DIY Live Edge Desk Project

Materials List
- Wood slab (Oakanese Poplar)
- Metal legs with fasteners
- Polyurethane
- Lacquer
- Flat bar steel
- Construction adhesive
Tools Used
- Mitre saw
- Circular saw
- Chisel
- Jigsaw
- Paint brush
- Router
- Drill
- Screwdriver
- Welder
- Grinder with flap disk
- Palm sander
- Caulking gun
- Chop saw
Crafting Process
Design Phase
- Initial designs were drafted using CAD software to visualize the desk and finalize simple, yet appealing dimensions and features.
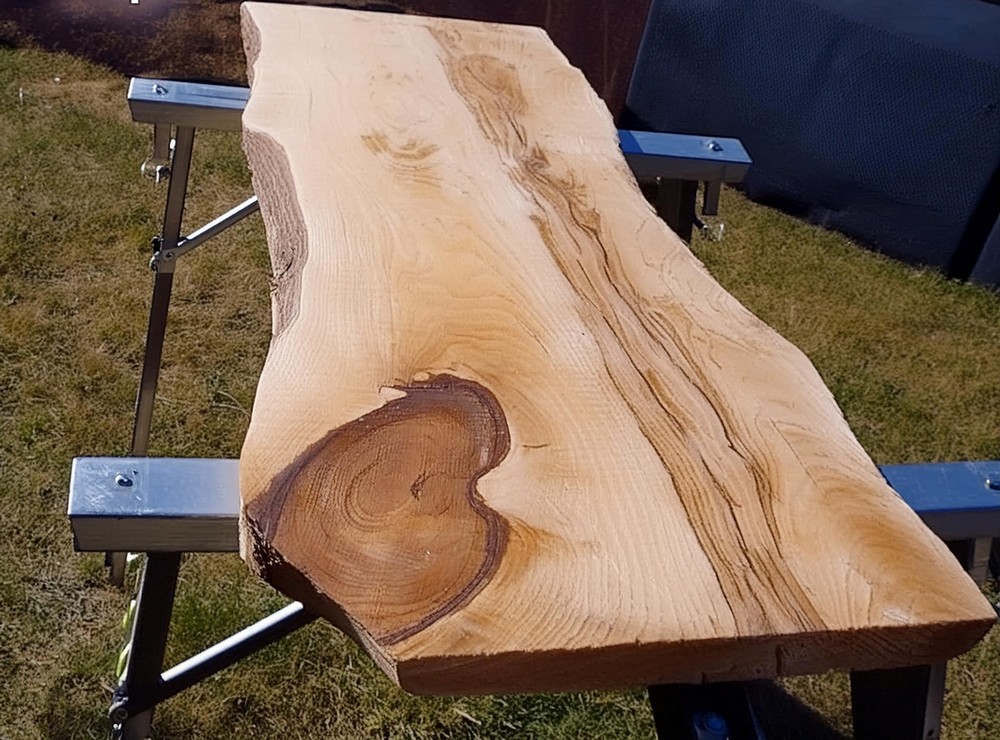
Prepping the Slab
- The Oakanese Poplar wood slab was procured and prepped, starting with sanding using grit sizes 60, 150, and 220 to achieve a smooth finish.
- The ends of the slab were squared off with a circular saw to ensure clean edges all around.
Steel Inlay
- We used a router with a flat bar as a straight edge to carve out a precise slot for the steel inlay.
- Then, we cut the flat bar steel to the required length, ground it to match the live edge profile, and cleaned it.
- We applied construction adhesive to the steel inlay, secured it into the slot with clamps, and left it to cure.
Surface Finishing
- We sanded both the slab and steel inlay with 220 and then 320 grit for an ultra-smooth finish.
- We applied three coats of polyurethane to the wood for a durable surface and used a couple of coats of lacquer on the steel to prevent corrosion and add shine.

Leg Modification
- After purchasing a set of standard legs that were too wide, we removed 5 inches of material from each leg (both top and bottom).
- We deburred and slightly chamfered the edges before aligning them for welding.
- After welding, we smoothed the legs with a flap disk and sanding.
Finishing Touches on Legs
- The legs were degreased, cleaned, and finished with two coats of lacquer for durability and a polished look.
Assembly
- Finally, the legs will attach to the slab. Holes were measured, marked, and drilled before bolting the legs securely in place.
Congratulations, your adventure in crafting a live edge desk from scratch is complete! Not only have you created a stunning piece of furniture, but you’ve also honed skills that will serve you in future projects. Thanks for following along on this creative journey.

Leave a Reply